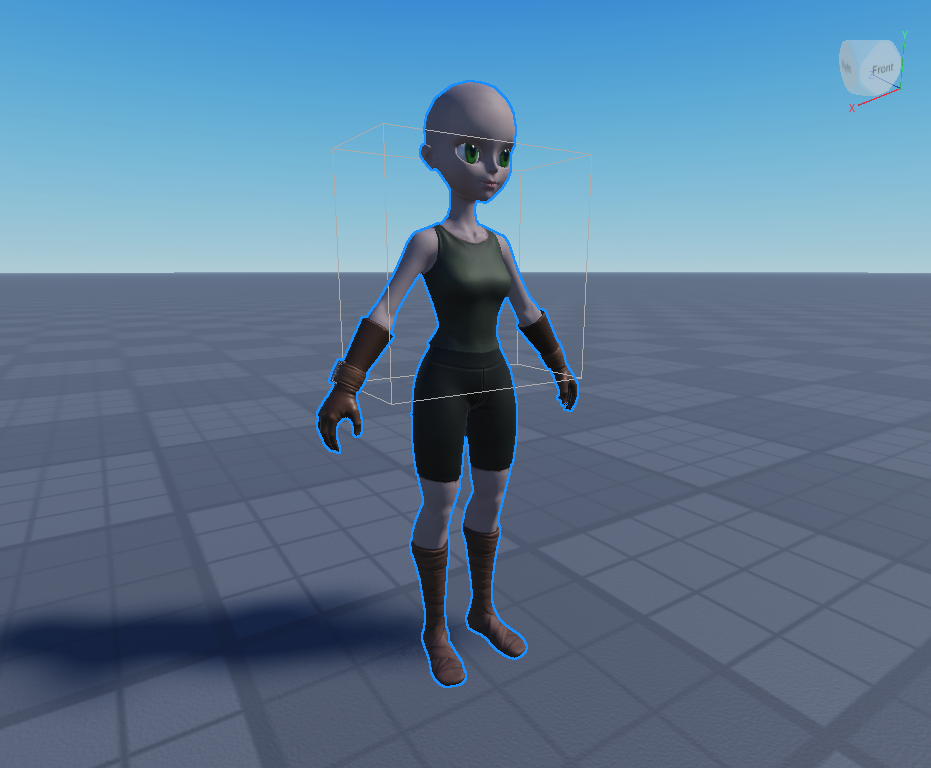
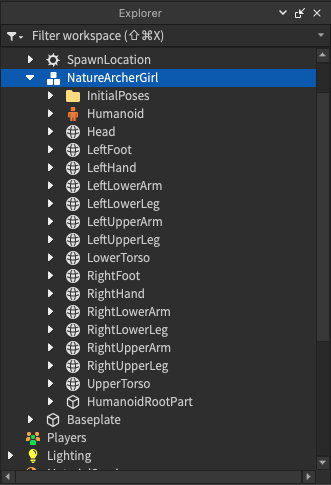
Sử dụng các hướng dẫn sau đây để nhập một mô hình cơ thể nhân vật đầy đủ vào Studio như một đối tượng Model mà bạn có thể lưu để sử dụng trong trải nghiệm của bạn, chia sẻ với người khác hoặc tải lên Marketplace.
Studio's 3D Importer cung cấp một cách nhanh chóng và dễ dàng để nhập các tài nguyên 3D của bên thứ ba vào các dự án của bạn. Importer cung cấp xem trước tập dữ liệu và kiểm tra lỗi để đảm bảo rằng tài nguyên của bạn đáp ứng các yêu cầu 3D chung của Roblox
Hãy nhớ rằng mô hình nhân vật của bạn cũng phải tuân theo Avatar Character Specifications của Roblox để sử dụng hoặc bán thành phẩm này như một mô hình nhân vật sẵn sàng cho avatar, hoặc bạn có thể gặp lỗi sau quá trình làm việc.
Để nhập tài sản của bạn:
Trong Studio, hãy đến Trang Avatar và chọn Nhập 3D từ đó .
Trong trình duyệt tập tin, hãy chọn .fbx hoặc .gltf tập tin được lưu ở địa phương. 3D Importer tải xem trước của đối tượng.

- Nếu các bề mặt không tải cho tài nguyên của bạn, bạn có thể nhập các bề mặt thủ công sau đó.
- Xem 3D Importer để biết thêm thông tin về cài đặt nhập và hỗ trợ.
Để bắt đầu xác minh cơ thể sau khi nhập, hãy bật Xác minh Cơ thể UGC . Điều này có thể tiết kiệm thời gian nếu bạn định tải cơ thể của bạn lên Marketplace.
Đặt Rig Scale vào kích thước Body Scale phù hợp của nhân vật của bạn.

Chọn Nhập导入 . Tài nguyên được phổ biến trong không gian làm việc của bạn như một Model với các chất liệu phù hợp được áp dụng như một SurfaceAppearance hoặc 1> Class.MeshPart.TextureID1> .
Nếu các bề mặt không được tải đúng cách, thêm chúng thủ công. Bạn có thể cần phải lưu và xuất bản trải nghiệm của bạn để truy cập vào Quản lý tài sản .
Mở Trình quản lý tài sản. Bạn có thể cần phải lưu và xuất bản trải nghiệm của bạn trước khi truy cập tài sản của bạn.
Trong Trình Quản Lý Tài Sản, hãy chọn nút Nhập Hàng Loạt .

Tải các tập tin hình ảnh của bạn.
Nếu bạn đang sử dụng một bản chỉ màu cơ bản, hãy đặt MeshPart.TextureID tính chất cho hình ảnh bản chỉ màu của bạn.
Nếu bạn đang sử dụng PBR Textures:
Thêm một SurfaceAppearance con con vào MeshPart của bạn.

Trong các SurfaceAppearance thuộc tính, hãy nhấp vào mỗi giá trị thuộc tính và giao hình ảnh thích hợp từ menu dropdown tài nguyên:
Đặt Bản đồ màu vào hình ảnh bề mặt _ALB .
Đặt MetalnessMap vào hình ảnh bề mặt _MTL .
Đặt Bản đồ thường vào hình ảnh bề mặt _NOR .
Đặt Bản đồ độ rung vào hình ảnh bề mặt _ RGH .

Sau khi thử nghiệm và chuyển đổi thành công, mô hình 3D của bạn nên được tạo thành một Model trong dự án của bạn.


Với nhân vật mới này Model, bạn có thể thực hiện bất kỳ điều nào theo dõi:
Bắt đầu quá trình tải và phát sóng mô hình nhân vật lên Marketplace. Điều này bao gồm một số bước xác minh và kiểm duyệt bổ sung.
Sử dụng mô hình trong trải nghiệm hiện tại của bạn và chỉnh sửa ngoại hình của mô hình với Mô tả người hình .
Lưu mô hình của bạn vào Hộp công cụ của bạn hoặc công khai trên Cửa hàng Creator để chia sẻ hoặc sử dụng trong bất kỳ trải nghiệm nào của bạn.