You can use the Animation Editor to animate supported heads in the following ways:
- You can manually set values to each facial pose on separate animation tracks.
- You can use the Face Animation Editor to access facial sliders that let you quickly create and save unique expressions on the timeline.
- You can use the Animation Capture for Faces extension to automatically track and record facial movements with a webcam that converts your movement into keyframes on the timeline.
In all methods, creating and combining multiple facial expressions over a duration of time results in a face animation. Since you cannot import face animations, these methods are the only ways to create and utilize them.
After you create and publish a head that supports facial animation to Roblox, you can play the animation from a script or replace a character's default animation with your new animation. These animations can make your characters feel more expressive and full of life, such as playing a silly expression when a character walks, or an annoyed expression when a character is idle.

Create animations
After you have opened the Animation Editor and selected the character model with a head you want to create an animation for, you can either create a head animation by using animation tracks or the Face Animation Editor.
For details on using Animation Capture to track facial movement as keyframes, see Animation Capture - Face.
Use animation tracks
Similar to inserting other objects like MeshParts or Bones as animation tracks, you can manually add one FACS value at a time to the track list to manipulate a single body part, such as the character's eyes, jaw, or tongue. The Animation Editor represents FACS values as a percentage between 0 and 1, and these values map directly to FaceControls values. While this process provides precise control over individual values, the Face Animation Editor enhances this workflow and lets you quickly change values to multiple facial features at once on the animation timeline.
To create an animation by inserting individual FACS values:
In the track list of the Animation Editor, click the plus icon. A contextual menu displays additional tracks you can add to the track list.
Hover over Brows, Eyes, Jaw, Mouth, or Tongue. A contextual menu displays all mapped FACS poses for that region of the face.

Select a FACS pose. An animation track for that FACS pose displays in the track list.
In the values input, enter a number between 0 and 1 to manipulate the body part into a new position. For example, if you change LeftEyeClosed to 1, the character's left eye closes.

Use the Face Animation Editor
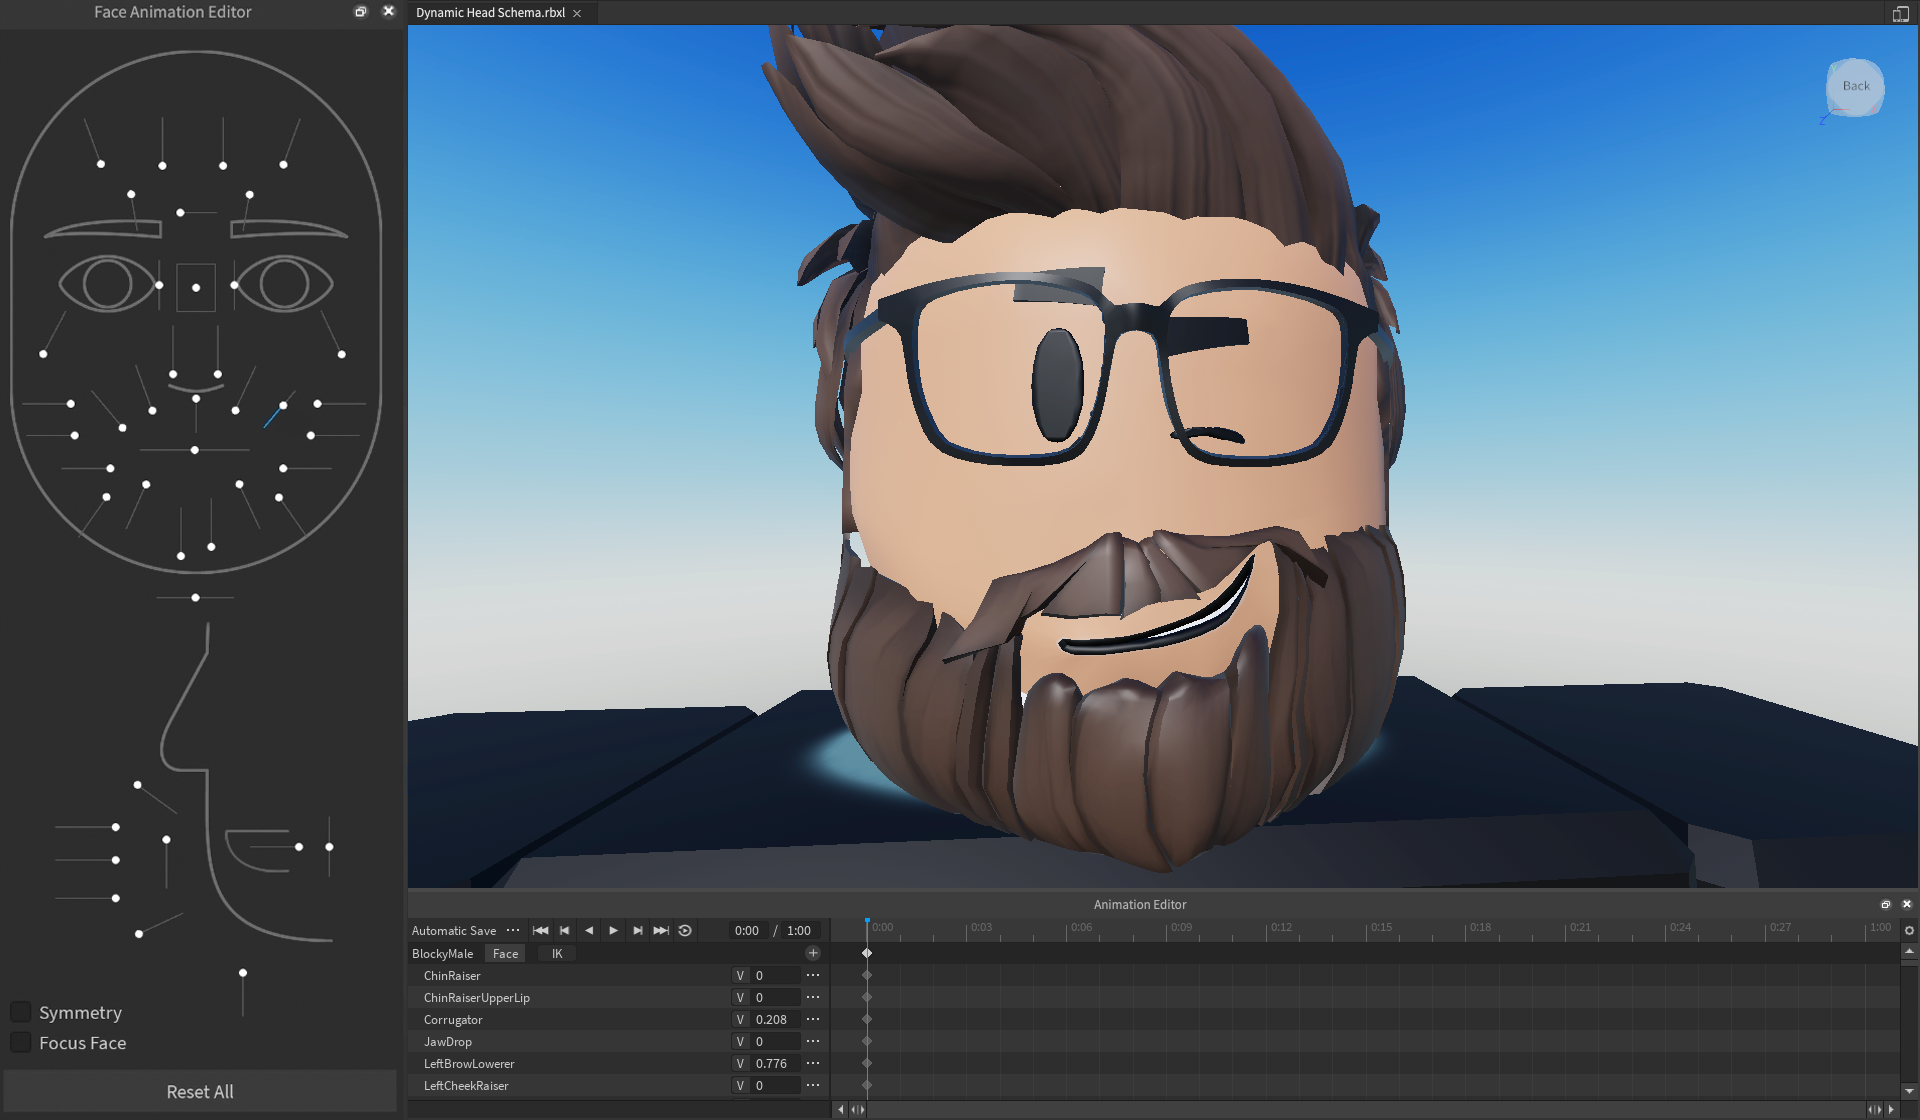
The Face Animation Editor is an intuitive, visual way to automatically create keyframes as you adjust sliders to achieve your desired facial expression. For example, when you drag the thumb of the LeftEyeClosed slider all the way down, the character's left eye closes and a new animation track for LeftEyeClosed displays with a value of 1 within the track list.
Some sliders affect multiple FACS values in the same region depending on the value of the slider you are adjusting. For example, when you adjust the thumb of the LeftEyeClosed slider all the way up to have a value of 0, a new animation track for LeftEyeUpperLidRaiser displays in the track list with a value of 1. This allows you to manipulate the eye from closed to open, while also raising the upper lid of the eye, all within a single slider.
You can set multiple sliders to create a complete face expression, then create multiple expressions at different frames of the timeline to create complex animations. For example, you can combine LeftEyeClosed and RightEyeClosed together to have the character slowly blink, or LeftLipCornerPuller or RightLipCornerPuller for a smile on one side of the face.
When you click and drag the thumb of the drag box between the eyes, you can control the direction the character's eyes look at. This creates several FACS property tracks in the track list depending on how you adjust the eyes.
At the bottom-left of the panel, the Face Animation Editor also includes the following controls:
| Control | Description |
|---|---|
| Symmetry Toggle | Lets you use a slider on one side of the face to also adjust the corresponding slider on the other side of the face to the same value. This is useful to create symmetric facial expressions, such as a full smile. |
| Focus Face Toggle | Focuses the viewport on the face of the avatar without having to manually adjust the camera. This is useful when your camera is either far away from the avatar you want to animate, or if you are navigating from animating one avatar to another. |
| Reset All Button | Resets all FACS pose values at your current frame position back to their default value of 0. This is useful when you want to quickly reanimate a single frame. |
To create an animation for your head using the Face Animation Editor:
In the track list of the Animation Editor, click the Face button. The Face Animation Editor displays to the left of the track list.

In the Face Animation Editor, adjust sliders for the body parts you want to manipulate. Animation tracks for each facial part you manipulate automatically display in the track list along with keyframes for your current position in the timeline. The character's face also updates in the viewport.
- To undo a step on a slider, press CtrlZ (⌘Z).
- To redo a step on a slider, press CtrlY (⌘Y).
- To reset a slider to its default value, right click on the slider. A contextual menu displays. Select Reset Selected.
(Optional) Adjust the scrubber to a new position further along the timeline, then navigate back to the Face Animation Editor and adjust sliders to create a new facial expression. When you play the animation, the first facial expression will ease into the second facial expression.
When you are finished creating your animation, navigate to the Media and Playback Controls and click the … button. A pop-up menu displays.
Select Save or Save As to save the animation. The animation displays in the Explorer window as a child of the AnimSaves object (itself a child of the rig).
Export animations
When you export a head that supports animation to Studio, it becomes available for use in all of your experiences. This means that you only need to create a head animation once, then you can reuse it as many times for as many characters as you want as long as the character has an animatable head.
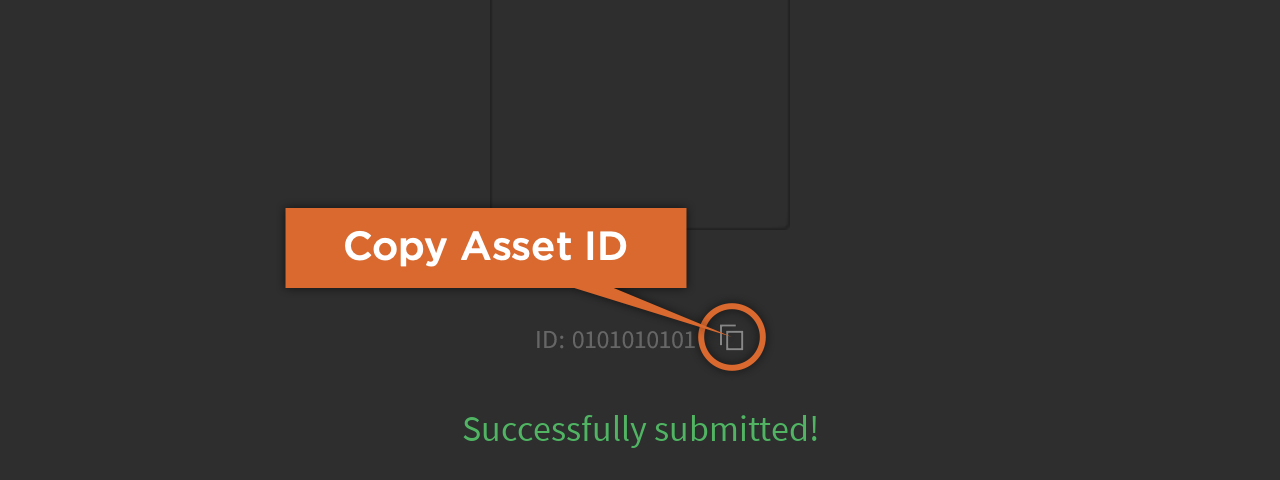
You can export head animations using the same workflow as exporting other animations. Once the upload is complete, copy the animation's asset ID by clicking the copy button. This ID is required for scripting animations.

Script animations
Once you have created an animation, you need to use a script to play it in your experience. Like generic animations, you can either play animations for heads manually from your scripts or automatically by replacing default animations for player characters. For more information, see Use animations.