Ana sayfa sekmesi deneyiminizi inşa etmek ve test etmek için temel araçlar içerir.

Kısa kesme
Sol taraftan ilk bölüm kopyalama, kesme, yapıştırma ve örnekleri kopyalama için araçlar içerir.Bu işlemleri 3B dünya nesneleri veya örnekleri üzerinde hem Kâşif penceresinde hem de yapabilirsiniz.
| Eylem | Kısayol | Açıklama |
|---|---|---|
| Ekle | CtrlV (Windows) ⌘V (Mac) | Kliplik içeriğini ekleyin. |
| Kopyalama | CtrlC (Windows) ⌘C (Mac) | Mevcut seçimleri klipboard'a kopyala. |
| Kes | CtrlX (Windows) ⌘X (Mac) | Mevcut seçimleri kes ve klipboard'a koy. |
| Tekrarlayan | CtrlD (Windows) ⌘D (Mac) | Aynı seviyedeki hiyerarşide mevcut seçimleri kopyala. |
Dönüştürme araçları
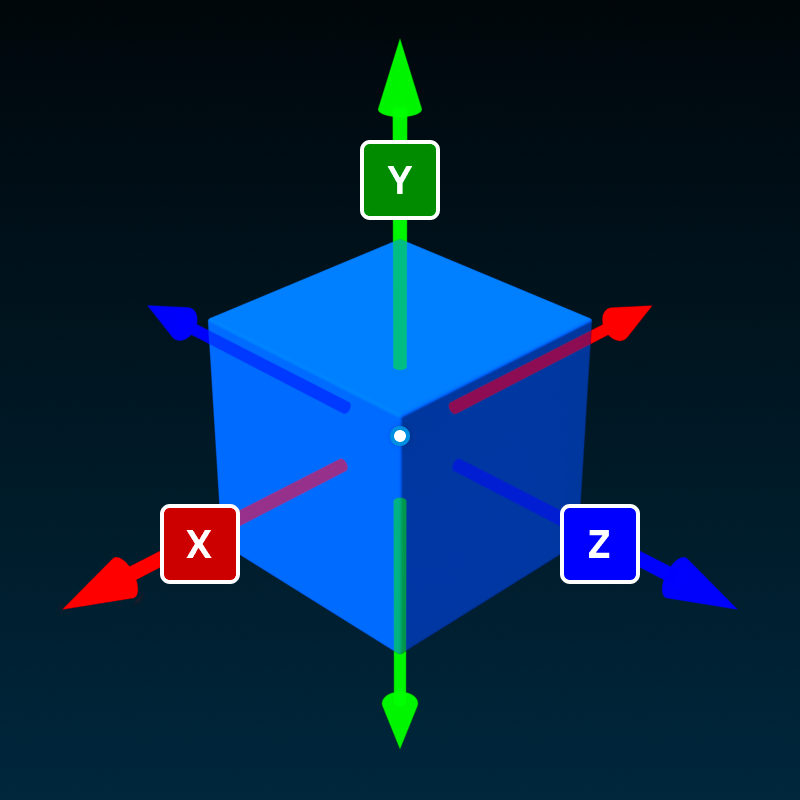
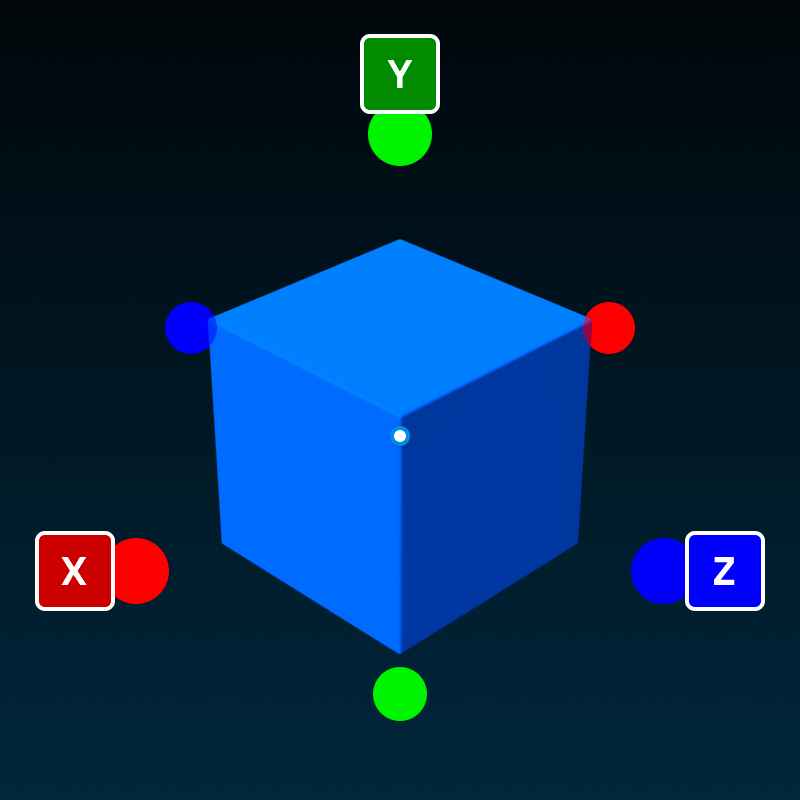
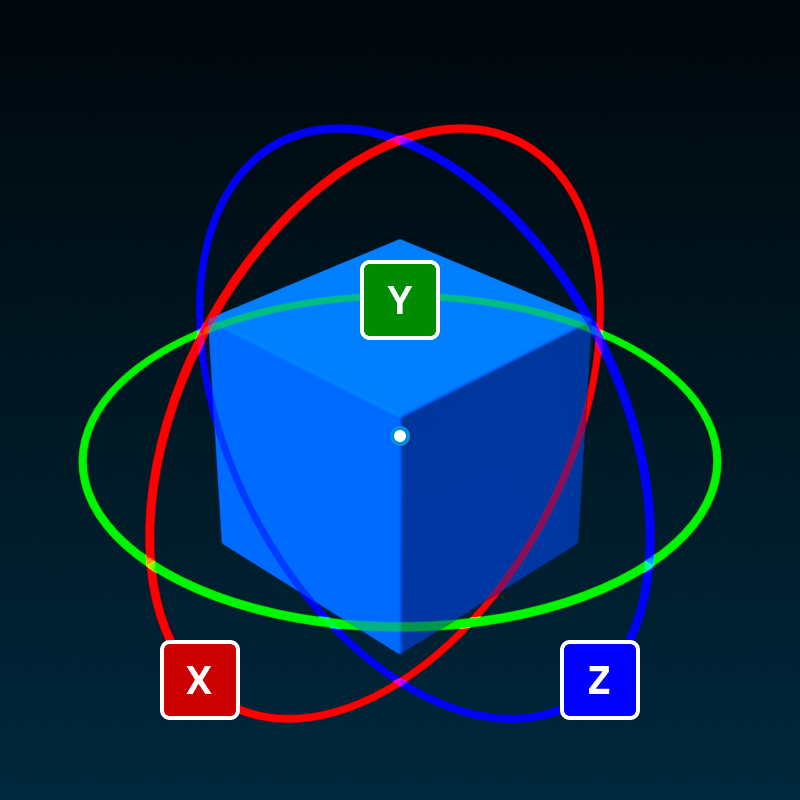
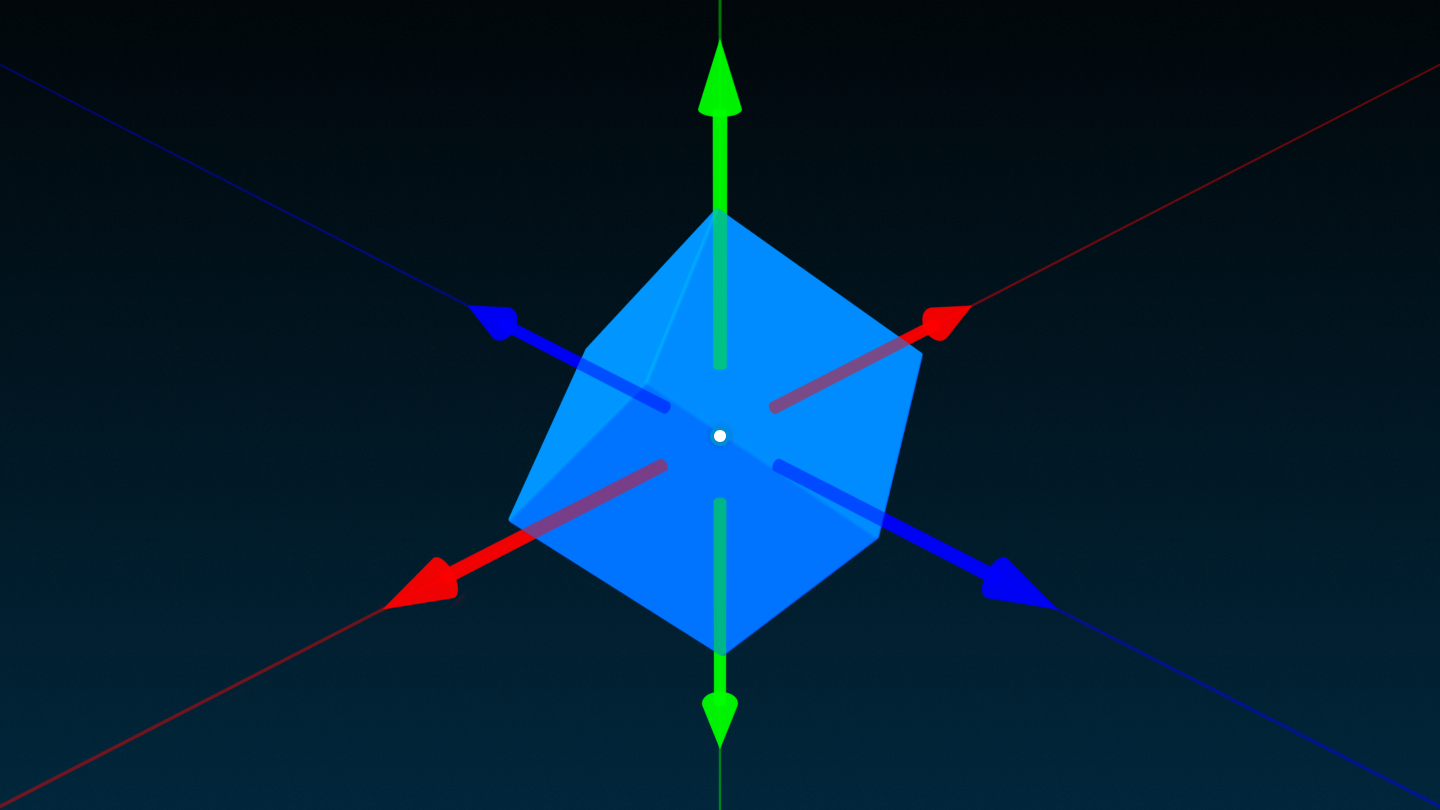
Birincil dönüştürme araçları arasında Seçim , Hareket , Ölçeklendirme ve Döndürme bulunur.Bir araç seçtiğinizde, seçili nesneye görsel sürücüler görüntülenir. When you choose a tool, visual draggers display on the selected object in the viewport.


Araç dönüşü hareket artışlarına dayanmaktadır çivilere çevirmek/ölçeklendirmek veya derecelere döndürmek için, her biri araç çubuğunun Modeli sekmesinde ayarlanabilir.Dönüştürürken, Shift anahtarbasarak geçici olarak yapıştırmayı değiştirebilirsiniz.
Modu
Modu seçicisi, parçaları hareket ettirirken veya döndürürken standart geometrik dönüşümler ve mekanik kısıtlamaların simülasyonu arasında geçiş yapar.

Çarpışma
Çarpışma kutusu, nesneleri dönüştürürken çarpışma durumunu değiştirir.Eğer çarpışma kapalı ise, nesneleri birbirlerine üst üste getirmek için hareket ettirebilir, ölçeklendirebilir ve döndürebilirsiniz; eğer çarpışma aktif ise, nesneleri başka nesnelerle üst üste getirmek için dönüştüremezsiniz.

Koordinatları dönüştür
CtrlL Windows'ta veya ⌘L Mac'te bir nesneyi dünya koordinatlarına veya nesnenin yerel koordinatlarına dönüştürerek geçiş yapılır.Yerel modda olduğunda, bir L sembolü nesnenin sağ altına görünür.

Arazi Editörü
Editör düğmesi statik arazi oluşturma ve şekillendirme için aletlerle bir pencere açar. Daha fazla bilgi için Arazi Editörü bakın.

Alet Çantası
Araç kutusu tüm yayınladığınız modelleri, görüntüleri, örüntüleri, sesleri ve daha fazlasını içerir veya gruba ait olduğunuz gruplar tarafından yayınlananları içerir.Ayrıca Roblox veya Roblox topluluk üyeleri tarafından yapılan bir dizi varlık da içerir.

Parça eklemesi
Parça düğmesi, yeni bir parçayı çalışma alanına ekler.Butondaki küçük bırakma okuna tıklamak, Bloğu , Küre , Takozu , Köşe Takozu veya Silindir seçmenizi sağlar.Daha fazla bilgi için, Parçalar bakın.

UI tasarımcısı
The UI düğmesi, etiketler, çerçeveler ve düğmeler gibi ekranda yaygın sıradan UI nesnelerini hızlıca eklemek, yeniden boyutlandırmak ve yeniden konumlandırmak için bir sekme açar.


3D'yi İçe Aktar
3B İçe Aktarma aracı, neredeyse her tür .fbx veya .obj ve ilişkili dokümanlarını Studio'ya aktarmaya izin verir.Daha fazla bilgi için 3D İçe aktarıcı bakın.

Renk düğmesi
Renk düğmesinde küçük bir kaydırma okuna tıklamak, altıgen bir renk seçicisi gösterir.

Varsayılan olarak, genel Renk düğmesine tıklamak, seçilen renkleri herhangi bir seçilmiş parçaya uygular.Bunun yerine doldurma/boyama iş akışını tercih ederseniz, Renk Eylemi'ni Araç olarak açın ve ardından 3B görüntü penceresinde parçalara tıklayın, seçilen rengi uygulayın.

Malzeme widgeti
Malzeme düğmesindeki küçük bırakma okuna tıklamak bir malzeme seçici gösterir.

Varsayılan olarak, genel Malzeme düğmesine tıklamak, seçilen malzemeyi herhangi bir seçilmiş parçaya uygular.Bunun yerine doldurma/boyama iş akışını tercih ederseniz, Malzeme Eylemi'ni Araç olarak açın ve ardından 3B görüntü penceresinde parçalara tıklayın, seçilen malzemeyi uygulayın.

Grup araçları
Nesneleri seçerek ve Grup düğmesine tıklayarak bir model grubuna toplayabilirsiniz.Bu eylemin varsayılan kısayolü CtrlG (Windows) veya ⌘G (Mac) dir.
Alternatif olarak, butona yanındaki küçük oku tıklayarak ve Grup bir Klasör olarak seçerek düğmeye bir klasör grubu ekleyebilirsiniz.Bu eylemin varsayılan kısayolu AltCtrlG (Windows) veya ⌥⌘G (Mac) dir.
Mevcut bir modeli veya klasörü gruplandırmayı bırakmak için, düğmenin yanındaki küçük ok tuzağına tıklayın ve Grup Bırakmayı Seçin seçin.Bu eylemin varsayılan kısayolü CtrlU (Windows) veya ⌘U (Mac) dir.

Araçları kilitle
Kilit Desteği aracını etkinleştirmek için Kilit Düğmesine küçük ok tıklayın ve Kilit Aleti seçin .Bu eylemin varsayılan kısayolü AltL (Windows) veya ⌥L (Mac) dir.
Aktifleştirildikten sonra, araç her iki devlet için bir "anahtar" olarak çalışır - kilitli bir nesneye tıklamak onu kilitler, kilitli bir nesneye tıklamak onu açar.
Tüm nesnelerin kilidini açmak için, düğmenin yanındaki küçük oku tıklayın ve Hepsini Aç seçin.

Çapa geçişi
Bağlantı noktası kontrolleri, parçanın fiziğe karşı hareketsiz olup olmayacağını değiştirir.When Anchored , bir parça asla yer değiştirmez, çünkü yerçekimi, diğer parçaların çarpışması, diğer parçaların üzerine geçmesi veya başka fiziksel nedenlerden dolayı.Bu eylemin varsayılan kısayolü AltA (Windows) veya ⌥A (Mac) dir.

Oynatma seçenekleri
Deneyimin oynatım testini yapmak için üç yaygın seçenek vardır.Butona tıklamak, mevcut olarak seçilen modun bir oynatma testini başlatır ve butun altındaki küçük ok tuşuna tıklayarak farklı bir mod seçebilirsiniz.

| Modu | Kısayol | Açıklama |
|---|---|---|
| Oyna | F5 | Deneyimi simüle etmeye başlar, avatarınızı SpawnLocation veya yaklaşık (0, 100, 0) koordinatlarına yerleştirir. |
| Burada Oyna | Deneyimi simüle etmeye başlar, avatarınızı kameranın mevcut konumunun önüne yerleştirir. | |
| Koş | F8 | Deneyimi simüle etmeye başlar, ancak avatarınızı girmez.Simülasyon mevcut kameradaki konumda başlar ve Studio kamerası denetimlerkullanarak etrafında dolaşabilirsiniz. |
Bir oyun testi yürütüldükten sonra, aşağıdaki seçenekler mevcut hale gelir:

| Eylem | Kısayol | Açıklama |
|---|---|---|
| Müşteri/Sunucu | Bir "oyun tek başına" modunda oynatma testi sırasında ( Oyna veya Burada Oyna ), istemci modu ve sunucu modu arasında geçiş yapar.Ayrıntılar için Stüdyo Test Modları bakın. | |
| Durdur | ShiftF5 | Deneyimin simülasyonunu durdurur ve tüm nesneleri ve nesneleri önce Oyna , Burada Oyna veya Çalıştır tıklandığında nasıl olduklarına sıfırlar. |
Oyun Ayarları
Sadece yayınlanmış bir deneyim için erişilebilir Oyun Ayarları düğmesi, temel bilgileri, izinleri, güvenliği, avatar ayarlarını ve daha fazlasını güncelleyin.Daha fazla bilgi için Oyun Ayarları referans sayfasına bakın.

Takım Testi
Bir işbirliği oturumu sırasında, Takım Testi 'ne tıklamak başka editörlerle bir oyun testi başlatır ve Oyunu Çıkart mevcut bir oyun testinden çıkar.
