The properties window, accessible from the View tab, allows you to adjust certain properties of a selected object to change how the object looks and behaves. Additionally, you can manage tags and configure instance attributes at the bottom of the window.

Header bar
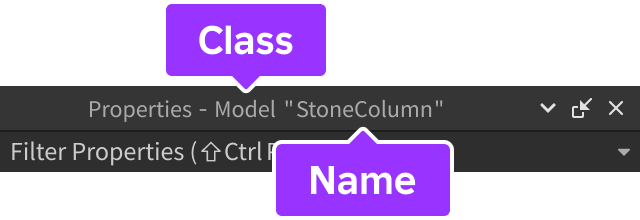
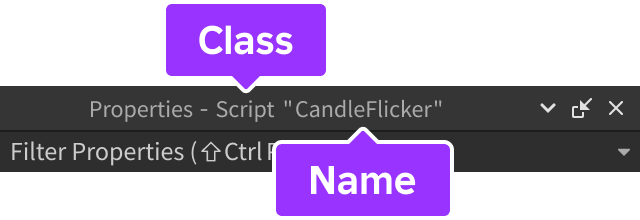
When you select an object, the window's header bar changes to reflect both the class and name of the object.
Section organization
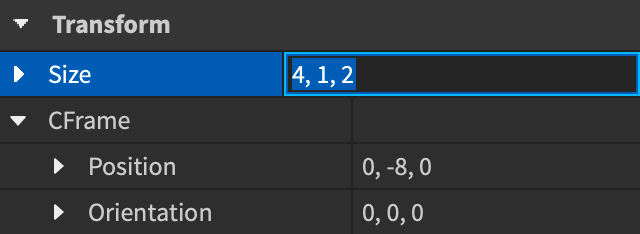
The Properties window divides an object's properties into sections. For example, a MeshPart includes sections like Appearance and Transform which respectively allow you to change its appearance and transform its Size, CFrame, and origin.
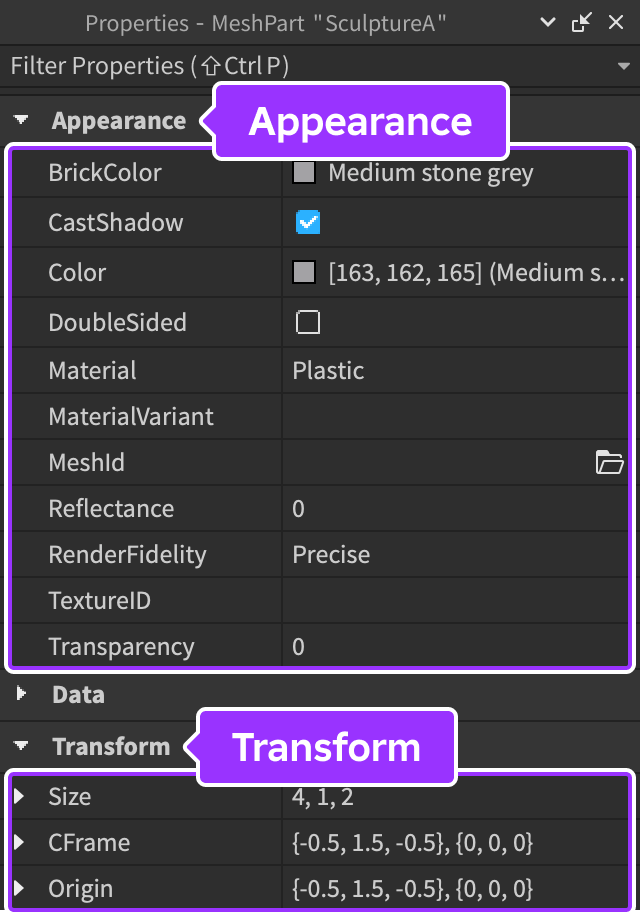
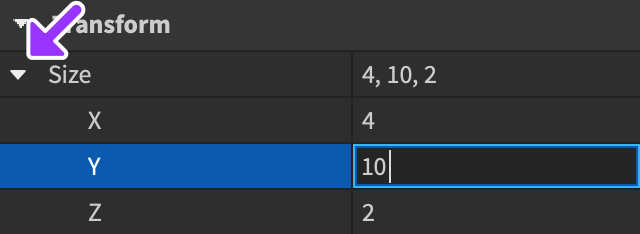
You can collapse or expand any section or subsection by clicking the small arrow to the left of its name. After you expand or collapse a section, it remains expanded or collapsed for other objects of the same class, as well as related objects that share the same property grouping.
Expand inputs
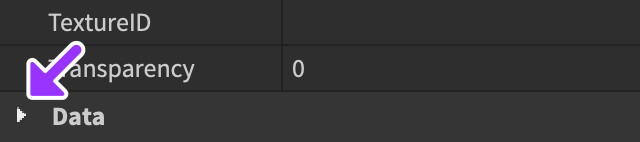
Some properties are collapsed by default, but you can expand them by clicking the small arrow next to its name. For instance, BaseParts contain a Position property which represents an X, Y, Z coordinate in the 3D world. In Studio, these coordinates can be entered in two ways:
Filter properties
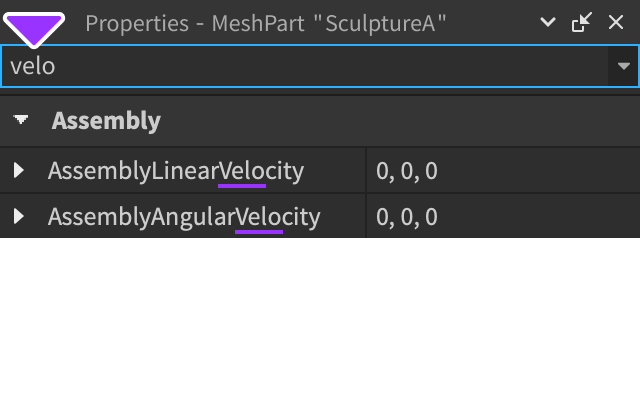
You can filter properties by typing a search query into the Filter Properties input near the top of the window. For example, filtering by the letters "velo" finds all properties containing them, such as AssemblyLinearVelocity and AssemblyAngularVelocity. Quickly access this input by pressing CtrlShiftP (⌘ShiftP).
Instance tags
The Tags section allows you to apply specific tags for use with CollectionService. Tags are sets of strings applied to instances that replicate from the server to the client. They are also serialized when places are saved.
To add tags to an instance through the Properties window:
Select the instance, scroll to the Tags section, and click the + button.

In the popup window, enter a new tag name or select a tag you've already created for any other instance from the list below the input field. The tag will appear within the Tags section.

If necessary, you can remove an existing tag by clicking the × icon.

Instance attributes
Attributes allow you to customize instances with your own data. They are similar to built-in object properties, but you can create and modify your own attributes for any instance. Key features include:
- Attributes can be created, edited, and deleted directly within the Properties window, or through scripting.
- Attributes and their values are saved with your place and assets.
- Value changes can be viewed in real time and are replicated so that clients can access them immediately.
Examples of attribute usage include:
Weapons with attributes such as damage, fire rate, shot sound, and reload time.

Vehicle tuning like acceleration and top speed, body color, and engine sound.
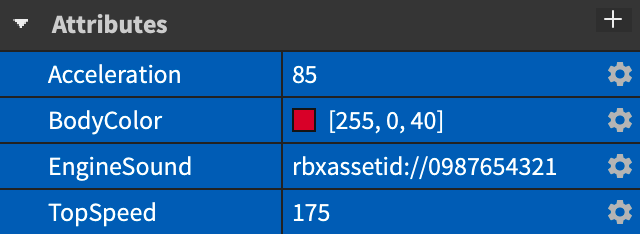
Additional package or asset metadata such as description, version, and author.

Supported types
You can store the following types/values in attributes:
Studio usage
New attributes can be created and modified in Studio as follows:
Select the instance, scroll to the bottom of the Properties window, and click the + button.

In the popup window, enter the attribute Name, select its Type, and click Save.
The new attribute will appear with a default value that you can change just like any other property.

If necessary, you can rename or delete an attribute by clicking the gear icon.

Scripting
Part of the appeal of custom attributes is that you can use scripts to manipulate them. See Properties and Attributes.