The Texture Generator tool is designed to quickly create custom textures for your meshes through text prompts. You can select a mesh or Model made up of several meshes¹, type in any prompt to preview results within a few seconds, then generate full textures.


Generate textures
To begin generating textures, open the Texture Generator from Studio's Window ⟩ 3D menu.
With the tool's window open:
In the tool's preview pane, click/drag or enter X/Y/Z values to set the generation angle which highlights the significant features or surfaces for texturing. See best practices for tips on choosing a generation angle.


- OPTIONALBelow the preview pane and prompt input text box, expand the Art Style section to upload an image or use an existing image asset to influence the overall style, color palette, and mood of your generated texture.
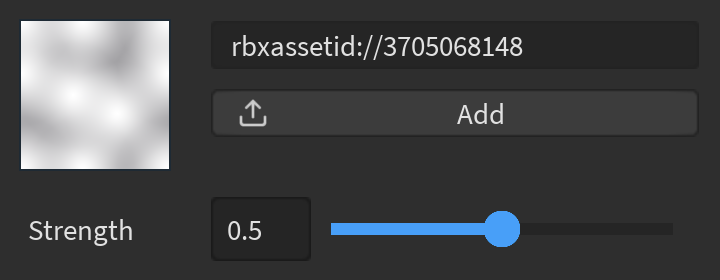
- Expand the Art Style section of the tool's window.
- Specify an image asset that you've already imported to Roblox, or upload an image using the built‑in asset picker.
- Adjust the Strength value. A lower value blends the image more subtly while a higher value makes it the dominant style.
In the prompt text box input below the preview pane, enter a prompt describing your desired texture, for instance:
- rusted metal castle
- mossy stone fortress
- snow covered ice sculpture
Including +, -, or a number after keywords increases, decreases, or specifies the emphasis of that keyword, respectively. For example:
- futuristic pirate++ backpack puts stronger emphasis on pirate
- futuristic-- backpack puts less emphasis on futuristic if the original result was too futuristic
- (robotic)1.5 pirate backpack puts a precise emphasis on robotic
Click Preview to create a texture preview. When the preview is ready:
- Use the "rotate" buttons to rotate the view 90° around the mesh.
- Use the Reroll button to generate a new texture using the same parameters.
- Click the "back" button to return to the prompt input text box.

When you're satisfied with the texture, click Save & Apply to create a full texture for your mesh. When complete, the new texture will be applied to the mesh through a SurfaceAppearance instance.


Generated textures appear in the Saved Textures section of the tool's window. For each texture, you can click the ⋯ to access various options.

| Option | Description |
|---|---|
| Insert Mesh with Texture | Inserts a copy of the textured mesh/model into the workspace. |
| Show in Inventory | Opens your Images inventory on the Creator Dashboard where you can inspect the texture image. |
| Export | Exports the mesh to your local system as a .obj file. |
| Remove | Removes the texture from the Saved Textures list. |
Advanced options
Expanding the Advanced Options section in the tool's window allows you to configure the following aspects.
You can choose to either randomize the seed or set a specific seed for texture generation. Setting a specific seed before generating a texture ensures you get consistent results each time you use a specific prompt.
Best practices
The following prompting tips enable the tool to provide better and more consistent results.
- Provide as much detail as possible in your prompt. Short, vague prompts will lead to inconsistent or unexpected results.
- Include texture attributes like material types, colors, patterns, wear and tear, etc. The more constraints you give the tool, the better it can generate what you have in mind.
- Use descriptive phrases instead of single words for key items, for example "worn leather" instead of just "leather."
- Add styling cues like "cinematic," "photorealistic," "cartoon," or "low poly" to influence the overall look.