Les objets mobiles sont des objets qui se déplacent sur un ou plusieurs axes dans l'espace 3D.En utilisant la puissance intégrée du moteur de simulation de Roblox, vous pouvez faire bouger des objets et les faire interagir avec leur environnement d'une manière qui émule le comportement physique réel du monde qui est familier et intuitif pour les joueurs, comme la gravité, l'aérodynamique et la friction.
En utilisant le fichier Objets mobiles.rbxl comme référence, ce tutoriel explique comment les forces physiques impactent le mouvement linéaire dans Studio, et vous montre diverses techniques pour déplacer des objets du point A au point B dans vos expériences avec différents comportements de mouvement, y compris des conseils sur :
- Utiliser une contrainte de déplacement LinearVelocity pour déplacer une assemblage entière à une vitesse linéaire constante.
- Utiliser un PrismaticConstraint pour restreindre une assemblage à un seul axe et le déplacer à une vitesse linéaire constante par rapport à un point dans l'espace 3D.
- Utiliser la méthode ApplyImpulse pour déplacer une assemblage avec un impulsion initiale de force afin que l'assemblage décélère lentement au fil du temps.
Mouvement linéaire et forces physiques
Roblox Studio est un moteur de simulation du monde réel qui émule le comportement physique en temps réel, donc pour prédire comment les objets se déplaçant linéairement peuvent se comporter dans les expériences, il est important d'avoir une compréhension élevée de la façon dont les objets se déplacent en mouvement linéaire dans la vie réelle. Mouvement linéaire est le mouvement le long d'un axe. Par exemple, lorsqu'un bloc a un mouvement linéaire, il se déplace le long d'un axe défini.
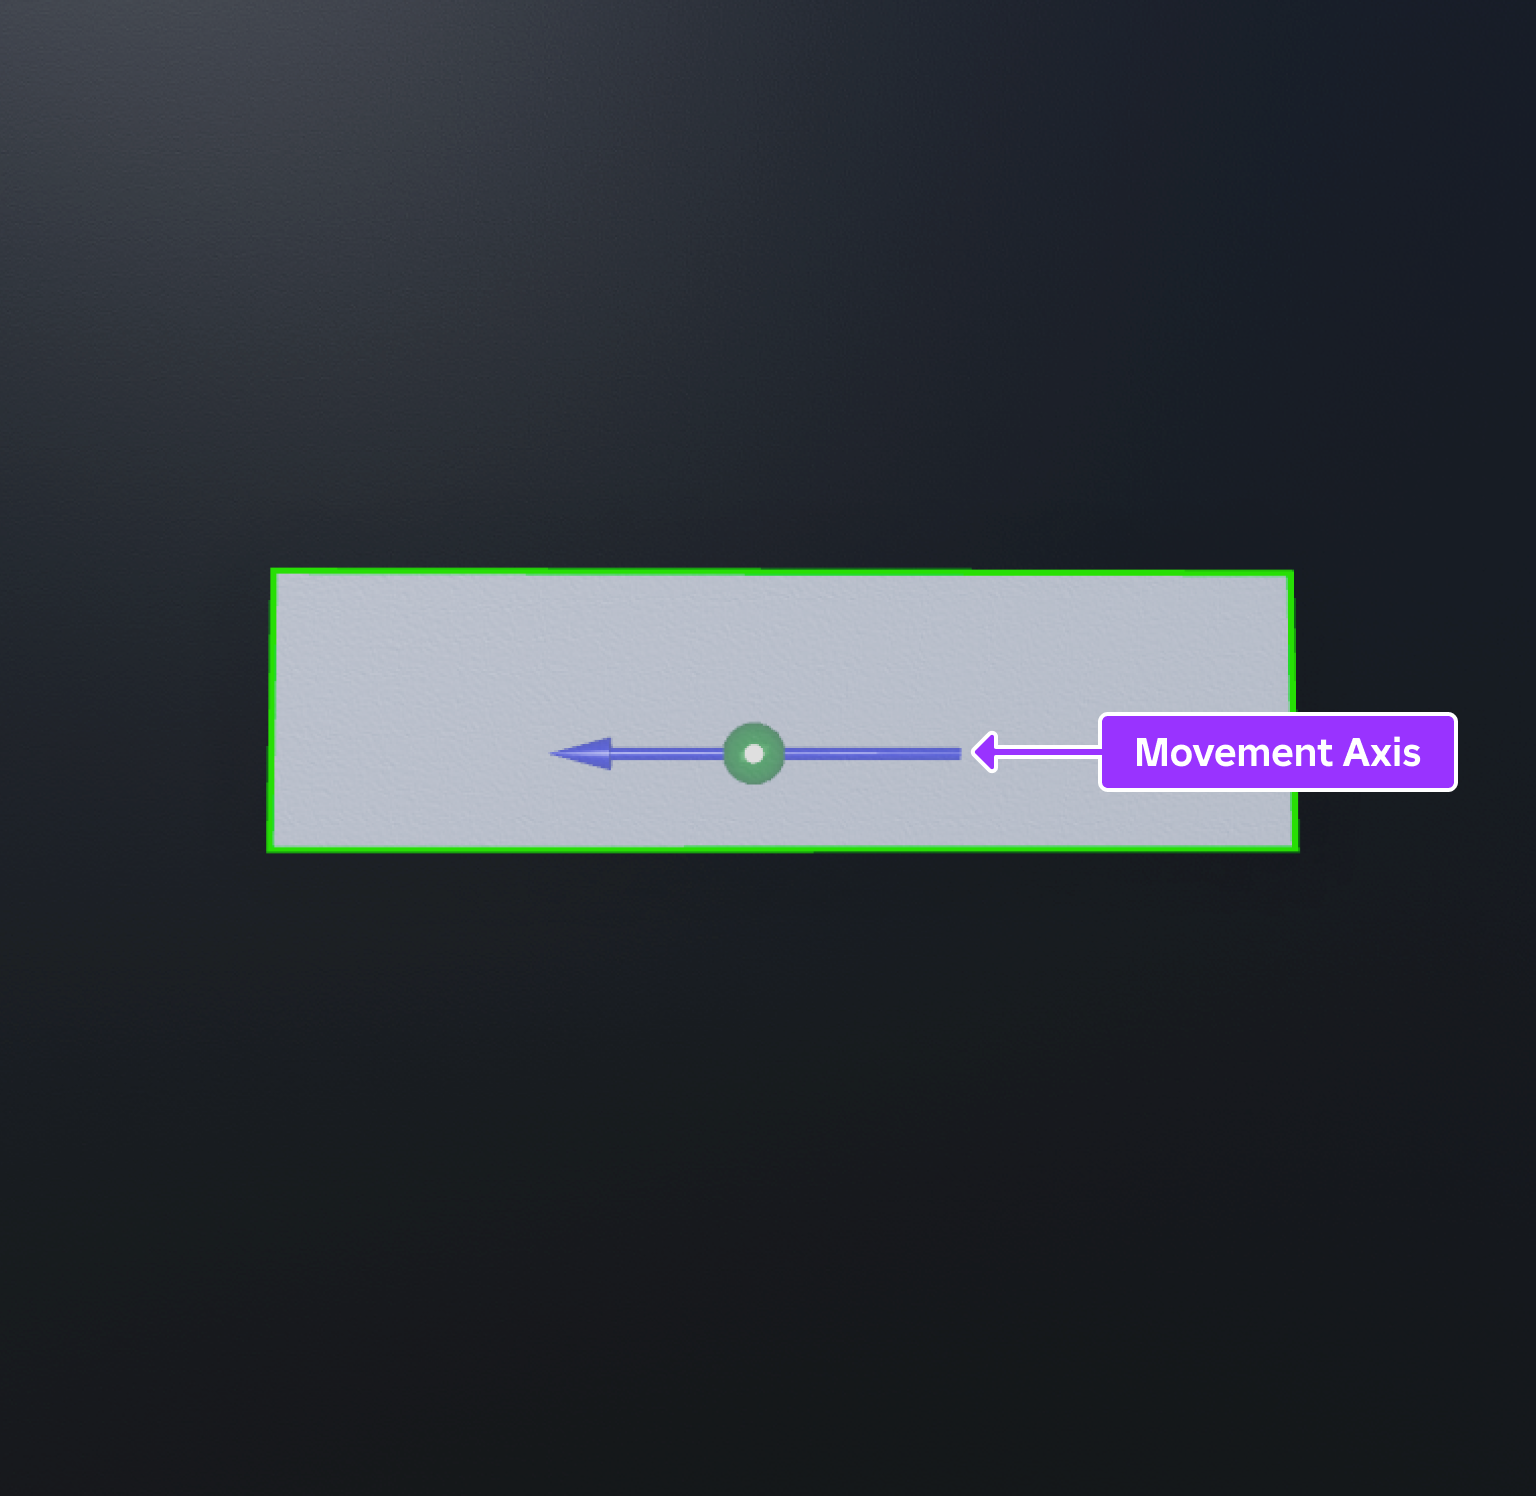
Le mouvement linéaire ne peut pas exister sans forces physiques externes poussant ou tirant des objets pour se déplacer.Selon la première loi de mouvement de Newton , les objets stationnaires restent stationnaires et les objets mobiles restent en mouvement avec une vitesse constante à moins qu'ils ne soient agités par une force externe.Par exemple, un bloc stationnaire reste stationnaire à moins qu'une force physique comme le vent ne le pousse à se déplacer.
La force est la mesure de la direction et de la magnitude d'un poussage ou d'un tirage physique qui fait changer la vitesse linéaire d'un objet le long d'un axe.Un changement de vitesse est connu sous le nom de accélération .Ce concept est particulièrement important pour les objets se déplaçant dans Studio ; plus vous appliquez de force aux objets, plus ils accélèrent rapidement.
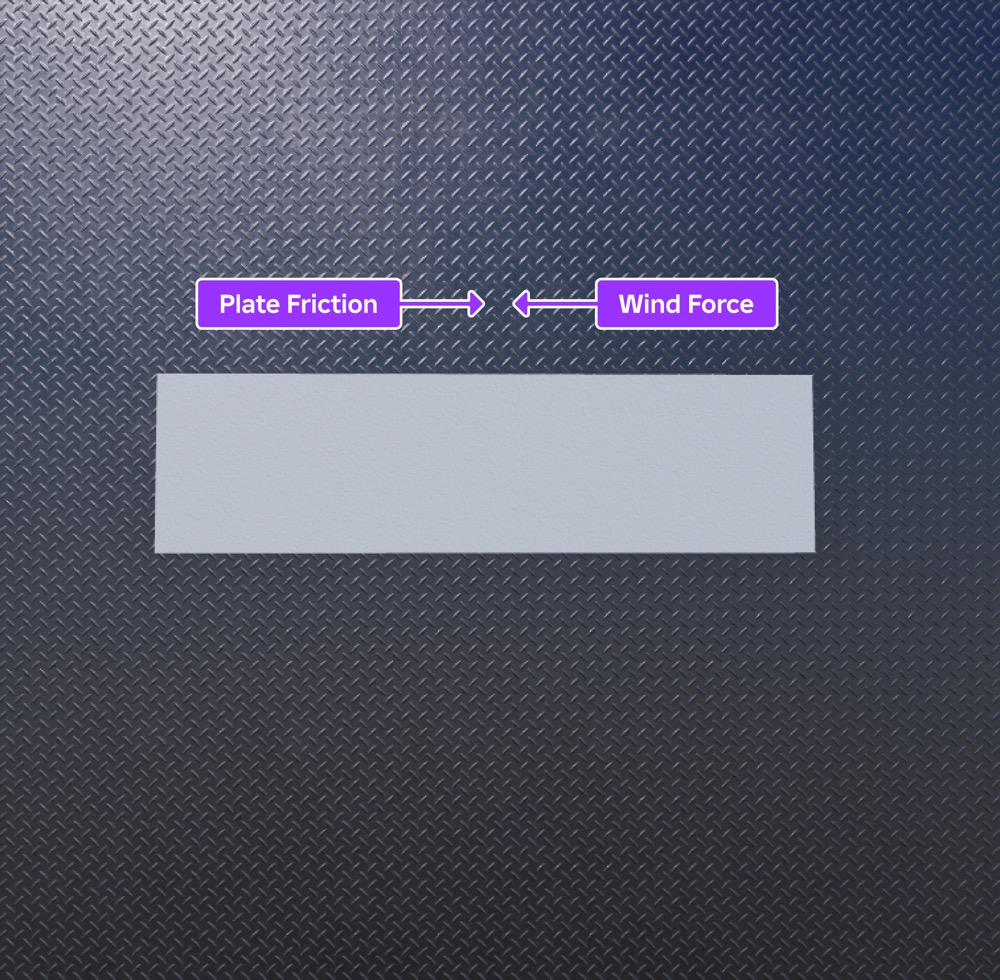
C'est parce que la force doit être supérieure à toute force physique qui pousse vers l'arrière de l'objet, comme la gravité ou la friction.Par exemple, si vous placez le bloc sur une plaque en métal, la force physique du vent doit surmonter la quantité de friction de la plaque en métal pour continuer à accélérer le bloc.Si la force du vent n'est pas beaucoup plus grande que la friction de la plaque en métal, le bloc accélère, mais plus lentement que l'exemple précédent.
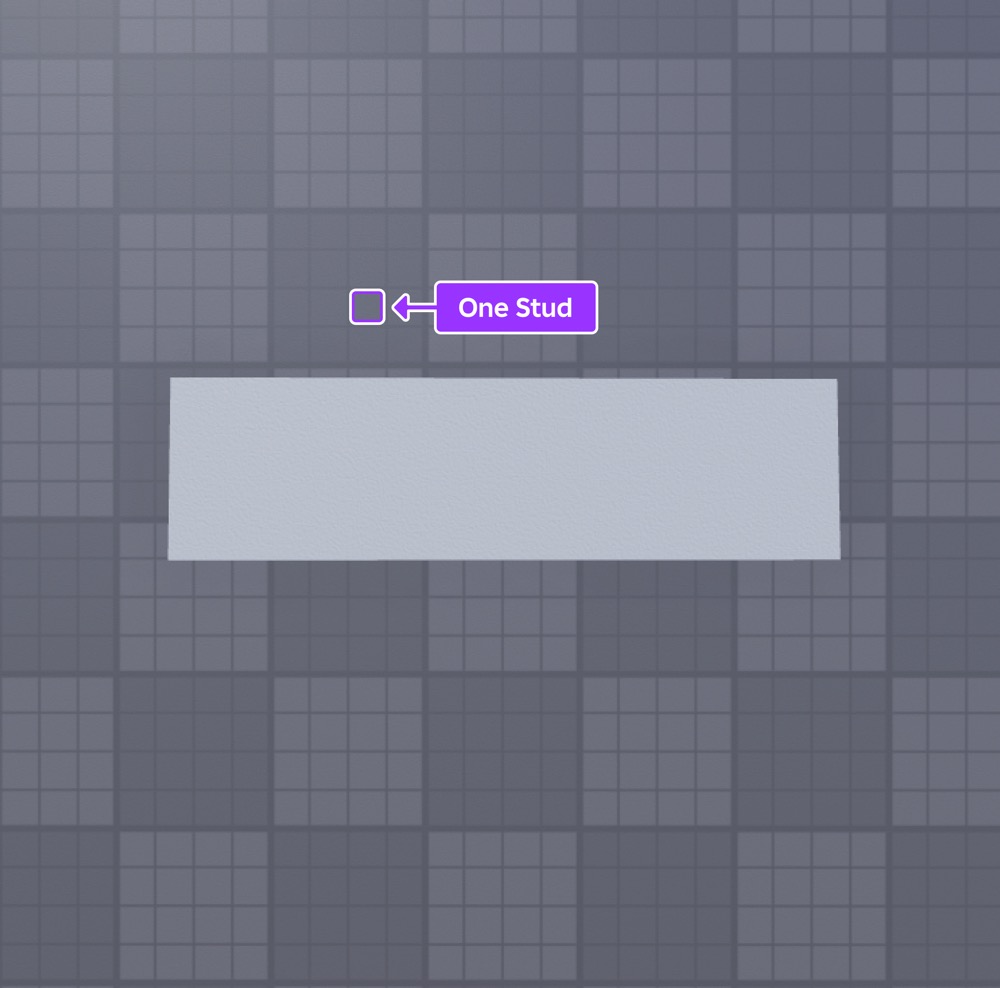
La vitesse linéaire est la mesure du mouvement d'un objet, ou de la vitesse à laquelle l'objet change de position le long d'une axe sur une période de temps.Studio mesure la vitesse linéaire selon le nombre de studs qu'un objet se déplace par seconde.Les studs sont les unités physiques principales de Roblox pour mesurer la longueur, et chaque stud correspond à environ 28 cm dans le monde réel.
Comprendre la vitesse linéaire est important pour concevoir le gameplay dans vos expériences car cela vous aide à déterminer la quantité de force dont vous avez besoin pour atteindre une vitesse spécifique pour vos objets mobiles.Par exemple, lorsque vous voulez propulser des objets vers le haut, il est important de prendre en compte la manière dont vous devez ajuster votre force pour surmonter la gravité dans l'environnement afin que les objets se déplacent avec précision.
Les sections suivantes plongent plus profondément dans ces concepts lorsque vous apprenez à déplacer des objets à une vitesse linéaire constante ou initiale avec la force nécessaire pour surmonter toutes les forces physiques opposées dans l'environnement.Lorsque vous examinez ces concepts de physique avec les techniques à venir, vous pouvez prédire plus précisément comment ajuster les valeurs de propriété pour obtenir tout comportement de déplacement linéaire idéal dans Studio.
Maintenir une vitesse linéaire constante
Pour qu'un objet atteigne et maintienne une vitesse linéaire constante, il a besoin d'une force pour surmonter toutes les forces physiques opposées qui décélèrent la vitesse linéaire de l'objet ou le font rester immobile.Par exemple, si vous voulez qu'un objet ait une vitesse linéaire de [0, 12, 0] dans Studio, vous avez besoin de suffisamment de force pour que l'objet atteigne et maintienne 12 pointes par seconde le long de l'axe Y dans son environnement.
La quantité de force nécessaire ne dépend pas seulement des forces physiques opposées dans l'environnement lui-même, comme la gravité et la friction, mais aussi de l'objet lui-même.Par exemple, si vous avez deux objets de la même forme qui se déplacent sur le même axe, l'objet avec la plus grande quantité de masse requiert plus de force pour obtenir la même accélération linéaire.
Les sections suivantes utilisent des assemblages de différentes formes et de différentes tailles pour vous apprendre à déplacer soit un objet entier, soit une partie seulement de l'objet à une vitesse linéaire constante.En expérimentant différentes valeurs de propriété, vous apprendrez à estimer la quantité maximale de force dont vous avez besoin pour les assemblages dans vos propres expériences.
Utiliser les contraintes de vitesse linéaire
LinearVelocity les objets sont un type de contrainte de déplacement qui applique une force sur toute une assemblée pour maintenir une vitesse linéaire constante.En ne verrouillant pas la position de l'assemblage à un axe pendant son mouvement, l'assemblage est libre de tourner lorsqu'il entre en collision avec d'autres objets dans l'espace 3D.Ce type de mouvement conduit à des scénarios de jeu surprenants qui sont plus difficiles à prédire pour les joueurs.
Pour commencer à déplacer l'assemblage, la contrainte LinearVelocity doit savoir :
- Le point et la direction positive ou négative d'appliquer une force.
- Le nombre de studs que vous voulez que l'assemblage se déplace par seconde.
- Quantité maximale de force que le moteur peut appliquer pour l'assemblage afin d'atteindre la vitesse linéaire constante.
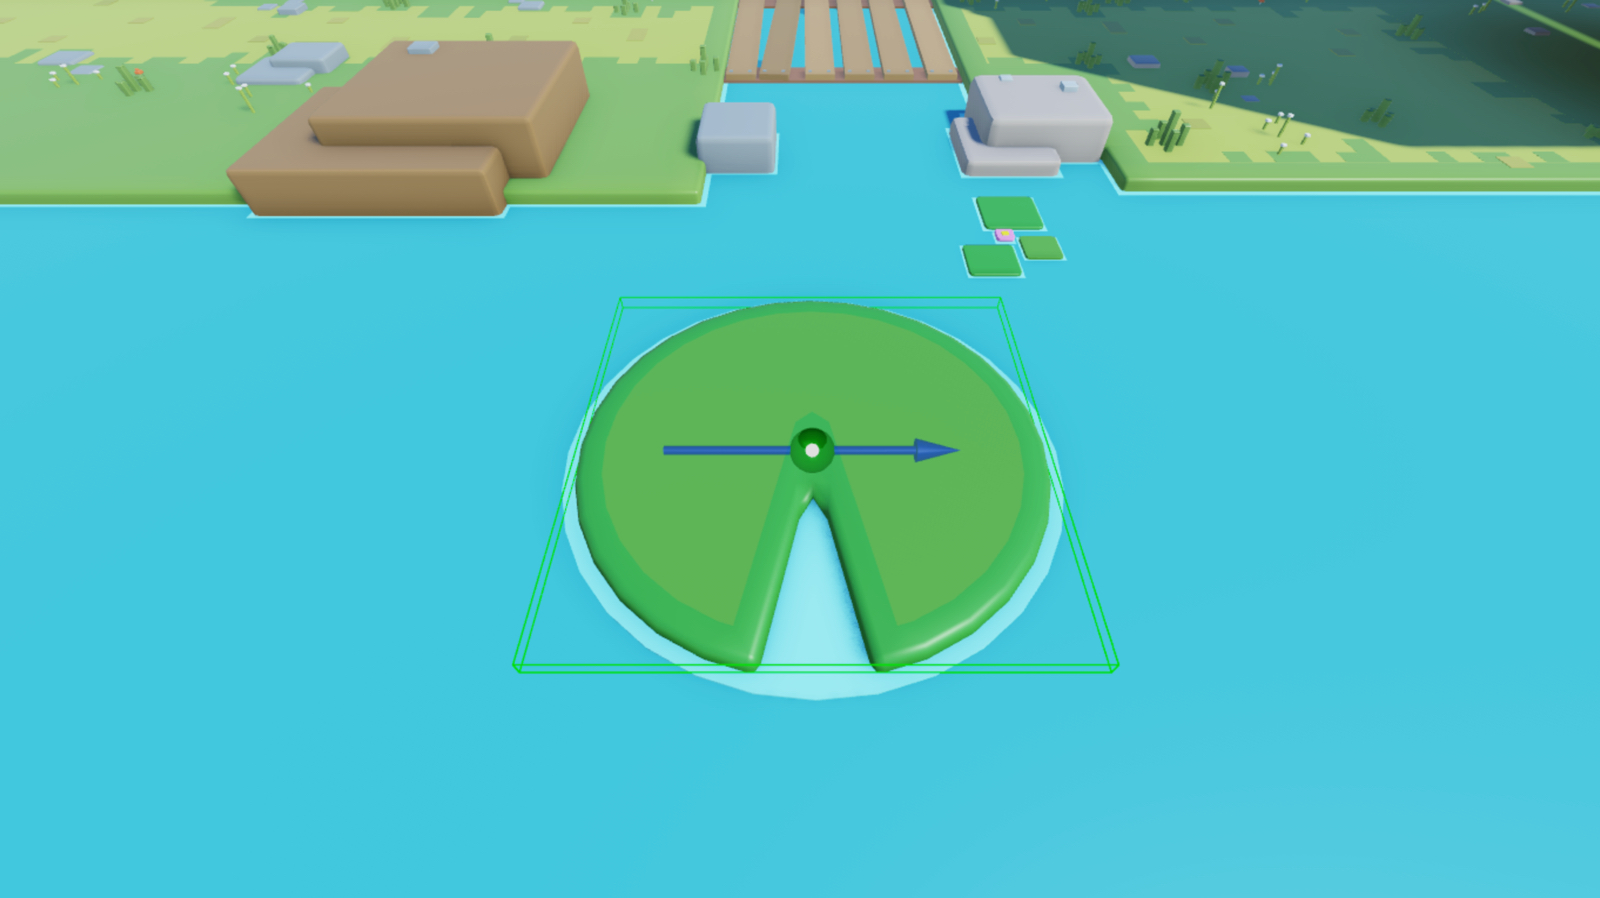
Pour démontrer ce processus, vous configurerez une plaque de lys avec une attache qui fait référence à une contrainte LinearVelocity pour déplacer la plaque de lys 15 studs par seconde le long de l'axe négatif de X du monde à une vitesse linéaire constante.
Ajouter une pièce jointe
Vous pouvez spécifier le point d'application de la force en ajoutant un objet Attachment à l'assemblage, puis en configurant la position de l'attache dans l'espace 3D.L'expérience d'échantillon déplacement d'objets place une pièce jointe au centre du pad de lys afin que la contrainte puisse déplacer le maillage le long d'un axe spécifique.
Les annexes comprennent des aides visuelles pour vous aider à visualiser leurs axes de mouvement.La flèche jaune indique l'axe principal de l'attache, et la flèche orange indique l'axe secondaire de l'attache.Bien que aucun axe de mouvement n'influence le mouvement de la plaque de lys dans les étapes de cette technique, il est important de comprendre ces aides visuelles pour référence future car elles peuvent vous aider à déterminer le comportement idéal pour différents types de contraintes, telles que le PrismaticConstraint dans la prochaine technique.
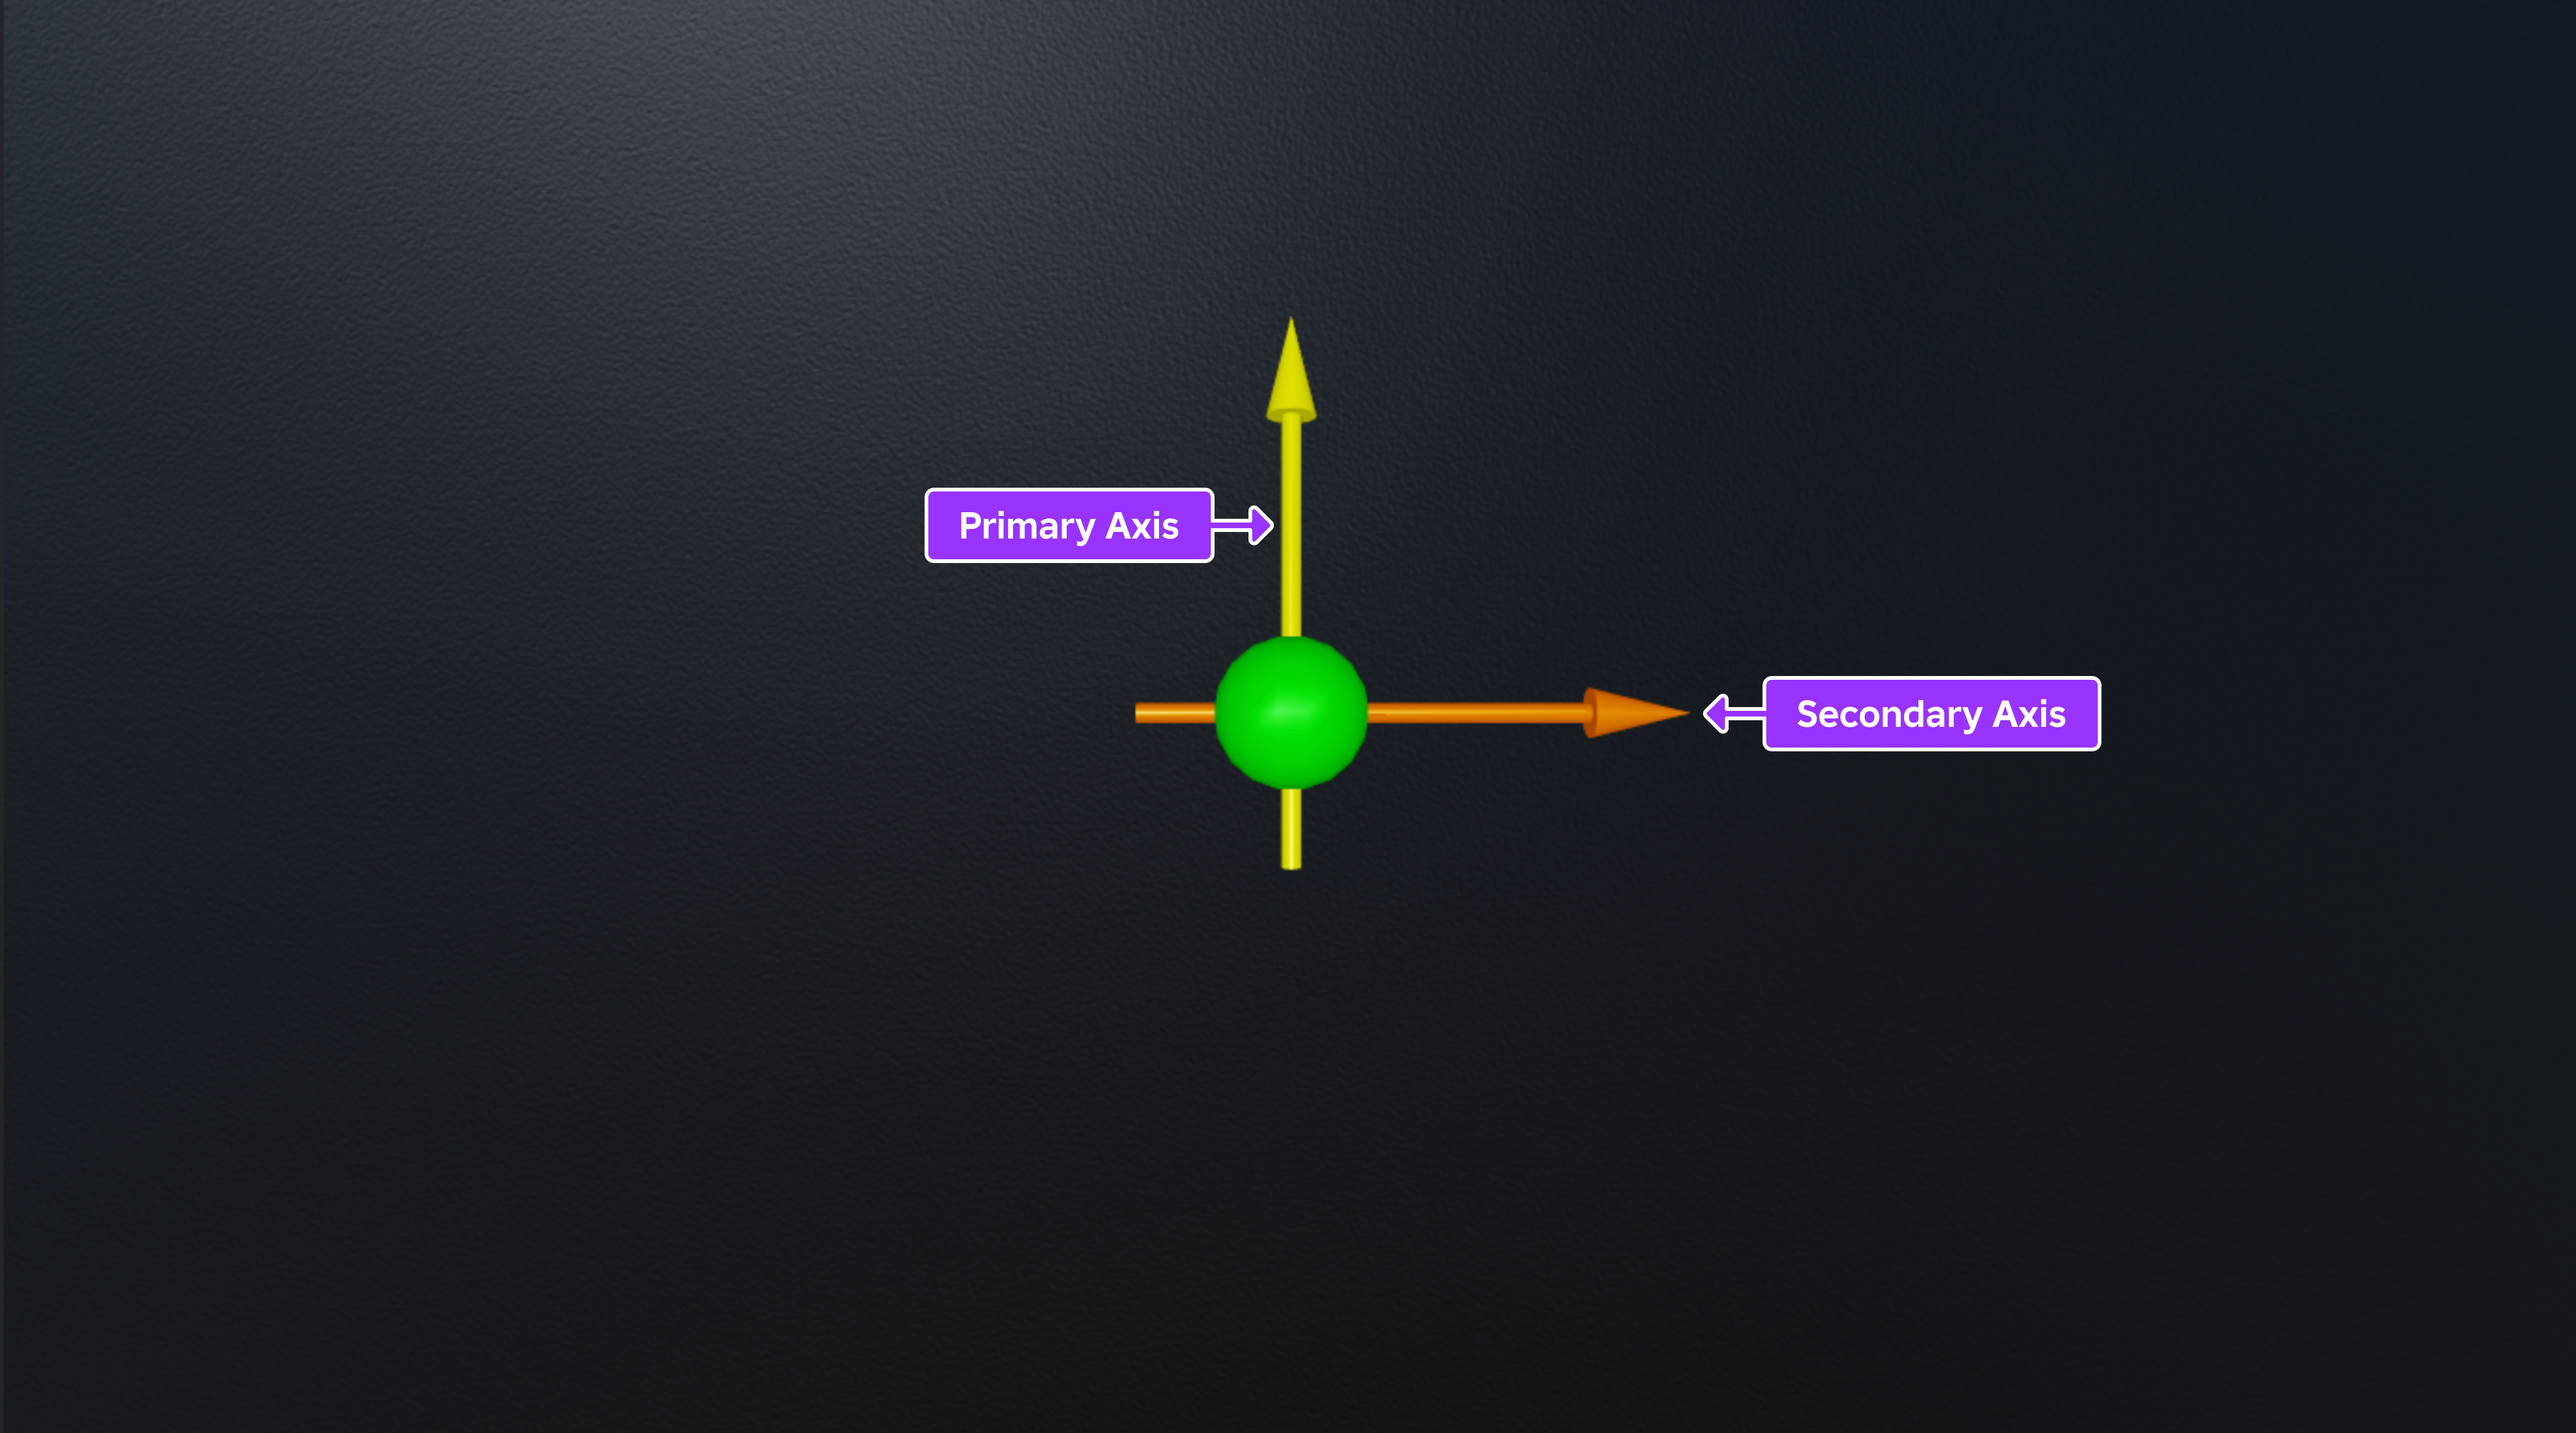
Pour ajouter une pièce jointe :
Dans la fenêtre Explorateur , élargissez le dossier LinearVelocityExample , puis élargissez son modèle enfant LilyPad_DIY .
Insérez une pièce jointe dans le grille maillage.
- Passez la souris sur le maillage et cliquez sur le bouton ⊕. Un menu contextuel s'affiche.
- Dans le menu, insérez une pièce jointe . La pièce jointe s'affiche au centre de la partie.
- Renommez l'attachement à MoveAttachment .

Configurer une contrainte
Maintenant que votre maillage a un point fixe pour déplacer le coussin de lys, vous pouvez configurer les propriétés d'une contrainte LinearVelocity fixe pour spécifier la direction et la magnitude de la vitesse linéaire constante, la quantité de studs que vous voulez que le maillage déplace par seconde, et la quantité maximum de force que le moteur peut appliquer pour que le maillage atteigne une vitesse linéaire constante.
L'expérience de déplacement d'objets échantillonne Moving Objects applique jusqu'à 5000 Rowtons de force constante pour déplacer le coussin de lys 15 studs par seconde le long de l'axe négatif X du monde à une vitesse linéaire constante.Les rowtons sont les unités physiques principales de Roblox pour mesurer la force.Pour référencer les unités physiques Roblox et la façon dont elles se transforment en unités métriques, voir unités Roblox.
Pour configurer une contrainte LinearVelocity :
(Facultatif) Faire la contrainte visible dans l'espace 3D afin que vous puissiez référencer sa direction linéaire.
- Accédez à l'onglet modèle de la barre d'outils, puis à la section contraintes .
- Si elle n'est pas actuellement activée, cliquez sur Détails des contraintes pour afficher les aides visuelles de contrainte.

Insérez une contrainte LinearVelocity dans le maillage Pad .
- Dans la fenêtre Explorateur , passez la souris sur le maillage, puis cliquez sur l'icône ⊕. Un menu contextuel s'affiche.
- Dans le menu contextuel, insérez Vitesse linéaire .
Attribuez l'attachement du maillage à la nouvelle contrainte.
- Dans la fenêtre Explorateur , sélectionnez la contrainte.
- Dans la fenêtre propriétés ,
- Définir pièce jointe0 à déplacer la pièce jointe .
- Définir MaxForce à 5000 pour appliquer jusqu'à 5000 Rowtons de force constante pour atteindre la vitesse linéaire cible.
- Gardez RelativeTo à Monde pour déplacer le pad de lys par rapport à la position et à l'orientation du monde.
- Définir Contrainte de vitesse à Ligne pour restreindre la force le long d'une ligne à partir de l'attache.
- Définissez Direction de ligne à -1, 0, 0 pour déplacer le coussin de lys le long de l'axe négatif X du monde.Notez que si vous définissiez cette propriété à 1, 0, 0 la plaque de lys se déplacerait le long de l'axe positif X du monde.
- Définissez la vitesse de ligne à pour déplacer le coussin de lys 15 studs par seconde.

Vérifiez la quantité de force que vous définissez déplace le maillage de 15 studs par seconde le long de l'axe négatif X du monde.
- Dans la barre d'outils, naviguez vers l'onglet test .
- Sélectionnez Exécuter dans les modes de test de jeu. Studio simule l'expérience à la position de la caméra actuelle sans votre avatar dans l'espace 3D.

Utiliser les contraintes de restriction prismatiques
PrismaticConstraint les objets sont un type de contrainte mécanique qui créent une articulation rigide entre deux attachements, permettant à leurs assemblages parents de se déplacer le long d'un axe par rapport à l'autre .En verrouillant la position des deux assemblages à un seul axe, chaque assemblage ne peut tourner que si elles tournent ensemble dans la même direction.
Ce type de mouvement conduit à des scénarios de jeu stables plus faciles à prédire pour les joueurs.Par exemple, l'expérience de démonstration déplacement d'objets utilise PrismaticConstraint des objets pour déplacer les plates-formes de journalisation que les joueurs peuvent utiliser pour traverser prudemment une rivière géante.
Lorsque vous définissez PrismaticConstraint.ActuatorType à Moteur , cette contrainte applique une force aux deux attachements afin d'atteindre et de maintenir une vitesse linéaire constante.Si vous ancrez l'une des assemblages parents des pièces jointes, la force continue de déplacer l'assemblage non ancré à une vitesse linéaire constante alors que l'assemblage ancré reste immobile.
Pour commencer à déplacer l'assemblage, la contrainte PrismaticConstraint doit savoir :
- Le point et la direction positive ou négative d'appliquer une force.
- Quantité de studs que vous souhaitez que les accessoires se déplacent par seconde.
- Quantité maximum de force que le moteur peut appliquer aux accessoires et à leurs assemblages parent pour atteindre une vitesse linéaire constante.
Pour démontrer ce processus, vous configurerez une assemblage de journal avec deux objets qui ont des attachements enfants qui se déplacent à une vitesse linéaire constante de 40 studs par seconde le long de l'axe négatif X du monde à une vitesse constante.
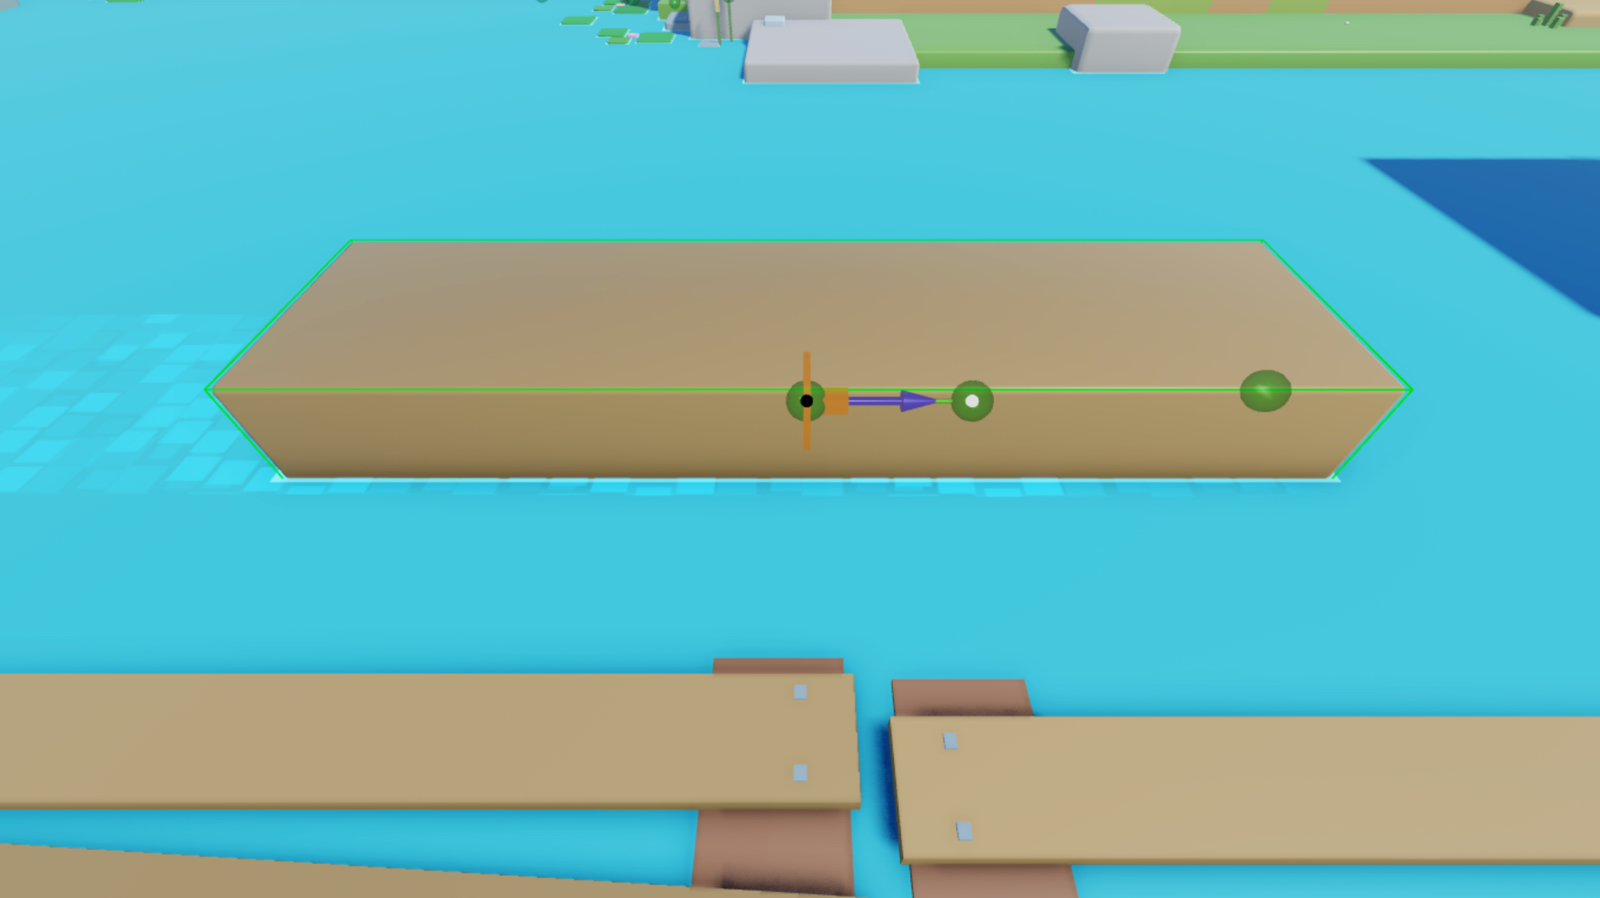
Configurer les pièces jointes
Vous pouvez spécifier la direction de déplacement d'un objet spécifique dans une assemblage en ajoutant deux objets Attachment à l'assemblage, puis en configurant leur alignement et leur orientation dans l'espace 3D.L'expérience d'échantillon déplacement d'objets s'aligne sur deux attachements le long de l'axe X du monde près de la position où le logement non ancré se superpose à la partie ancrée, et oriente le premier axe de chaque attache vers le monde négatif de l'axe X.
Lorsque vous configurez votre contrainte de restriction prismatique dans la section suivante, elle déplacera le journal en relation vers la partie d'ancrage.En d'autres termes, le journal s'éloignera de la partie stationnaire qui ne peut pas bouger car elle est ancrée dans l'espace 3D.
Pour configurer les pièces jointes pour la contrainte prismatique :
Dans la fenêtre Explorateur , étendez le dossier Contrainte prismatiqueExample , puis étendez son modèle enfant Log_DIY .
Insérez une pièce jointe dans le Log maillage.
- Passez la souris sur le maillage et cliquez sur le bouton ⊕. Un menu contextuel s'affiche.
- Dans le menu, insérez une pièce jointe . La pièce jointe s'affiche au centre de la partie.
- Renommez l'attachement à LogAttachment .

En utilisant le même processus, insérez une pièce jointe dans la partie Ancre , puis renommez la pièce jointe Ancre附件 .

Utiliser l'outil sélecteur de vue comme référence pour les coordonnées du monde , faire pivoter LogAttachment et AnchorAttachment jusqu'à ce que l'axe principal de chaque pièce jointe soit face à l'axe négatif X du monde

Repositionnez l'attachement d'ancrage afin que les deux attachements soient alignés sur l'axe X du monde.

Configurer une contrainte
Maintenant que vos pièces jointes sont alignées sur le même axe et font face à la même direction que vous voulez que le journal se déplace, vous pouvez configurer les propriétés d'une contrainte PrismaticConstraint pour spécifier si appliquer la vitesse linéaire cible dans la direction positive ou négative de chaque axe principal des pièces jointes, le nombre de studs que vous voulez que les pièces jointes se déplacent par seconde, et la quantité de force que le moteur peut appliquer pour que le journal atteigne une vitesse linéaire constante.
Bien que vous puissiez choisir différentes valeurs pour vos propres cas d'utilisation, l'expérience de déplacement d'objets échantillon applique jusqu'à 50000 Rowtons de force constante pour déplacer les accessoires de 40 radians par seconde le long de l'axe négatif de X du monde à une vitesse linéaire constante.Cependant, puisque l'attache d'ancrage se trouve dans un objet ancré, seule l'attache du journal peut se déplacer.
Pour configurer une contrainte prismatique :
Insérez un objet PrismaticConstraint dans le maillage journal .
- Dans la fenêtre Explorateur , passez la souris sur le maillage, puis cliquez sur l'icône ⊕. Un menu contextuel s'affiche.
- Dans le menu contextuel, insérez une contrainte prismatique .
Attribuez les pièces jointes du journal à la nouvelle contrainte afin que le journal se déplace en relation à la partie de bloc ancrée.
- Dans la fenêtre Explorateur , sélectionnez la contrainte.
- Dans la fenêtre propriétés ,
- Définir pièce jointe0 à AnchorAttachment .
- Définir pièce jointe1 à LogAttachment . La contrainte s'affiche dans la fenêtre.

Dans la fenêtre Explorateur , sélectionnez la contrainte, puis dans la fenêtre Propriétés,
- Définir type d'actuateur à moteur . Nouveaux champs de propriété affichés.
- Définir MotorMaxForce à 50000 pour appliquer jusqu'à 50000 Newton de force constante pour atteindre la vitesse linéaire cible.
- Définissez la vitesse à 40 pour déplacer le journal 40 perforations par seconde.

Vérifiez la quantité de force que vous définissez déplace le journal 40 unités par seconde le long de l'axe négatif X du monde.
- Dans la barre d'outils, naviguez vers l'onglet test .
- Sélectionnez Exécuter dans les modes de test de jeu. Studio simule l'expérience à la position de la caméra actuelle sans votre avatar dans l'espace 3D.

Appliquer une force linéaire initiale
Une autre façon de modifier la vitesse linéaire d'un objet est d'appliquer un impulsion de force.Après l'impulsion de force, l'objet décélère jusqu'à ce qu'il devienne stationnaire s'il y a une force opposée comme la friction, ou reste en mouvement avec une vitesse linéaire constante s'il n'y a pas de forces opposées.
Cette technique est utile pour déplacer des objets après un événement de jeu important, comme une explosion ou une collision impactante, car elle fournit des commentaires instantanés aux joueurs.Pour démontrer, la section suivante vous apprend à lancer le personnage d'un joueur vers le ciel lorsqu'il se heurte à un plateau de saut avec un impulsion initiale que vous pouvez adapter avec de nouvelles valeurs pour répondre à vos propres exigences de jeu.
Utiliser ApplyImpulse
La méthode ApplyImpulse applique une force sur une assemblage entière pour obtenir une vitesse linéaire initiale avant de ralentir à l'arrêt lorsqu'il y a des forces opposées.Pour commencer à déplacer l'assemblage, la méthode doit savoir :
- L'assemblage à déplacer.
- L'axe pour appliquer une force pour atteindre une vitesse linéaire initiale.
- Quantité de force à appliquer à chaque axe.
Vous pouvez définir toutes ces valeurs dans un script.Par exemple, le script d'échantillon définit l'assemblage de se déplacer en tant qu'objet Humanoid du personnage du joueur, puis il applique un impulsion de force qui est de 2500 secondes Rowton pour lancer le joueur vers le haut sur l'axe positif du monde.Notez que les personnages des joueurs ont des quantités de masse différentes, vous devrez donc peut-être augmenter et équilibrer cette force pour lancer chaque joueur sans lancer des personnages des joueurs avec des quantités de masse plus faibles trop élevées.
Pour déplacer une assemblage en utilisant ApplyImpulse :
Dans la fenêtre Explorateur , étendez le dossier AppliquerImpulsionExemple , puis étendez son modèle enfant JumpPad_DIY .
Insérez un script dans la partie JumpPad .
- Passez la souris sur la partie et cliquez sur le bouton ⊕. Un menu contextuel s'affiche.
- Dans le menu, insérez un script . L'attachement s'affiche au centre de la partie.
- Renommez le script en JumpScript .
Remplacez le code par défaut par le code suivant :
local volume = script.Parentlocal function onTouched(other)local impulse = Vector3.new(0, 2500, 0)local character = other.Parentlocal humanoid = character:FindFirstChildWhichIsA("Humanoid")if humanoid and other.Name == "LeftFoot" thenother:ApplyImpulse(impulse)endendvolume.Touched:Connect(onTouched)