MeshPart objects are descendants of the BasePart class. They represent meshes, which are collections of vertices, edges, and faces that make up a 3D object. Unlike parts, which you can directly create in Studio, you need to use a third-party modeling application like Blender or Maya to create meshes, then import them into Studio as MeshPart objects.
After importing a mesh into Studio, you can customize its rendering properties, such as textures, level of detail, and collision fidelity. In addition to importing your own meshes, you can also browse and select from user-uploaded meshes using the Creator Store.
Roblox supports many types of meshes, as long as they adhere to the general mesh specifications. A basic mesh consists of at least one mesh object and one texture:
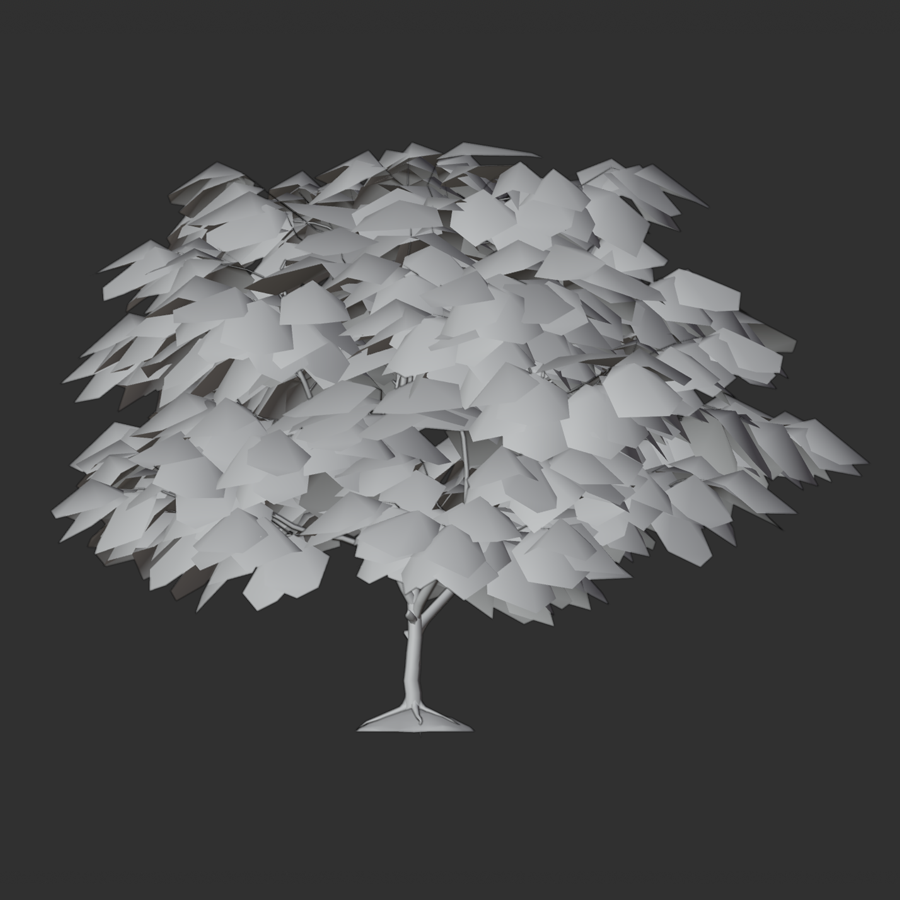
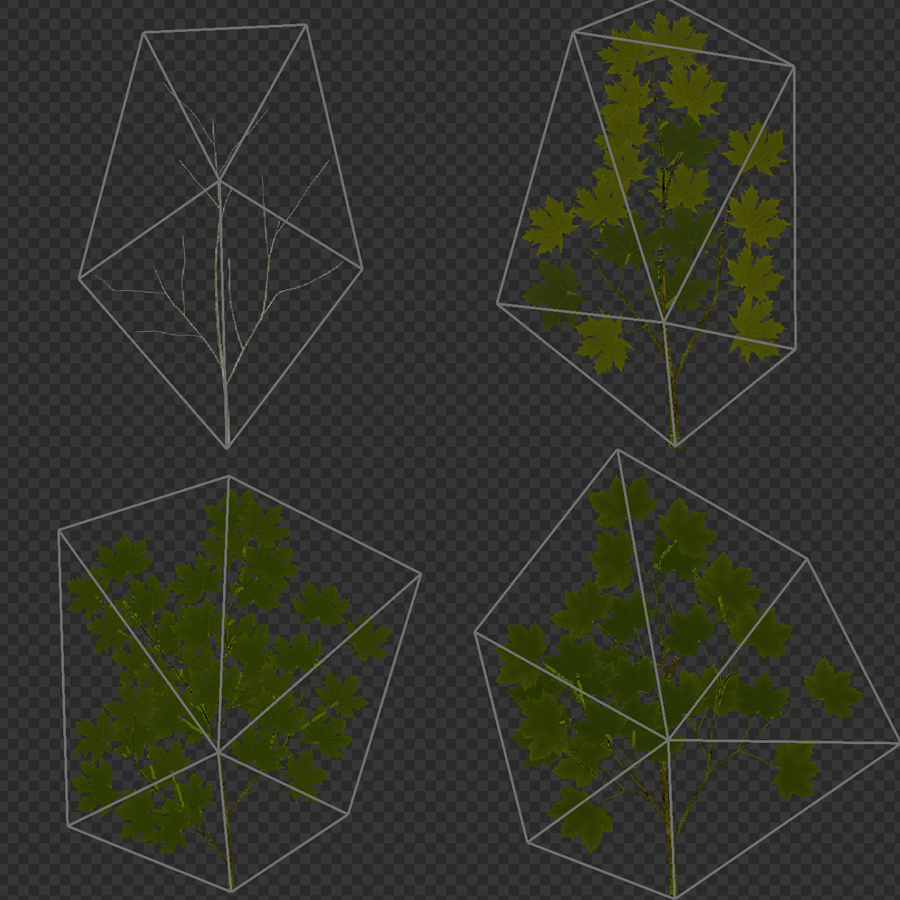
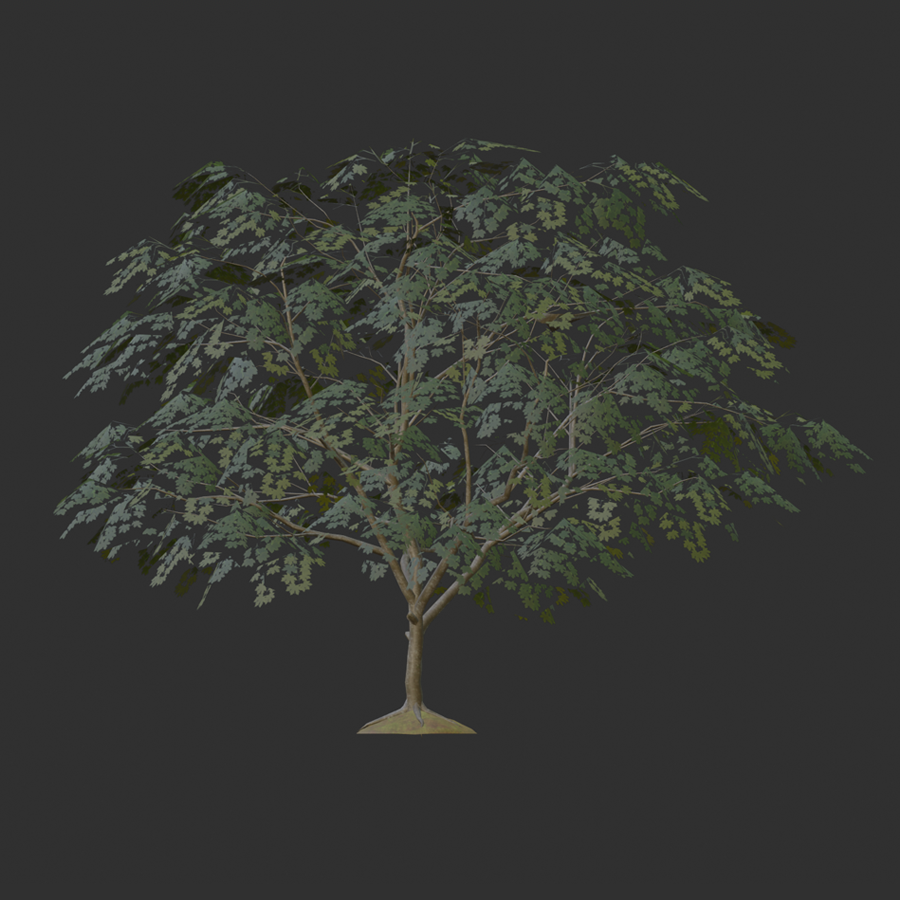
Studio also supports meshes with components for creating avatar character models or accessories, such as rigging and skinning data.
Import meshes
You can import meshes into Studio using the 3D Importer. With this tool, you can preview and examine meshes before importing them into your workspace or Toolbox, such as verifying texture, rigging, skinning, and animation data. It also flags issues and rejects meshes with error.
If the mesh file you are importing contains objects using specific naming conventions or contains facial animation data, the 3D Importer automatically detects and converts them into the following objects instead of MeshPart:
- Attachment — Objects with _Att at the end of their names.
- WrapTarget — Objects with _OuterCage at the end of their names.
- FaceControls — Objects containing avatar character heads and the appropriate facial animation data.
If you want to bulk-import meshes along with non-3D assets, such as images and audio, you can use the Asset Manager; note, however, that it doesn't support importing meshes with rigging, skinning, and animation data, accessories, or characters with facial animations.
Customize meshes
Unlike basic parts, meshes have more customization options that you can adjust for advanced rendering fidelity.
Texture
Textures determine the visual appearance of meshes. Studio allows you to either apply one texture using the MeshPart.TextureID property, or apply up to four physically-based rendering (PBR) textures within a SurfaceAppearance or MaterialVariant child object of the mesh. PBR textures allow you to represent realistic shading and lighting by using multiple types of texture images, or maps, on a single object.
Studio supports four PBR texture maps, each corresponding to a visual characteristic of an object's surface appearance. Combining multiple texture maps can more accurately simulate color, roughness, and reflectivity in any lighting environment, and enhance the visual elements of your assets and environment. For more information on PBR textures and the texture maps, see PBR Textures.

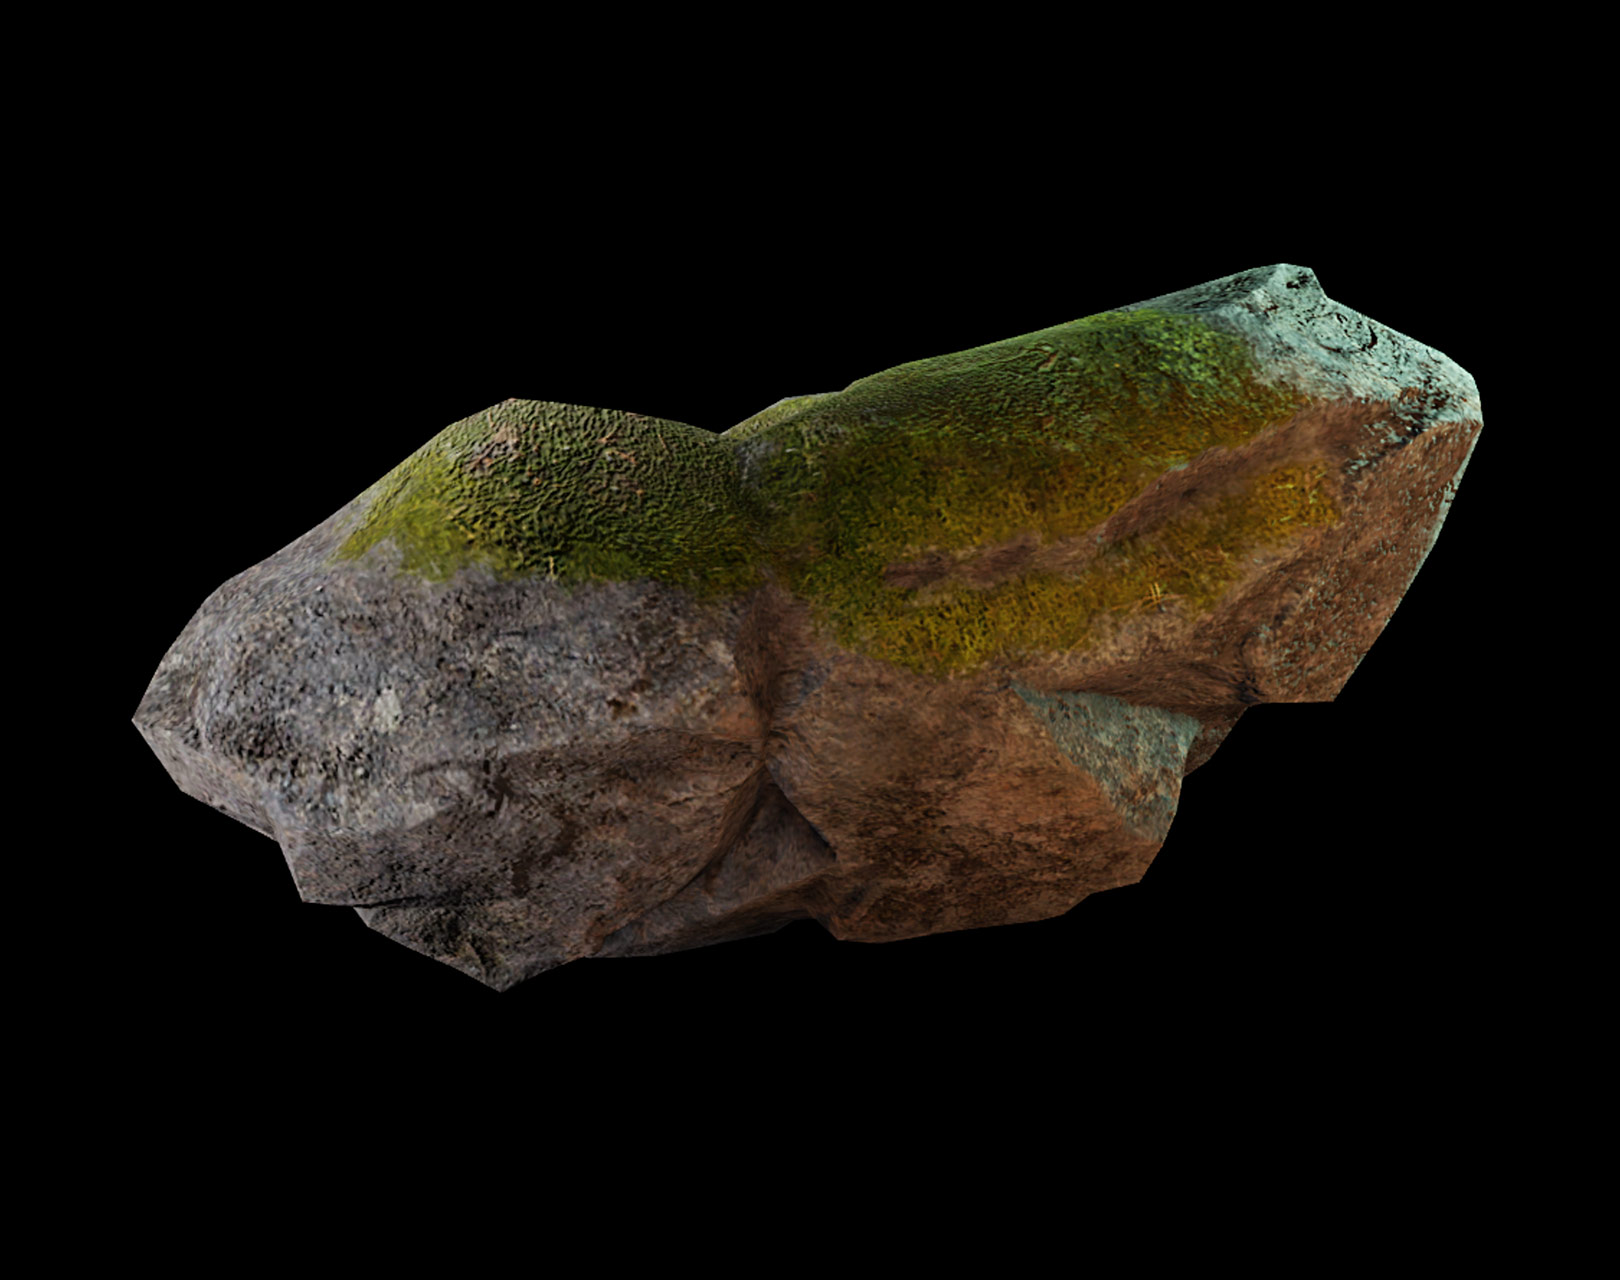
You can apply PBR textures using one of the following objects:
- SurfaceAppearance — Applies PBR textures to the mesh surface and doesn't affect its geometry.
- MaterialVariant — Represents a custom material that not only applies PBR textures to the mesh surface but also adds physical properties.
To add PBR textures to a mesh:
- In the Explorer window, hover over the MeshPart object. Click the ⊕ button and select SurfaceAppearance or MaterialVariant.
- In the Properties window, edit the properties corresponding to the PBR texture maps.
Level of detail
You can dynamically control a mesh's level of detail using its Enum.RenderFidelity property. The default value is Automatic, meaning the mesh's detail is based on its distance from the camera as outlined in the following table.
| Distance from camera | Render fidelity | Example |
|---|---|---|
| Less than 250 studs | Highest |  |
| 250-500 studs | Medium |  |
| 500 or more studs | Lowest |  |
Collision fidelity
Collision fidelity determines how closely the visual representation of a mesh matches its physical bounds. The MeshPart.CollisionFidelity property has the following options, in order of fidelity and performance impact from lowest to highest:
- Box — Creates a bounding collision box, ideal for small or non‑interactive objects.
- Hull — Generates a convex hull, suitable for objects with less pronounced indentations or cavities.
- Default — Produces an approximate collision shape that supports concavity, suitable for complex objects with semi-detailed interaction needs.
- PreciseConvexDecomposition — Offers the most precise fidelity but still not a 1:1 representation of the visual. This option has the most expensive performance cost and takes longer for the engine to compute.
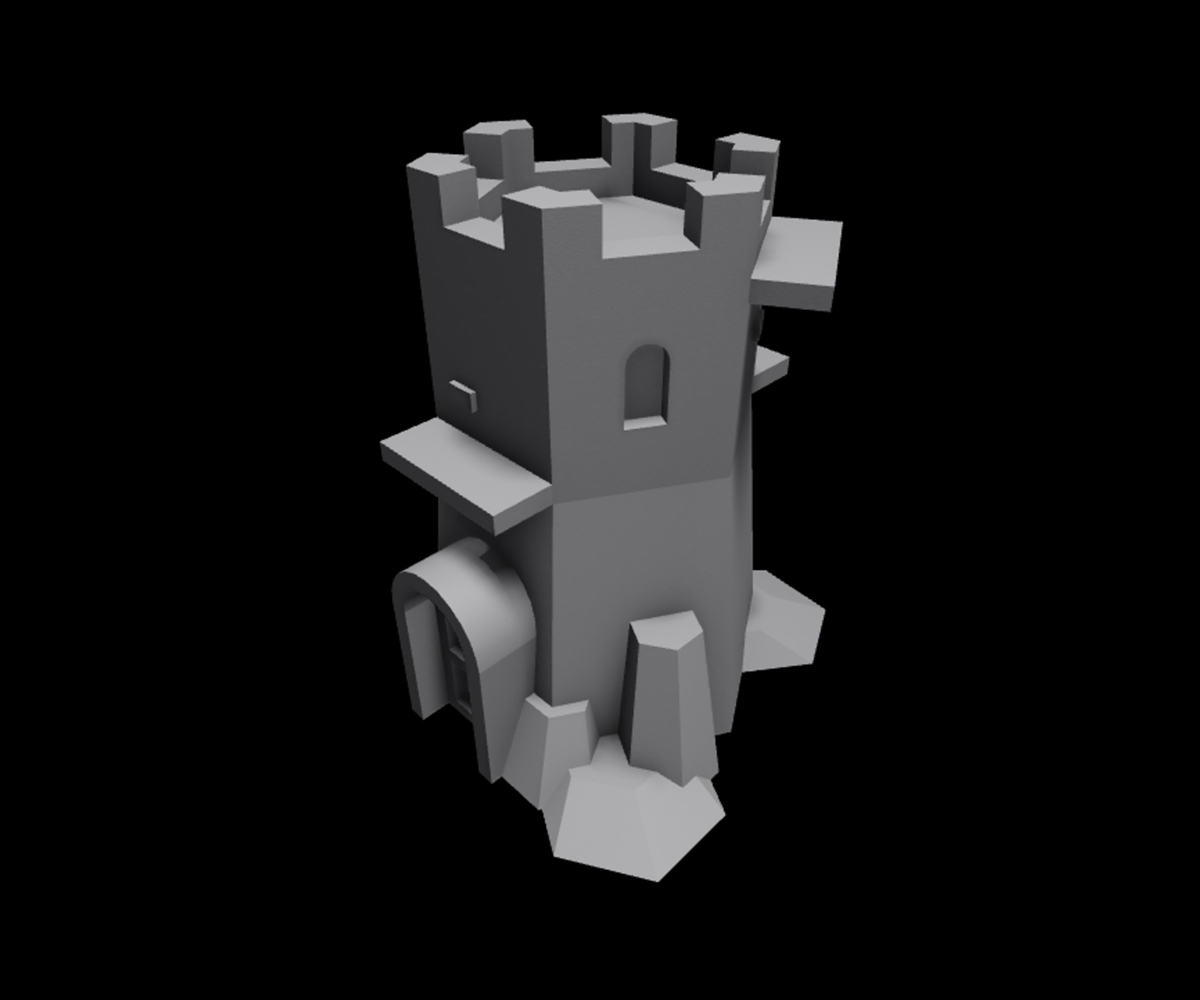
For more information on the performance impact of collision fidelity options and how to mitigate them, see Improve performance. For an in-depth walkthrough on how to choose a collision fidelity option that balances your precision and performance requirements, see Set physics and rendering parameters.
Rigging and skinning
Rigging is the process of connecting a mesh with an internal poseable skeleton rig. Rigged meshes allow mesh surfaces to rotate and move using internal bones within a model, such as a character's knee or elbow. Skinning a rigged mesh allows the rigged mesh object to deform, stretch, and bend in a more realistic manner.
For more information on rigging and skinning, see Rigging and skinning. After rigging a mesh, you can add animation and poses to it using the Animation Editor. See Create an animation for more information. Marketplace 3D assets, such as avatar clothing and bodies, also require rigging and skinning. See Avatar for more information on requirements for Marketplace assets.