Face accessories are a type of layered accessory that equip to dynamic heads. As the head animates and emotes, face accessories like eyebrows, eyelashes, or glasses stretch and deform with the character's facial features.
You can create a face accessory model in third-party modeling software, such as Blender or Maya. When creating a face accessory, your accessory model must meet the following requirements:
- The accessory model must meet Studio's modeling requirements.
- The model must include an inner and outer cage.
To help you meet these requirements, this tutorial covers the processes of connecting accessories to a Cubie character body's rigging armature from Create basic dynamic heads, applying skinning data, and adding cages to the accessory, as well as how to export the accessory for import into Studio.
Reference files
The following face accessory reference files include all checkpoint references throughout this tutorial:
| Name | Description |
|---|---|
| Cubie-Complete.fbx | The complete Cubie reference character, from Create basic dynamic heads. This file is ready for import into Studio. |
| Cubie-Cage-Only.fbx | The full body cage mesh of the Cubie reference character. This includes the inner and outer cage meshes. |
| Cubie-Eyebrow-Geo.fbx | A standalone eyebrow model, designed for the Cubie model. |
| Cubie-Eyebrow-Rigged-And-Caged.fbx | The Cubie eyebrow model, correctly rigged and caged following the instructions in this tutorial. This file is ready for import into Studio. |
| Cubie-Hawk-Hair.fbx | A hair model reference, designed for the Cubie model. |
| Creating-Face-Accessories-Reference-Files.zip | A collection of all the provided reference files. |
Modeling requirements
This tutorial uses a simple eyebrow reference as a demonstration on how to create a face accessory. If you're rigging and caging a different face accessory, ensure that your accessory model meets Roblox's layered accessory specifications, including the face accessory requirements.
If creating your own face accessory mesh, consider the following guidelines:
- Model your face accessory mesh with your character body model for best results and fit.
- When possible, try to match up the edges of your face accessory's geometry with the edges/vertices of the underlying head topology. This improves the deformation of the accessory with the underlying head model.
- Some accessories like eyebrows can extrude or slightly intersect the character model mesh to achieve a certain cosmetic look.
- When working with a face accessory with multiple pieces, such as eyebrows or eyelashes, combine the meshes to a single mesh once you are done modeling and rigging.
- Face accessory meshes do not require a _Geo naming convention.
Rig the eyebrows
Rigging is the process of connecting a mesh with an internal rig so that mesh surfaces can rotate and move as joints rotate and move. You must rig your face accessory to a character body's bone structure so that the accessory can bend and deform along with the character's facial poses.
After rigging, you can skin your model in your modeling tool, or you can transfer skinning data from your character to the face accessory at runtime by using Automatic skinning transfer.
Project setup
This tutorial uses a simple eyebrow model and the complete version of the dynamic head model from Create basic dynamic heads in a new Blender project.
To set up your Blender project:
Open a new General project in Blender.
Select the default shape, camera, and lights, then press Delete.
Import Cubie-Complete.

To simplify the workspace, delete the inner and outer cage mesh objects. You will import a full-body cage later in the tutorial.
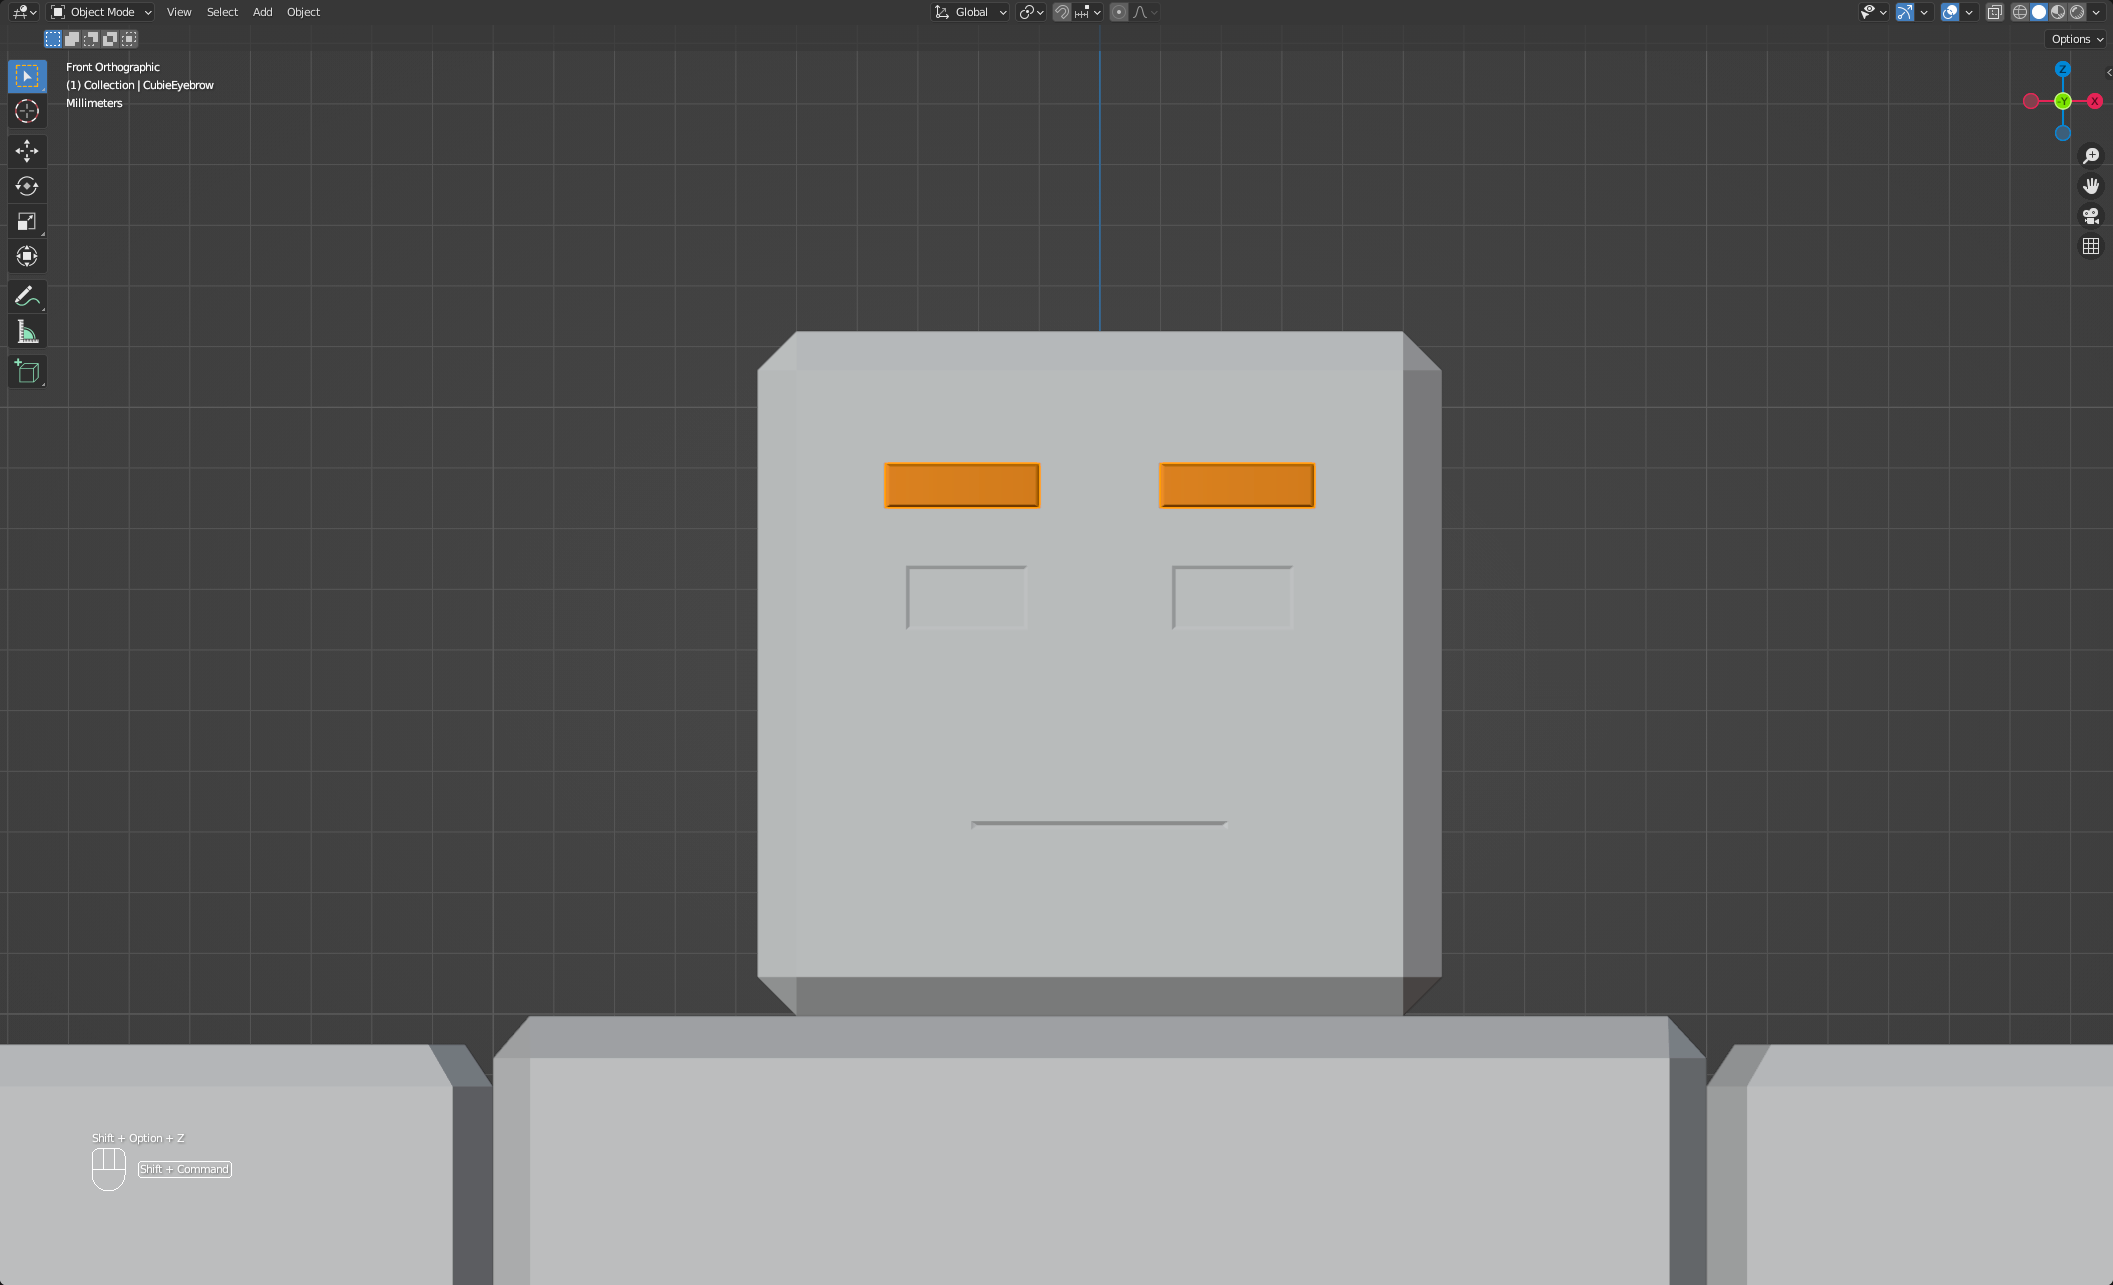
Import CubieEyebrow_Geo. If necessary:
- Reposition the accessory model on the face.
- Hide the armature temporarily to verify model placement.


Parent accessory to armature
Now that you have the accessory in your scene, it's time to connect it to the character's rigging armature so that its joints can move the eyebrows appropriately. It's recommended to parent with automatic weights because it automatically applies influences to your model, which can save you time during the skinning process.
To parent your accessory to the armature:
In Object mode, hold Shift and click CubieEyebrow.
While still holding Shift, click any of the character joints.
Right-click in the viewport, then select Parent > Armature Deform > With Automatic Weights.
Skin the eyebrows
Skinning is the process of assigning which parts of the mesh surface move and rotate with specific joints. In many cases, you can skip the skinning process for your accessory and use Studio's Automatic Skinning Transfer process instead. Alternatively, if you want manual control, you can apply manual skinning in Blender using the same process in Create basic dynamic heads - Skin joints.
Add cages
The caging process for face accessories is similar to caging layered accessories and shares the same modeling and caging requirements. After you finish rigging, it's time to import a full-body inner and outer cage to your project, rename the cages, then stretch the vertices of the Outer Cage to cover the accessory model with minimal space.
To cage the eyebrow accessory:
Import Cubie-Cage-Only. This includes a single full-body inner and outer cage mesh for the Cubie model.

Rename cages to begin with CubieEyebrow before the _InnerCage and _OuterCage affix.
In Edit mode, extend the outer cage to fit over the accessory with minimal space. Use various material and viewing options to easily manipulate the correct vertices on the outer cage.

If you are using automatic skinning transfer, you can ensure that automatic skinning transfer only applies to specific parts of the accessory by removing unnecessary sections of the cage. For more information, see Automatic Skinning Transfer - Modify character cages.
Export your accessory
Export your model when ready to test your accessory model in Studio or when setting up for final export. When exporting face accessories, keep in mind the following guidelines:
- Ensure that the final accessory model follows Roblox's layered accessory specifications, including properly named mesh and cage objects.
- Do not export any unnecessary data, such as animation data, or light and camera objects.
- If exporting PBR textures, follow Roblox's texture specifications when exporting texture images from your texture software.
To export your face accessory:
Ensure only the accessory mesh, armature object and cage meshes are exported. Delete all other objects in the workspace. You can quickly filter out Geo and Att named objects in your workspace to quickly delete them.
Follow the layered accessories export settings and save the file to your preferred location. The final export of the eyebrow .fbx is available for reference.
Test in Studio
To use your exported model into Studio as an Accessory, use the Accessory Fitting Tool to test and generate the accessory object. At this point, you can equip the accessory to a humanoid character. If you intend to transfer skinning data from your character to the accessory model at runtime, also enable automatic skinning transfer for your accessory.