Applying polished assets is the last step in constructing your final environment, in which you swap out your greybox placeholder assets for high-quality polished assets in order to meet your experience's aesthetic goals and game design requirements. This exciting section of the curriculum is where you see your world come to life into a cohesive environment that is complete and ready for publication.
Using the Island Jump - Final .rbxl file as a reference, this section of the tutorial teaches you how to use the Creator Store to find and add a sample asset library into your project, continue your organization structure to sort your new assets into meaningful categories, and apply the asset library to the 3D space.
Get asset library
The Creator Store is a tab of the Toolbox that you can use to find all assets that are made by Roblox and the Roblox community for use within your projects, including model, image, mesh, audio, plugin, video, and font assets. You can use the Creator Store to add an individual asset or asset library directly into an open experience.
Asset libraries are collections of assets you can place into a central location of your experience for easy access and reuse. The asset library you will use for your project from the Creator Store includes six 3D assets, two custom MaterialVariant materials, and the final particle effects from Create Basic Visual Effects. The six meshes are as follows:
Each of these 3D assets are either a single MeshPart object, or a Model object that stores multiple MeshPart objects, and they use custom materials or physically-based rendering (PBR) textures that allow you to represent realistic shading and lighting. For more information on this process, see Materials - Custom Materials and PBR Textures.
You can add the library to your inventory within Studio by clicking the Add to Inventory link in the following component. Once assets are within your inventory, you can reuse them in any project on the platform.
To get the asset library from your inventory into your experience:
In the toolbar, select the View tab.
Click Toolbox. The Toolbox window displays.

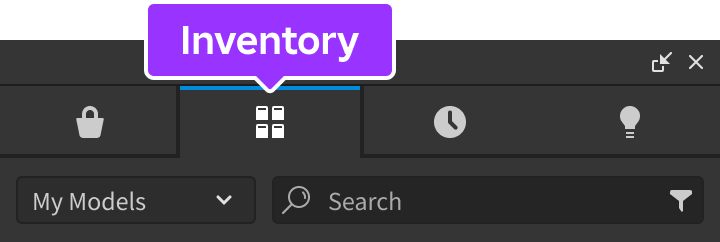
In the Toolbox window, click the Inventory tab. The My Models sort displays.
Click the Core Building and Scripting tile. The library displays in the viewport, but some of the meshes do not display the correct texture. This is because their materials are set to custom variants that are not yet in MaterialService.

In the Explorer window, select Moss_Lumpy_A and Moss_Strata_Noisy_A in the sample asset library, then drag them into the MaterialService container. The asset library updates to display the correct materials.


Continue organization structure
Before you apply your asset library to your greybox geometry, it's important to continue the organization structure you started in Greybox a playable area by creating new container objects for the new assets you're about to add to your environment. This process keeps your Workspace organized and easy to scan, allowing you to easily make quick updates to specific groupings of assets.
To add in additional container objects to your organization structure:
In the Explorer window, insert two new folders into the World folder.
Rename the folders Platforms and Mountains, respectively.
Insert a new model into the Platforms folder for each sea stack platform in your environment, and rename them according to sea stack level naming you created in Greybox a playable area. For example, the sample experience has 18 individual model containers for every platform in the environment.

Apply asset library
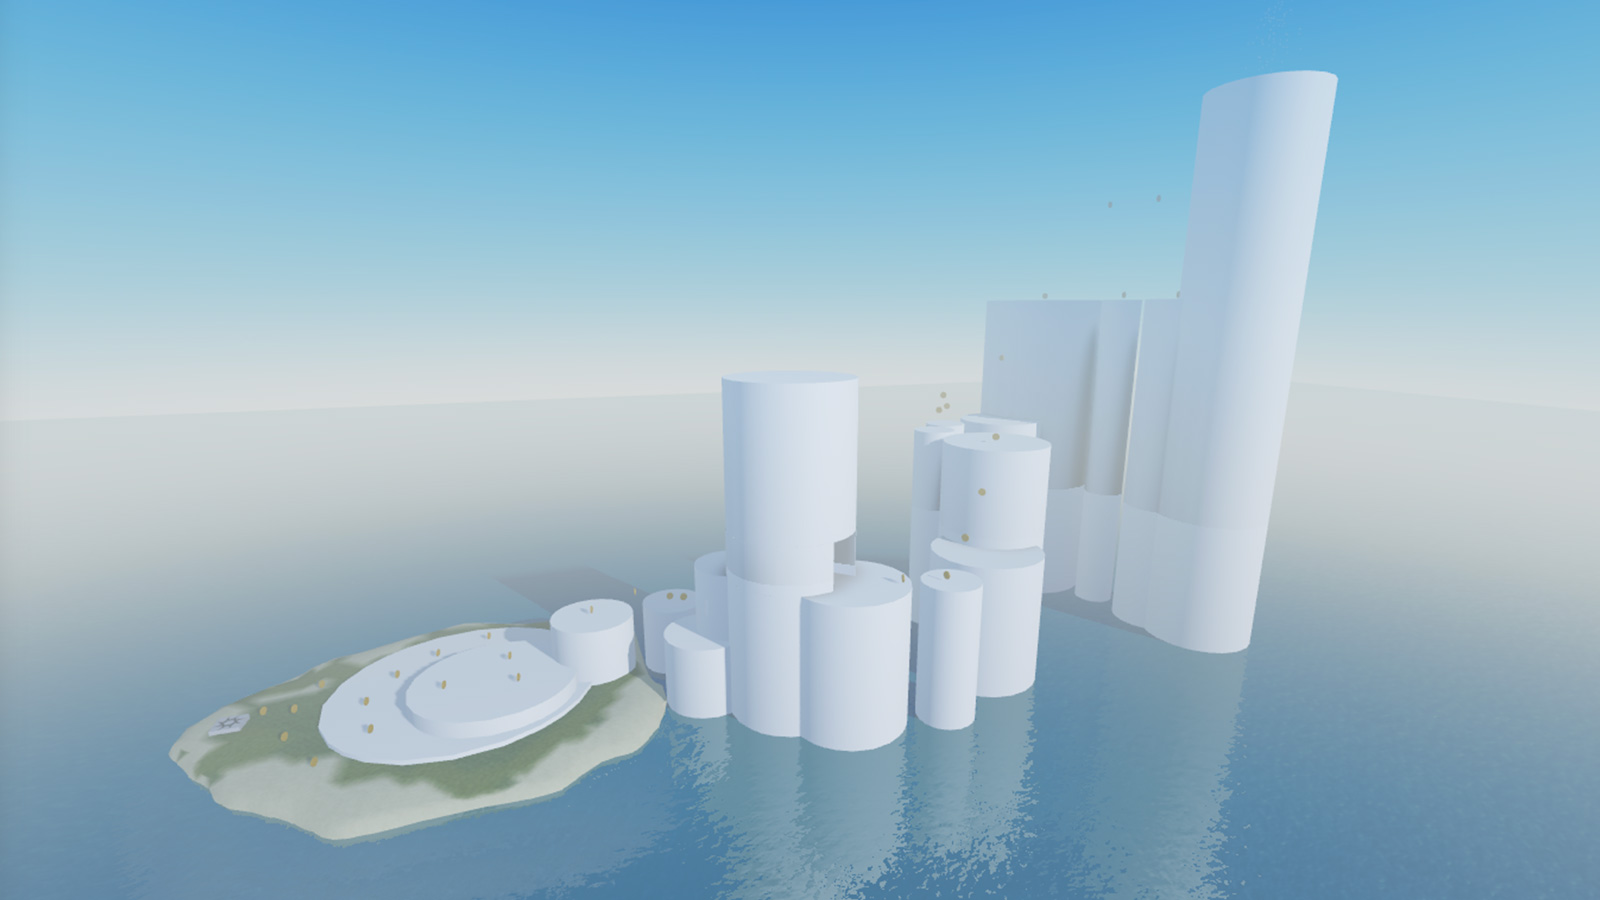
Now that you have an organizational structure to contain your new assets, you can now begin to apply the asset library to your greybox geometry. As you follow either instructional path, note that the example imagery make the placeholder assets semi-transparent so you can see your progress between steps.
Platforms
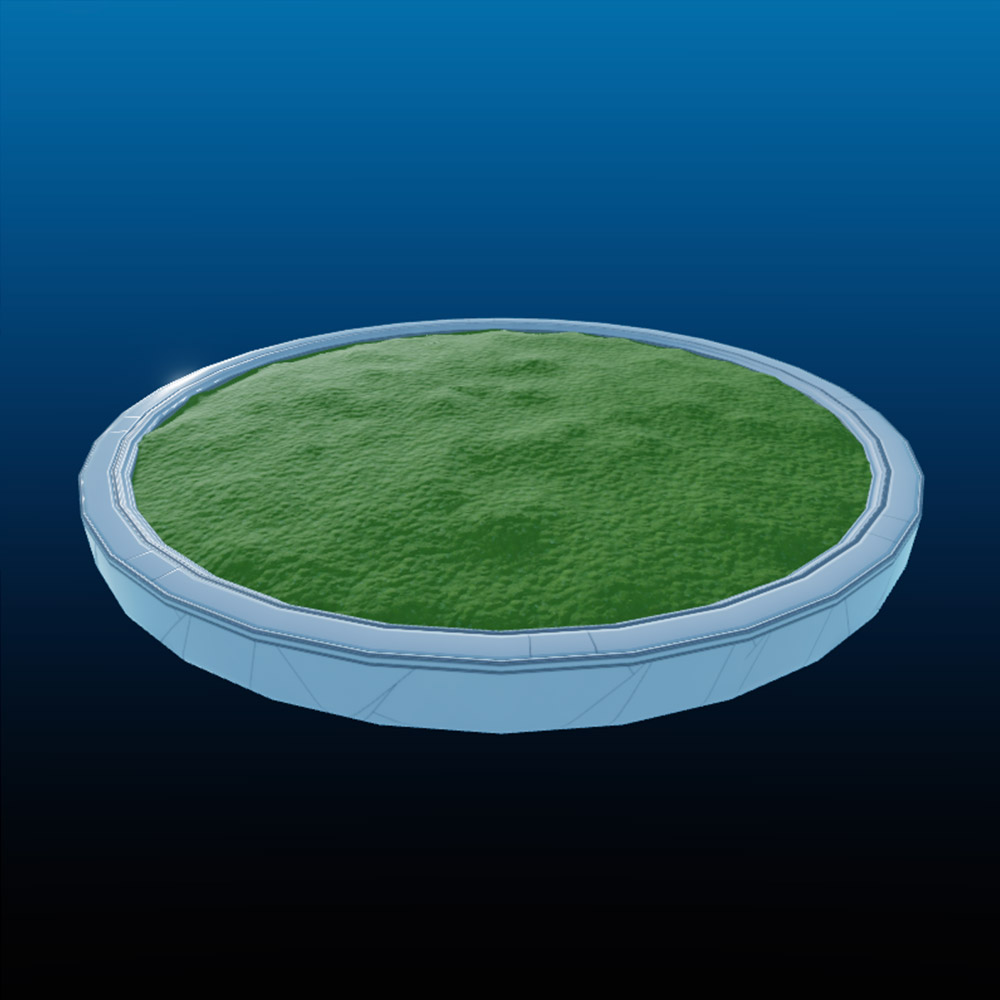
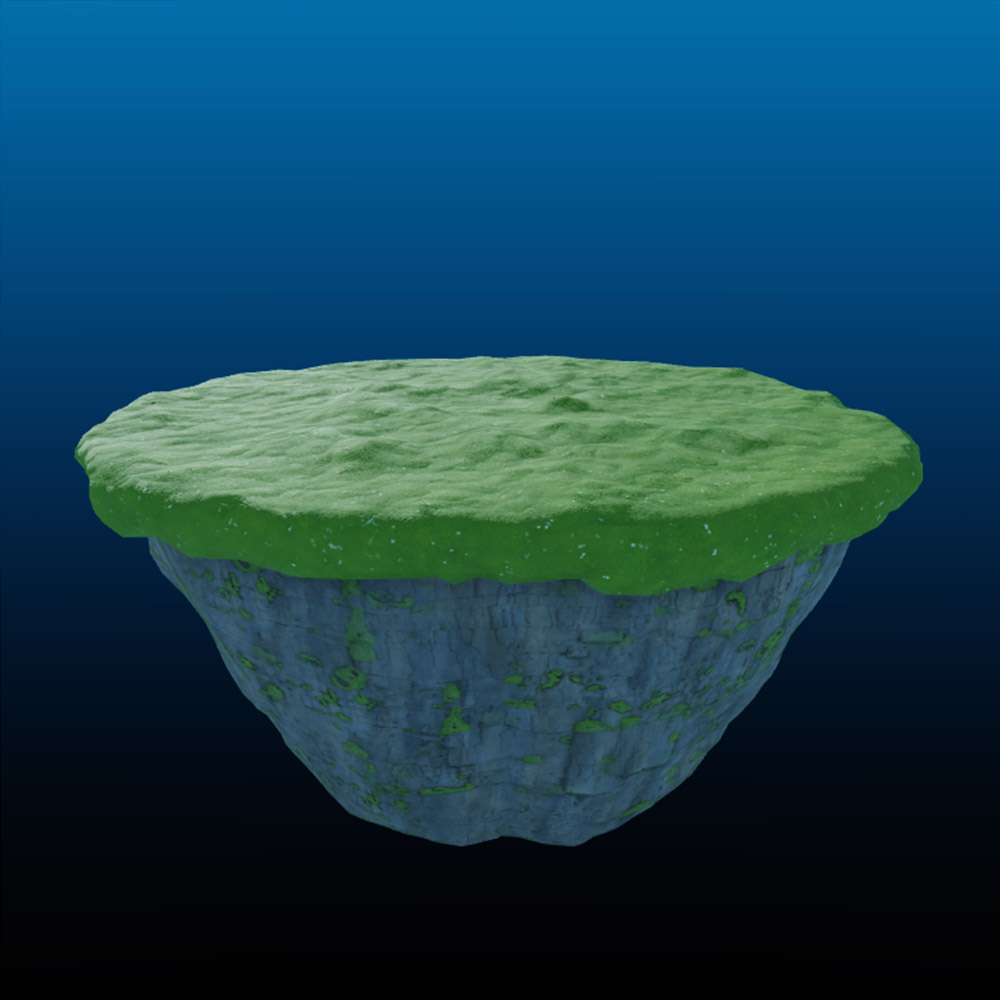
The sample asset library includes two types of platforms you can use for the top of your sea stack platforms:
- PlatformA – Includes a metallic circular base for the initial and final platforms.
- PlatformB – Includes a basic terrain cap for the intermediate level platforms.
Both platform types are Model objects that include two MeshPart objects.

To apply the asset library to your platforms:
In the Explorer window, navigate to the asset library and copy PlatformA.
- Right-click PlatformA. A contextual menu displays.
- From the contextual menu, select Copy.
In the Platforms folder, paste PlatformA into the Level_1 model.
From the toolbar, use the Move and Scale tools to position and scale the model to the size of your first placeholder sea stack platform.

Repeat this process, adding and configuring either a PlatformA or PlatformB asset to the top of each placeholder sea stack platform.


Sea stacks
The sample asset library includes two types of sea stack rock formations you can stack in creative ways to form the pillars of your sea stack platforms:
- SeaStackMesh – Includes a solid rock formation.
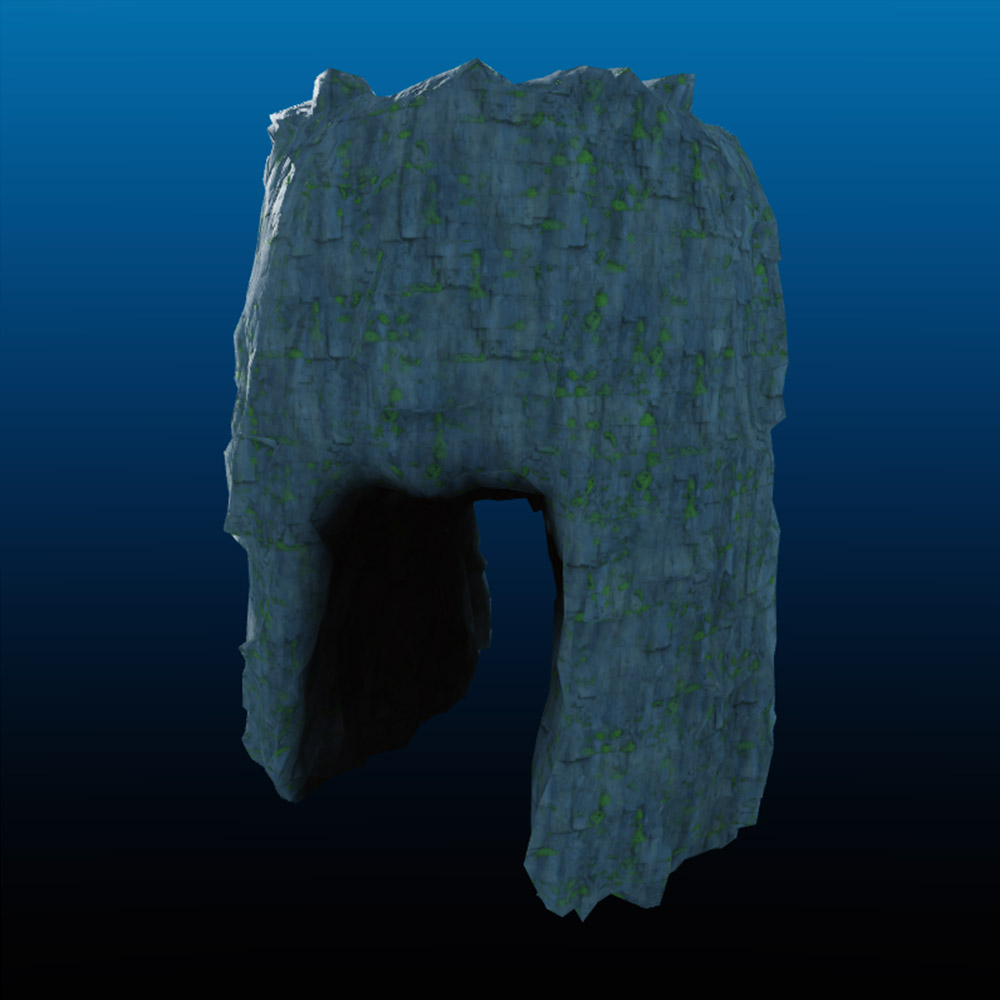
- SeaStackCaveMesh – Includes a tunnel and solid top.
Both platform types are MeshPart objects.


To apply the asset library to your sea stacks:
In the Explorer window, navigate to the asset library and copy SeaStackMesh.
In the Platforms folder, paste SeaStackMesh into one of your level models.
From the toolbar, use the Move, Scale, and Rotate tools to position, scale, and rotate the mesh until it is the length of your placeholder sea stack. If necessary, use more than one instance of the SeaStackMesh mesh.

Repeat this process, adding and configuring more SeaStackMesh and SeaStackCaveMesh meshes for each respective sea stack and tunnel in your experience.

Delete your placeholder greybox sea stack platforms.


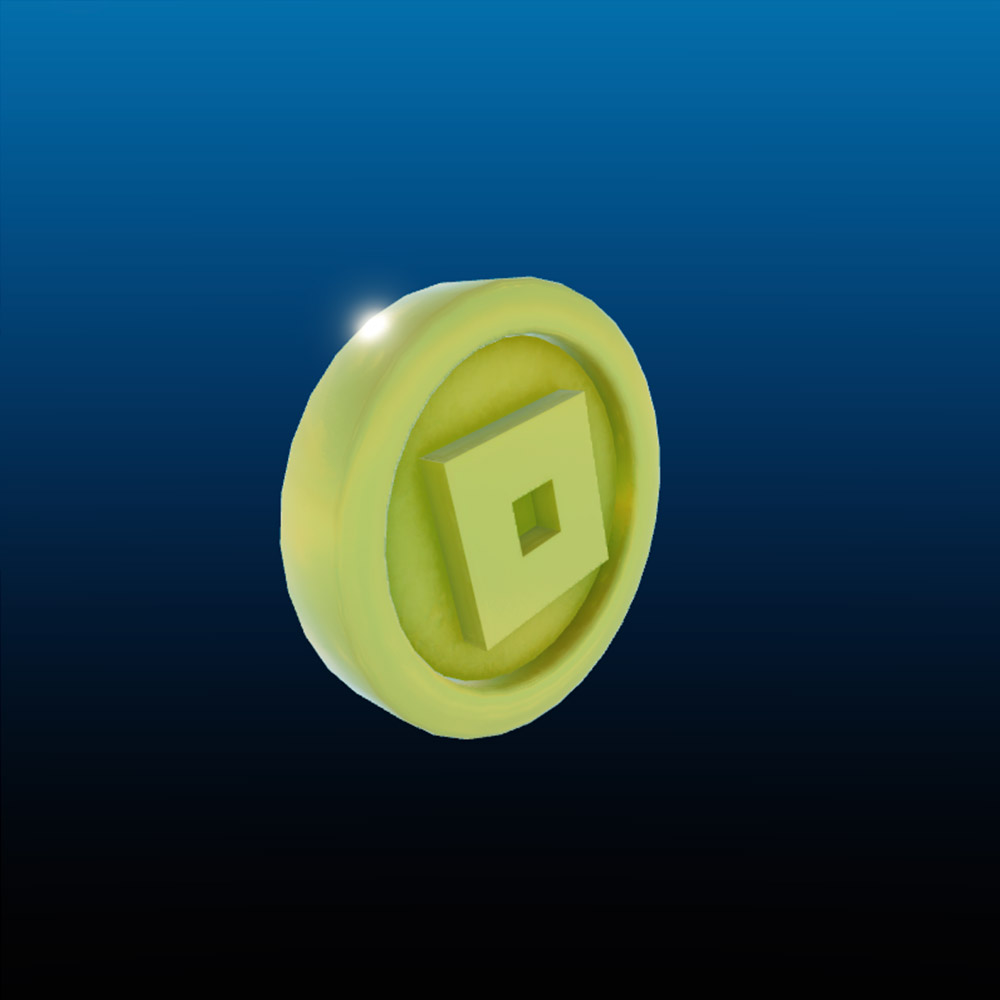
Coins
The sample asset library includes a single Coin asset that's a MeshPart object with a child SurfaceAppearance object. The SurfaceAppearance object creates a shiny metallic effect on the coin, making it more realistic and enticing for players to collect.
You can place these objects anywhere you set your initial placeholder coins, or modify their position and orientation values where you think they will be more useful to players.

To apply the asset library to your coins:
In the Explorer window, navigate to the asset library and copy Coin.
In the Platforms folder, paste Coin into the Coins folder.
From the toolbar, use the Move and Rotate tools to position and rotate the mesh until it's at the same configuration of first your placeholder coin.
Repeat this process, adding and configuring coin assets wherever you set your initial coin placeholder objects.

Delete your placeholder coins.

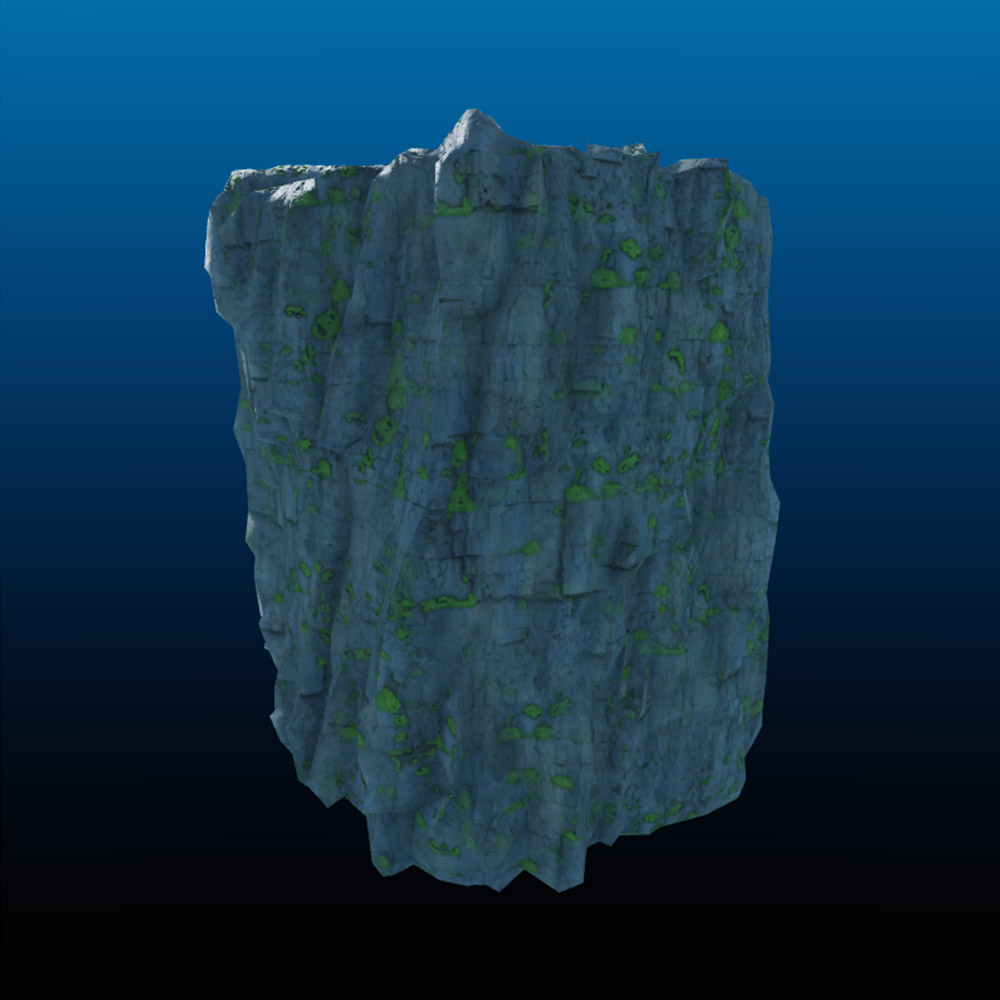
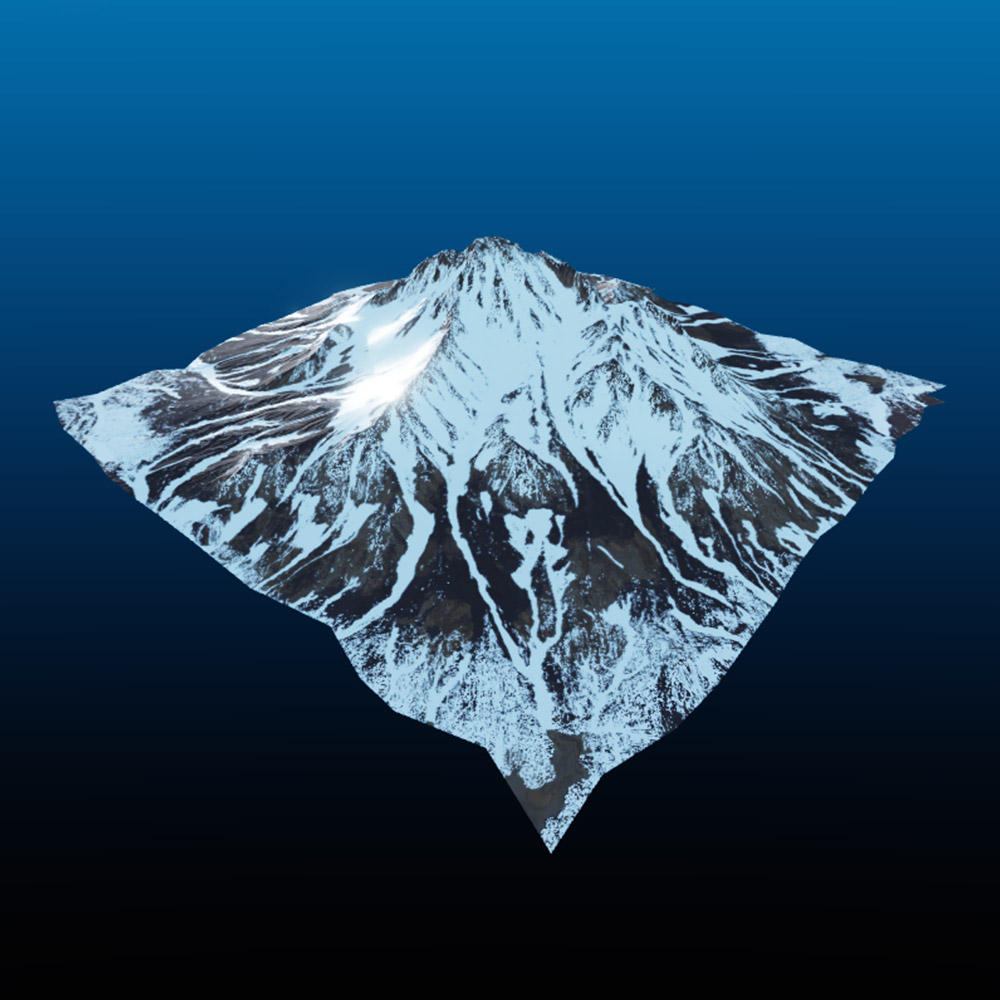
Mountains
The sample asset library includes a single MountainMesh asset you can use to decorate the background of your world, hide the edge of your water terrain, and enclose the environment around your sea stack platforms. By rotating and scaling individual mountains, the asset's material blends together with neighboring mountains. This technique effectively reduces players' ability to detect that the whole mountain range is just one repeating mesh.

To apply the asset library to your mountains:
In the Explorer window, navigate to the asset library and copy MountainMesh.
In the Platforms folder, paste MountainMesh into the Mountains folder.
From the toolbar, use the Move, Scale, and Rotate tools to position, scale, and rotate the mesh along the border of your water terrain.
Repeat this process, adding and configuring mountains of different sizes and rotations until the border of your water terrain has cover.


Playtest
After you finish applying your asset library and constructing your environment, you must playtest your experience to ensure any variations in your layout from your polished assets haven't impacted players' ability to finish your game.
To playtest your experience:
Click the Play button from the playtesting options.

Play your experience and try to reach the flare at the top of the stacks.
When you're done, click the Stop button. Studio exits playtest mode.


Congratulations on completing the Core Curriculum! Now that you have experience creating a simple experience from start to finish, you can extend your project with new gameplay features or additional levels, explore Studio's additional features, or follow additional tutorial curricula, such as the Environmental art curriculum that teaches you how to create a high-quality laser tag environment. Happy creating!