Studio's Importer lets you import 3D assets into your projects, such as avatar clothing, accessories, and character bodies. The following instructions detail how to import a character body .fbx or .gltf file into Studio as a Model object that you can use in your games, upload to the Marketplace, or share with other creators.
While the Importer provides object previews and error-checking to ensure that your creation meets Roblox's general 3D requirements, it's important to ensure that your character model also meets Roblox's character body specifications to use or sell this asset as an avatar-ready character model, otherwise you can encounter errors at different points in the workflow.
To import your asset as a character body model:
In the Home tab, click the Import button to open the 3D Importer. A file browser opens.
Select your rigged character's .fbx or .gltf file. The 3D Importer loads a preview of the character model.

- If textures don't load for your asset, you can manually import your textures later.
- For additional information on import settings and troubleshooting, see Importer.
In the Rig General section,
- Set Rig Scale to the appropriate Body Scale of your character.
- Set Constraint Type to Joint Upgrade.

Select Import. The asset populates in your workspace as a Model with the appropriate textures applied as a SurfaceAppearance or MeshPart.TextureID.
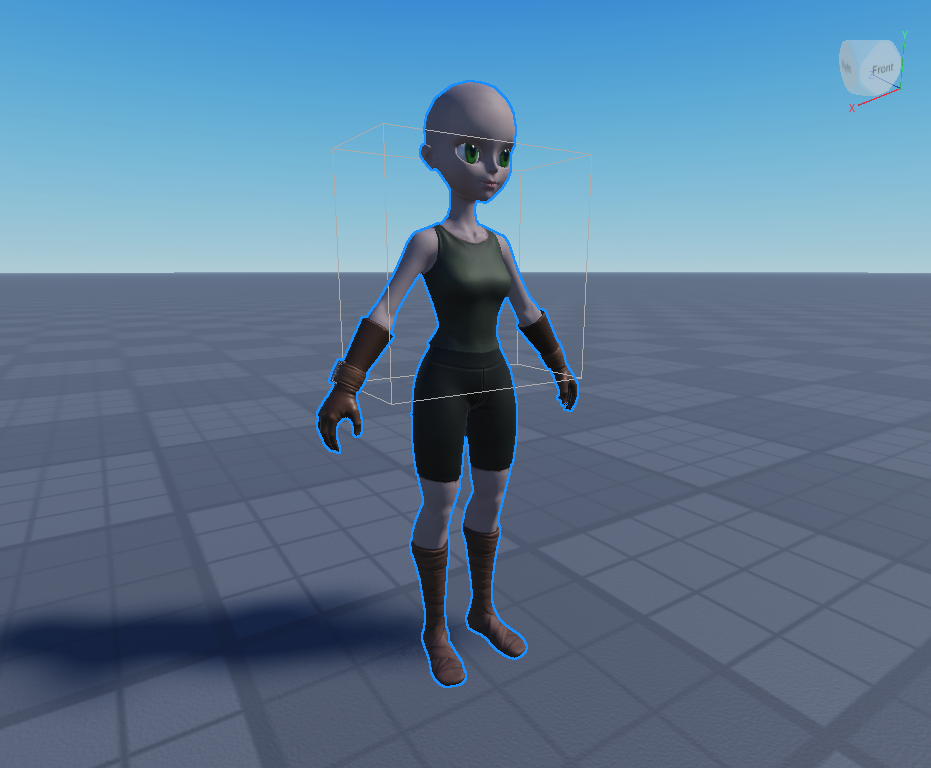
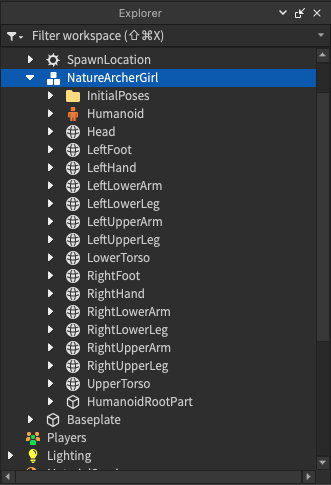


If your textures didn't load correctly, you can import them manually using the Asset Manager:
In the Asset Manager, click the Import button. If you are unable to access the Asset Manager, save and publish your game first.
Upload your image files.
If you are using a single basic texture, set the MeshPart.TextureID property to your uploaded texture image.
If you are using PBR textures:
Add a SurfaceAppearance child to your MeshPart.

In the SurfaceAppearance properties, click each property value and assign the appropriate texture image from the asset dropdown:
- Set the ColorMap to the _ALB texture image.
- Set the MetalnessMap to the _MTL texture image.
- Set the NormalMap to the _NOR texture image.
- Set the RoughnessMap to the _RGH texture image.


With this new character Model, you can perform any of the following:
If your character includes a higher-fidelity rig, add a HumanoidRigDescription and/or DigitsRigDescription objects for Marketplace and animation requirements. You may need to use the Adaptive Animation plugin to remap your joints and set a baseline t-pose reference to better support your animations.
Begin the process of uploading and publishing the character model to the Marketplace. This involves some additional validation and moderation steps.
Use the model in your current game and modify the model's appearance with HumanoidDescription.
- Playtest as the character by renaming the Model to StarterCharacter and moving the Model to the StarterPlayer folder in the Explorer before play testing.
Save the model to your Toolbox or make it public on the Creator Store to use within any of your games or share with other creators.