Particle emitters create special effects by emitting 2D images, also referred to as particles, into the 3D world. By customizing how particles look and behave as they emit into the environment, you can create visual art that makes your games feel unique and captivating to potential players.
To demonstrate, check out the Mansion of Wonder template uses the following three images to create VFX art in different areas of the carnival ride:


Using the exact same techniques, in this chapter, let's explore how to find the carnival ride's laser blast and explosion particle emitters, then customize their properties until you transform the bland starting particles into your own VFX creations.
Find sample emitters
This lesson's template provides two basic particle emitters that players interact with during the carnival ride:
- One for the laser blast that flies through the air when players shoot their blaster.
- Another for the explosion when the laser blast hits a ghost or slime enemy.
Both particle emitters start with simple white particles so that you can see your progress in real time as you customize their visual appearance and behavior and visual appearance throughout this chapter.
To find the sample particle emitters:
Using the following camera controls, move your camera to get a good view of the two particle emitter stands near the front of the mansion. The first particle emitter you will customize is the laser blast particle emitter on the left with the white sparkles.
Action Control Move W A S D Rotate Hold the right mouse button to rotate around the selected object. Zoom Use your mouse's scroll wheel. Focus Press F to focus on a the selected object. 
Find the laser blast particle emitter.
- In the Explorer window, go to the search bar, then type BlastParticles.
- In your search results, click the particle emitter result.


Customize laser blast
Whenever you select something in the 3D viewport or the Explorer window, the Properties window updates to display all properties that you can directly customize within Studio's interface. For example, when you selected the BlastParticles particle emitter in the previous section, the Properties window updated with all properties for that specific particle emitter.
To introduce you to customizing properties, let's start with customizing the color and image of the laser blast's particles. As you get more comfortable with this process, you can experiment with more properties.
Color
A particle emitter's Color property tints each particle's texture to either a specific hue or a gradient of color from the time it emits to the time it fades. This lesson focuses on setting particles to a specific hue, but you can learn more about how to set them to a gradient in the Particle emitters guide after you finish the tutorial.
To tint the laser blast particles with a new color:
In the Properties window, find the Color property, then double-click the light grey box to its right. A pop-up Colors window displays.
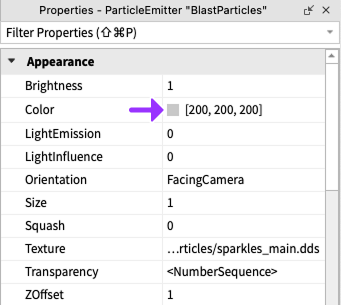
In the Colors window, select a color and then click the OK button. For example, if you set the Color property to 202, 210, 20, your particles will look like the following image.


Texture
A particle emitter's Texture property tells the particle emitter what picture, also referred to as textures, to emit into the environment. Textures can be any 2D image you want, such as a symbol or even something you've drawn. For example, the following video demonstrates how changing a particle emitter's texture creates entirely different effects.
To set the laser blast particles to a new texture:
Pick one of the following images to use as the particle emitter's texture, then copy the assetID number beneath the image. You can return to this starter pack of textures when you are ready to customize the explosion.

rbxassetid://5860841663 
rbxassetid://5857851812 
rbxassetid://5857851618 
rbxassetid://6711256324 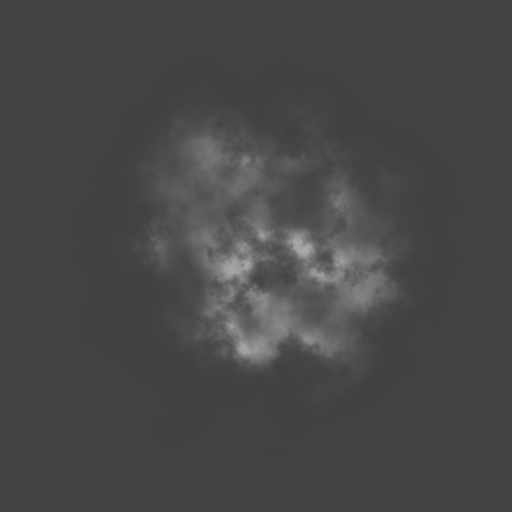
rbxassetid://5833235272 
rbxassetid://6772783963 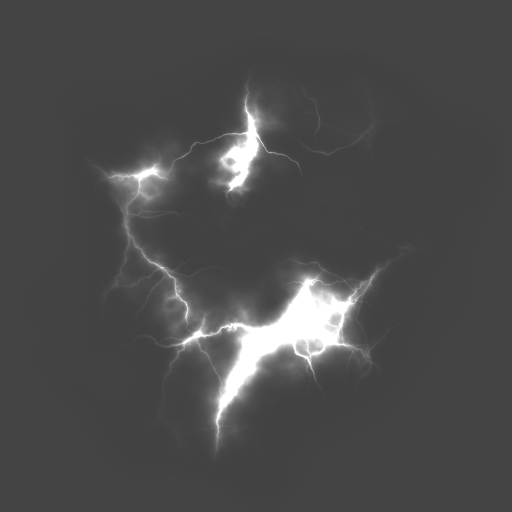
rbxassetid://5833323391 
rbxassetid://5857892330 
rbxassetid://5857892405 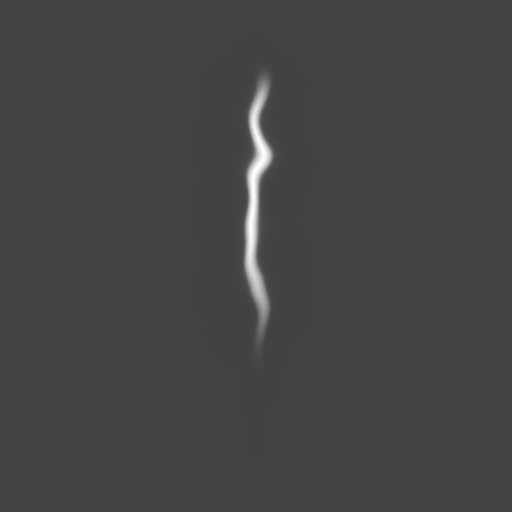
rbxassetid://5857931724 
rbxassetid://5857851618 
rbxassetid://5860841737 In the Properties window, find the Texture property, then click on it to highlight the text.

Paste your texture's assetID by pressing CtrlV or ⌘V, depending on your computer, then press Enter. Your particle emitter now emits particles that look like your texture. For example, if you use the 5833323391 texture, your particles will look like the example below.


Customize explosion
Now that you have custom VFX art for your laser blast, you can move on to customizing the explosion whenever the laser blast hits a sinister slime or ghastly ghost. To verify that you're customizing the explosion's properties instead of the laser blast, make sure you select the explosion particle emitter so that the Properties window updates with its specific properties:
In the Explorer window, go to the search bar, then type ExplosionParticles.
In your search results, click the particle emitter result.


Size
A particle emitter's Size property changes the size of each particle's texture to either a specific size or size that changes from the time it emits to the time it fades. This lesson focuses on setting particles to a specific size, but you can learn more about how to set them to a changing size in the Particle emitters guide after you finish the tutorial.
To set the explosion particles to a new size:
In the Properties window, find the Size property.
For best results, set Size to a number between 1 and 10.
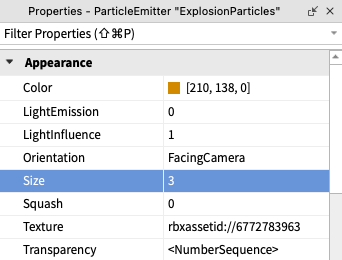

When it comes to particles, there isn't a "one size fits all"; different particle textures look better at various sizes. To demonstrate, review the following video to see how a star texture transforms as the Size value increases.
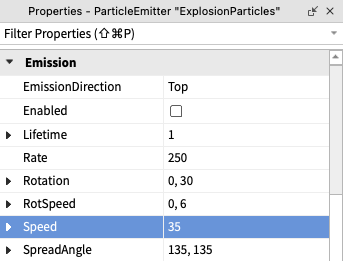
Speed
A particle emitter's Speed property changes the rate at which particles emit from the particle emitter. In other words, you can change this property to ensure that particles either burst out quickly or creep out slowly.
To set the explosion particles to a new speed:
In the Properties window, find the Speed property, then set it to a number between 10 (slow) and 100 (fast).
Using your learnings from the previous chapter, playtest the game to see your particles in action. If anything doesn't look right, you can go back and make changes to your design.

Additional properties
Your laser blast and explosion VFX art are almost done! While you've customized a few particle emitter properties, there are many more you can modify to personalize your work. The following sections highlight a few, but feel free to also experiment with any that aren't listed here.
LightEmission
The LightEmission property makes particles glow. Higher values of this property can make particles glow even in environments with low lighting.


RotSpeed
The RotSpeed property makes particles rotate over time. To demonstrate how this works, review the following video to see how the particles' straight line texture changes rotation as the RotSpeed property increases.
Lifetime
The Lifetime property changes how long in seconds particles are visible once they emit from the particle emitter. Depending on your VFX art, you may want your particles to only be visible for a moment (0.5 seconds), or for them to linger in the air (2 seconds).
Randomized numbers
Randomizing properties can make particles feel less repetitive. You can add randomization to some particle emitters properties, such as Lifetime and RotSpeed, by adding a minimum and maximum value range for the respective property.
To randomize numbers:
Click the small arrow next to the property's name. The property expands.
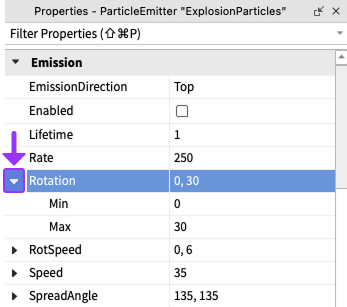
Set Min to the minimum value you want your particles to have.
Set Max to the maximum value you want your particles to have.

Using your new knowledge with particle emitters, take some time to improve your VFX art. When you are ready, continue to the next section to learn more about playtesting and how to save your work to Roblox.