You can configure most game and place-level settings from the Creator Dashboard, a hub that lets you manage and access all of your Roblox creations in one place. It's useful to explore the left-hand navigation to see every configuration possible, such as those for localization, analytics, and monetization, but the following sections highlight notable workflows for most games.
Generate content descriptors
The Maturity & Compliance Questionnaire contains a set of questions about the type of content players can possibly encounter within your game, as well as how frequently it occurs. Your answers give Roblox an understanding of the content in your game and ensure that the game is available to the appropriate audience on the Home and Discover pages according to each player's age group and regional content policies.
For step-by-step instructions on how to fill out the questionnaire, see content maturity & compliance.
Set age and geography restrictions
You can set restrictions so that only players over a certain age or from specific regions can play and discover your games. This is particularly helpful when you want to age up your audience without including mature content to age gate through content maturity labels.
To set age and geography restrictions:
- Navigate to the Creator Dashboard.
- Click on the thumbnail of the game for which you want to set age and geography restrictions. The game's Overview page displays.
- In the left-hand navigation, navigate to Audience ⟩ Access Settings.
- In the Age section, set Minimum age to the youngest age a player can have to access your game.
- In the Region section, enable every region that can access your game.
- At the bottom of the page, click the Save Changes button.
Copy landing page link
After you publish your game, Roblox generates a landing page for the game referred to as the game's main details page. You can access and copy this link from either the Creator Dashboard or the Roblox app, then share it with others so they can play your game.
Hover over a game's thumbnail, click the ⋯ button, and select Copy URL.

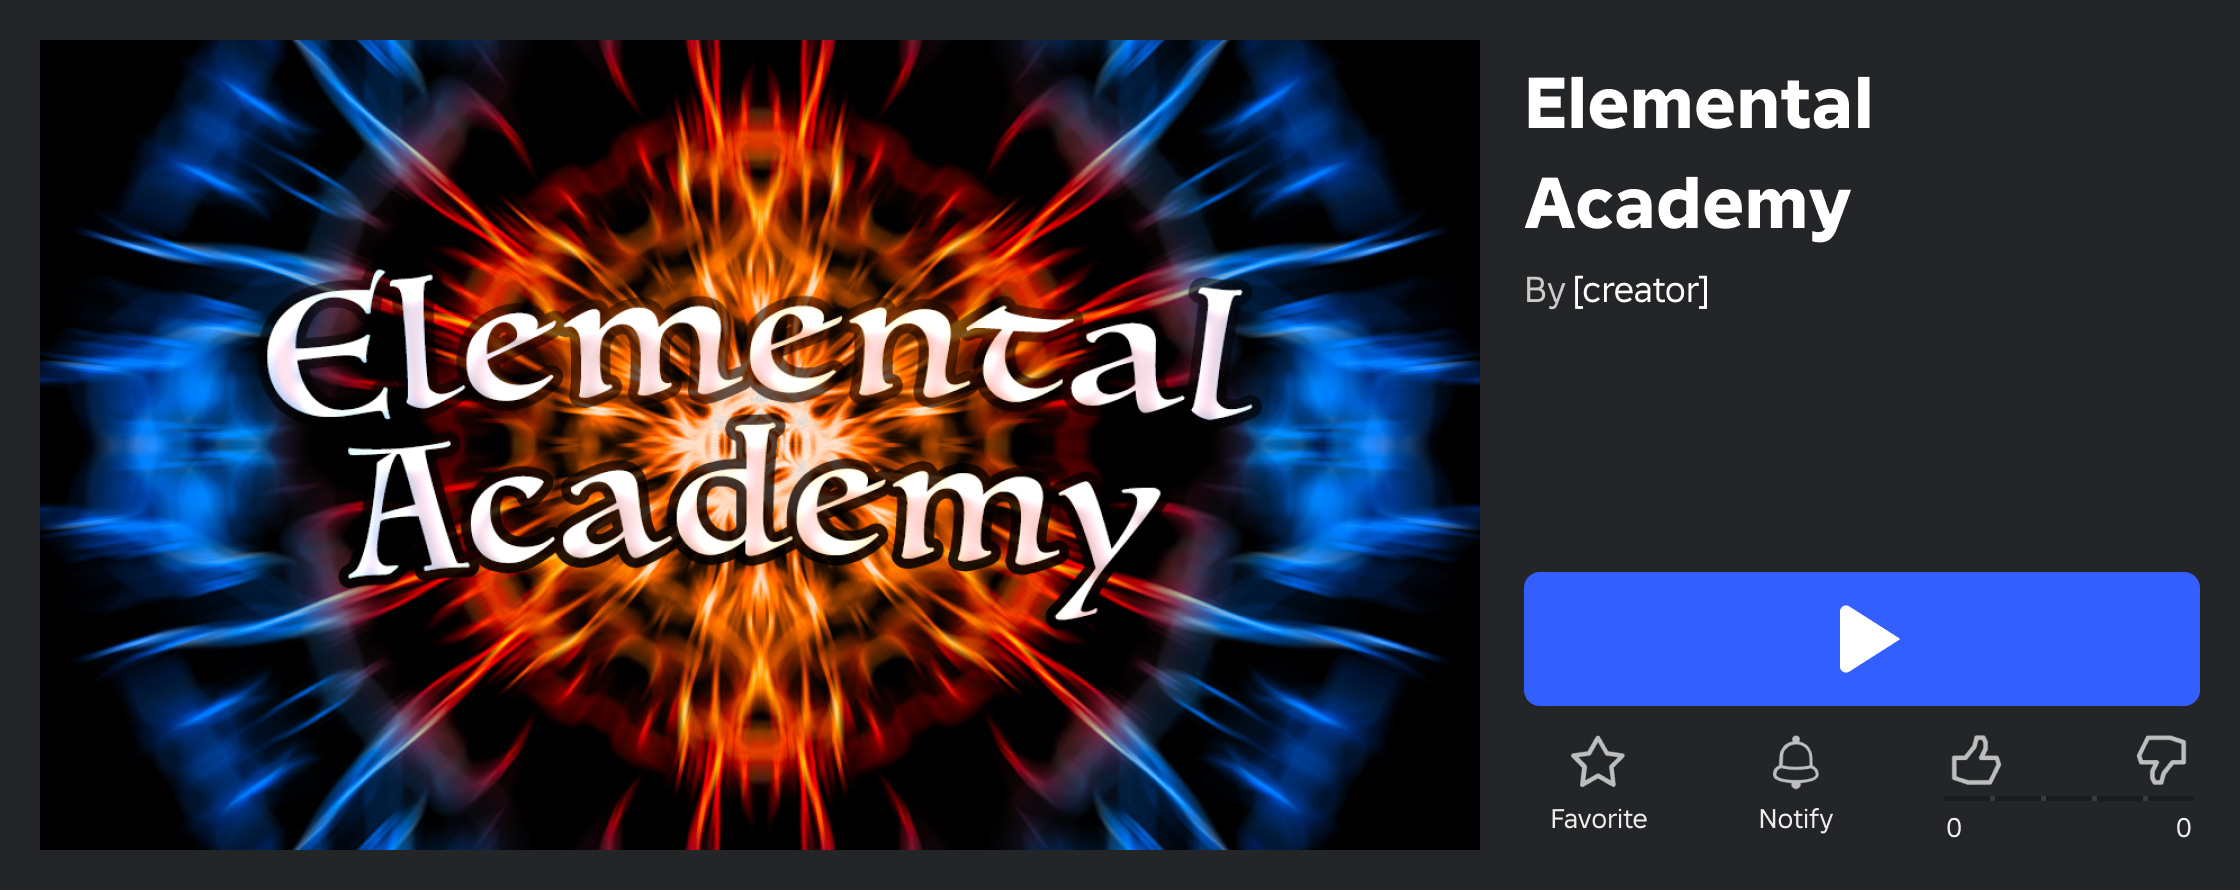
Share the copied URL with others as a direct link to the game's landing page featuring a play button.


Edit collaborator permissions
When creating and collaborating on games as part of a group, abilities granted to group members are dependent on their role permissions. Owners or other group members with sufficient permissions can adjust play/edit/publish access and more on a per‑game level, such as allowing a limited group role the ability to edit a specific game even if that role cannot edit all games.
Access version history
Roblox automatically retains saved versions of each place for version control and backup purposes. You can access Version History in the Creator Dashboard to revert to a previously saved version of any place within a game, or in Studio to leave notes attached to your saved place files.
For more information about accessing Version History, saving place files with notes, and reverting to previous place versions, see Version History.
Allow copying
By default, all private and public games are locked so that you or your group are the only creators who have permission to edit its place files. However, if you want to allow other creators to be able to access an editable copy of your game for their own creation process, you can uncopylock the game. This is particularly helpful when you create templates or reference files for open use.
To allow the community to access an editable copy of your game:
Navigate to the Creator Dashboard.
Click on the thumbnail of the game you want to allow players to copy. The game's Overview page displays.
In the left-hand navigation, navigate to Configure ⟩ Places.
Click the start place marked with a star icon. The place's Basic Settings page displays.

In the place's left-hand navigation menu, select Permissions.
Enable Allow users to download a copy of this Place.
Click the Save Changes button. Your game is now uncopylocked and creators can access an editable copy of it from the game's main page by clicking the ⋯ button and selecting Edit in Studio.


Allow strong language
You can enable strong language and relax the text chat filter in your games for older player audiences. Doing so also adds a tag above your game page to warn other players that your game may include strong language:

Regardless of whether or not you activate the toggle, players do not face moderation consequences just for using strong language in chat or voice in games with Restricted content maturity labels, but they cannot violate Community Standards and Terms of Use. For example, players can type an expletive if they are scared by a monster, but they cannot abuse another player using strong language or otherwise.
To allow strong language between players in text chat within your game:
- Navigate to the Creator Dashboard and click on the thumbnail of the game in which you want to allow strong language. The game's Overview page displays.
- In the left-hand navigation, navigate to Audience ⟩ Communication Settings.
- Enable the Allow Strong Language toggle, then press the Save Changes button. Players within your game can now use strong language in text chat.