Avatar Setup helps accelerate the avatar character body, rigid accessory, and layered accessory creation process by automatically processing custom models into avatar assets. If your characters and rigid/layered accessories don't have all essential components for publishing to the Marketplace, Avatar Setup can perform the following for your 3D models:
- Rigging — Adds a R15 rigging armature to your body model to enable movement and animation.
- Skinning — Adds weights and influences to various surfaces of your mesh, ensuring an organic and natural flexibility during movement.
- Facial animation — Generates the FACS poses, facial rigging, skinning, and animation data required for facial animation and avatar chat.
- Caging — Adds the required cages to your asset, enabling it to support layered accessories.
- Partitioning — Separates the body mesh into the appropriate 15 body parts necessary for an avatar character body.
- Creating attachments — Adds the appropriate attachment points enabling the character to wear rigid accessories.

Import a 3D asset
The Importer tool allows you to import custom 3D assets that you made in third-party modeling tools like Blender or Maya directly into Studio. If your custom 3D assets don't include all essential avatar components for the Marketplace, Avatar Setup will add any missing components as it processes the assets.
To import a custom 3D asset using the Importer tool:
- Navigate to the Home tab, then select Import. A file browser displays.
- Select the .fbx, .obj, or .gltf model you want to import. After a few moments, the Import Preview window opens with a preview of your asset.
- In the File General section, disable the Upload To Roblox option. This setting stops the asset from immediately saving to your Toolbox, preventing unwanted copies of similar assets.
- OPTIONALTo create an import preset for this workflow,
- In the top-right of the Import Preview window, click the ⋯ dropdown.
- In the contextual menu, click Save as New.
- Verify the preview and any warnings or errors in your model. Certain warnings and errors may require readjusting the model in the third-party software you used to create the asset.
- Click the Import button to add the model into your workspace. After a moment, it displays as a Model object in the Explorer window.
Run Avatar Setup
When your project has the appropriate Model object in your workspace, you can run Avatar Setup to see if your 3D asset requires any additional avatar components before you can publish it to the Marketplace as a character body, rigid accessory, or layered accessory. Avatar Setup supports the conversion of the following 3D asset types from a base Model:
| Asset type | Input object | Output object |
|---|---|---|
| Avatar character body | Model containing one or more MeshPart objects that meet Avatar Setup's supported body inputs. | Model parenting associated 15 MeshPart objects and other expected avatar components. |
| Rigid accessory | Model containing one or more MeshPart objects that meet Avatar Setup's supported rigid accessory inputs. Must bundle with an avatar body Model for Avatar Setup. | Accessory that includes all expected rigid accessory components. |
| Layered accessory | Model containing one or more MeshPart objects that meet Avatar Setup's supported accessory inputs. Can optionally bundle with an avatar body Model for Avatar Setup. | Accessory that includes all expected layered accessory components. |
| Multiple accessories with single body | Folder bundle containing one or more Model that meet supported inputs for rigid accessories, layered accessories, or avatar bodies. Must bundle with an avatar character body Model for Avatar Setup. | Model character body and any Accessory equippable items. All generated assets include expected avatar item components. |
To run Avatar Setup:
In the Explorer window, select the model or specific meshes of the model. If you want to select multiple meshes at once, expand the Model object, then hold shift and click on the individual mesh objects you want to process as avatar assets.
For an asset that meets all of these model requirements, download one of the following Avatar Setup templates for your own reference and testing:
Nature Girl 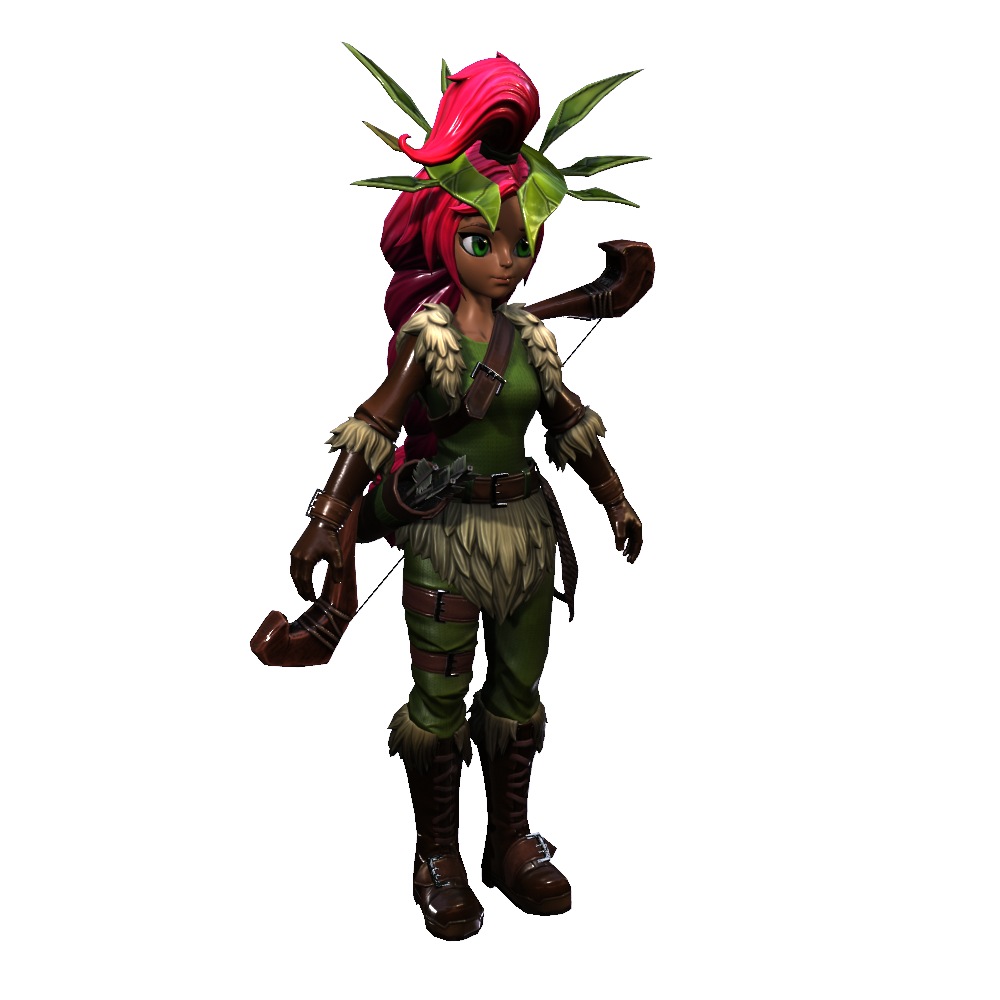
A comprehensive .zip folder of an Avatar Setup ready character model, including rigid and layered accessory assets and PBR textures.
This template is not compatible with the traditional avatar creation workflow.
Stylish Male 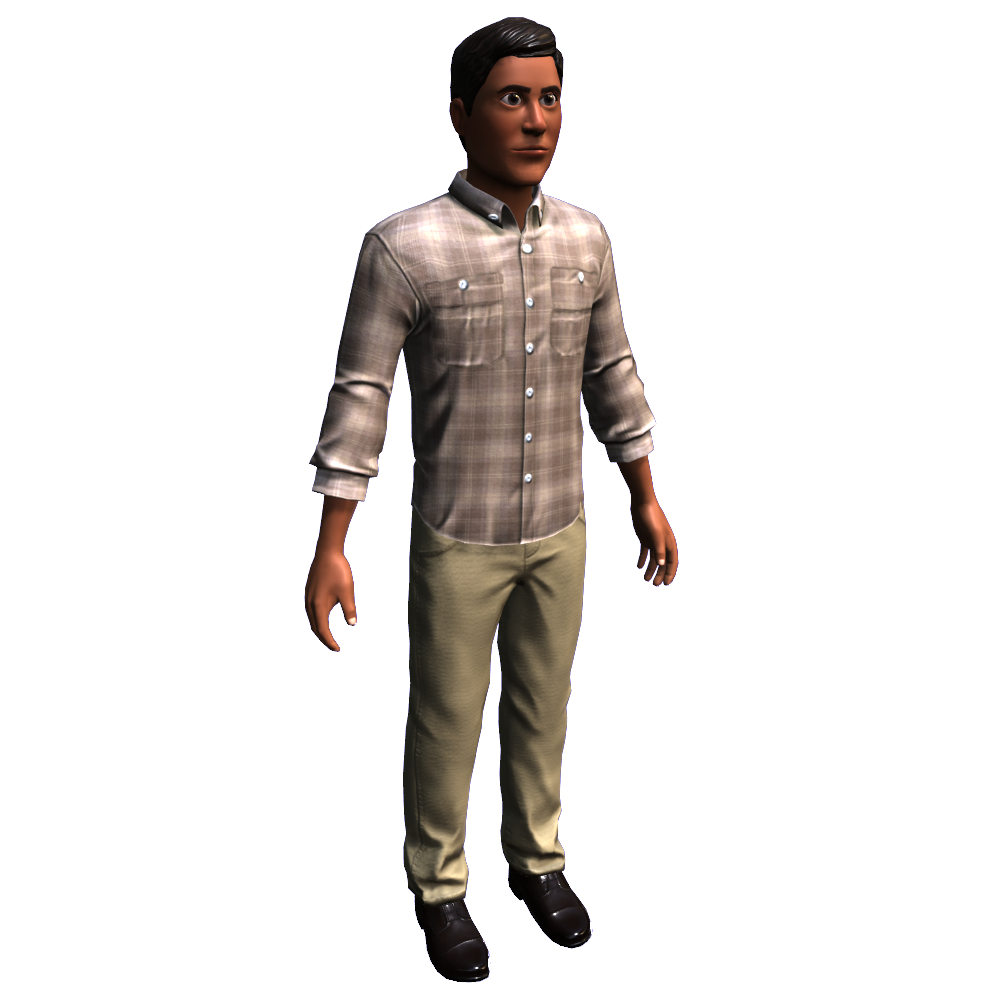
A comprehensive .zip folder of an Avatar Setup ready character model, including the base body and associated PBR textures.
This template is not compatible with the traditional avatar creation workflow.
With the model or meshes selected, navigate to the Avatar tab, then select Avatar Setup.
In the Configure Models section,
Set Preset to the appropriate category.
- If you want to publish your assets to the Marketplace for users to purchase and use across Roblox, select Platform Avatar. This option generates a more restrictive setup that's necessary to pass validation and moderation.
- If you want to upload your assets to your inventory for non-player characters (NPCs) or starter player characters for your games, select Development Avatar. This option generates a less restrictive setup.

Set Type for each asset to the correct asset type so that it moves and animates correctly in the 3D space.
- For character body geometry, select Body.
- For layered accessory assets, select Layered.
- For rigid accessory assets, select Rigid.
- For eyebrow and eyelash assets, select Eye Layered.

- OPTIONALNear the bottom-left corner, click on the gear icon to configure specialty settings for your character model.
If your character has a decal for its face and you want to enable the conversion of the texture into a dynamic head, enable Handle face as 2D decal. This process allows you to preserve your creative intent while complying with Marketplace policy that requires all avatars to have dynamic heads.
The process of converting a decal into a dynamic head infers eye and mouth regions from your existing texture, generates cages and FACS data, then maps the result onto a dynamic head template. For best results, review the following guidance:
Run Avatar Setup with the character's body and head
- If you only run Avatar Setup with the character's head, this speciality setting will fail.
Verify avatar face is front-facing
- Before you run Avatar Setup, verify that your character's face is facing the front and visible in the preview. Whenever you manually position your character's face, make sure you enable Manually align front in the Avatar Setup window's speciality settings.
Delete the FaceControls object
- Avatar Setup retains your current face setup whenever it detects a FaceControls object under your character's Head model. If one exists in your character, delete it from before running Avatar Setup.
Use SurfaceAppearance instead of TextureID
- When you have only TextureID or both TextureID and SurfaceAppearance objects defined for your avatar, remove or replace the TextureID objects with SurfaceAppearance objects for significant texture quality improvements when rendering.
If your character includes an advanced R15 rig with additional joints, enable Create R15 with optional joints.
If you want to manually align the front direction of your character with the negative Z-axis in world space, enable Manually Align Front. While auto-setup does this automatically for you, it can sometimes fail to properly determine the front of your character.
If you want to add a post-processing step to significantly improve the alignment of your character's head cage with the head model and its facial features, enable Improve facial caging. This is particularly important if you plan on using makeup with your character.
If you are importing a development avatar and want to skip the auto-decimation of input meshes with resolution above the triangle budgets required for the Marketplace, disable Reduce triangle count.

Near the bottom-right corner, click the Set Up button.
- If your model requires auto-setup for missing avatar components, the tool begins processing your model. This can take several minutes. Once auto-setup is complete, the tool populates your avatar asset in the Avatar Setup window.
- If your model doesn't require auto-setup, the tool populates your avatar asset in the Avatar Setup window.


Testing tools
After you successfully load your character into the Avatar Setup window, you can access various testing tools in the window's side navigation to ensure your character moves, animates, and equips rigid and layered accessories properly.

In each of these interfaces, you can see which items are currently equipped to your character on the right side of the Avatar Setup window. From here, you can:
- Unequip items by right-clicking on an equipped item, then selecting Unequip Item from the contextual menu.
- Set the worn order by dragging and ordering the various equipped accessories.
If you discover any issues that can't be resolved with Avatar Setup testing tools, you may need to update your character model using the third-party modeling software you used to create the asset, then retry the auto-setup process.
Check Body
The Check Body interface contains various tabs for checking how your character model animates, emotes, wears rigid and layered accessories, and changes skin tone. To learn more about what you can do with this interface, click through the following tabs.

The Animations tab lets you test how your character animates and emotes using each default animation that Roblox provides for every avatar, such as the walk, jump, and swim animation.
If you notice any issues with your character's body as it animates, you can either use Avatar Setup's editing tools or your favorite third-party 3D modeling application to adjust your character's rig until the animations play properly.
Check Face
The Check Face interface zooms closer to the character's face and allows you to test various facial poses and cosmetics. To learn more about what you can do with this interface, click through the following tabs.


The Animations tab lets you test your character's facial animations and range of motion for different parts of the face, such as the character's eyeballs, eyebrows, and mouth.
If you notice any issues with your character's facial expressions, you can either use Avatar Setup's editing tools or your favorite third-party 3D modeling application to adjust your character until the animations play properly.
Test in Experience
The Test in Experience tab starts playtesting the game with your character model. This button references your active playtesting mode and retains the changes you make in the Avatar Setup window.
Add test items
In addition to the side navigation test tooling, you can add custom assets to the Avatar Setup's testing palette that are either active in your current project or by assetID. For more information on either method, review the tabs below.
To add a custom item that's active in your current project to the Avatar Setup testing palette:
In the Explorer window or viewport, select a valid accessory or body part asset.
In the Avatar Setup window, navigate to the Check Body or Check Face interface, then click the plus button at the bottom of the selection column along the left side of the window. The item appears in the appropriate section and subsection of the interface, such as Accessories → Hair.


Editing tools
In addition to the Avatar Setup window, you can use Avatar Setup's Attachment Tool and Cage Brush in the viewport to make minor to moderate adjustments to the character's attachment points and cage.

Attachment Tool
The Attachment Tool displays all attachment points on the character's body. When you select an attachment point, the Move tool displays, allowing you to adjust the attachment point's position within the character's body.

Cage Brush
The Cage Brush lets you modify your character's body cage mesh and make adjustments to how layered accessories fit on your character. The following controls provide fine-grain control on your cage edits:

- Symmetrical and mirror edits along X-axis.
- Brush with radius and falloff controls.
- Brush falloff visualization over the vertices.
- Ability to hide or display equipped layered accessories. Layered accessories will update in real time in the Avatar Setup tool's preview window.
Publish to the Marketplace
The Save button opens the Asset Configuration dialog, allowing you to upload the avatar and any accessory items to your inventory or publish everything configured as platform avatar assets to the Marketplace.

When publishing your assets to the Marketplace, you must pay an upload fee and pass moderation in order to add your assets to the catalog. For additional resources on the publishing process and Marketplace, see the following: