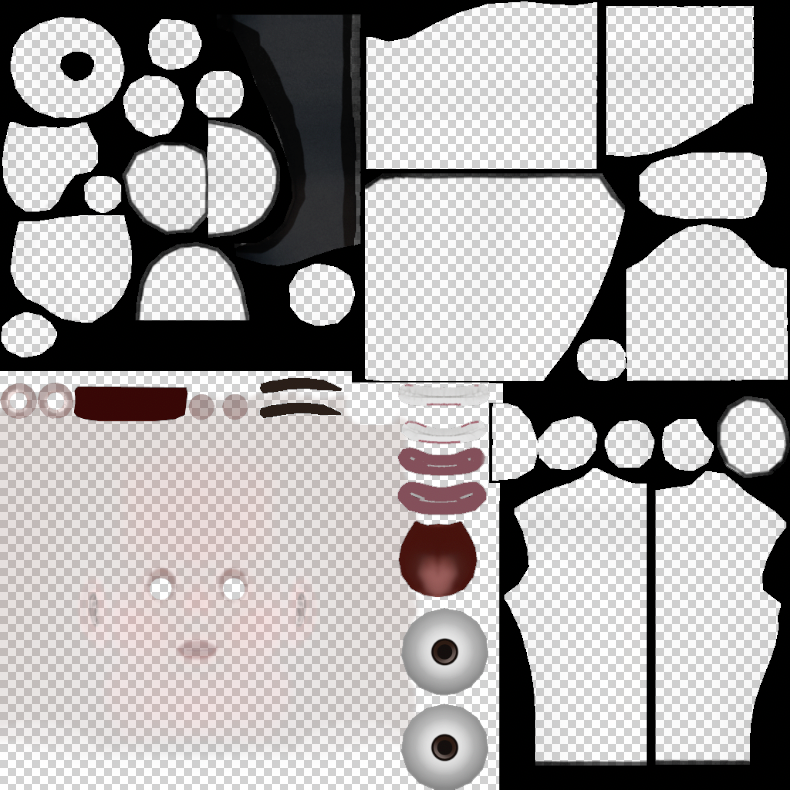
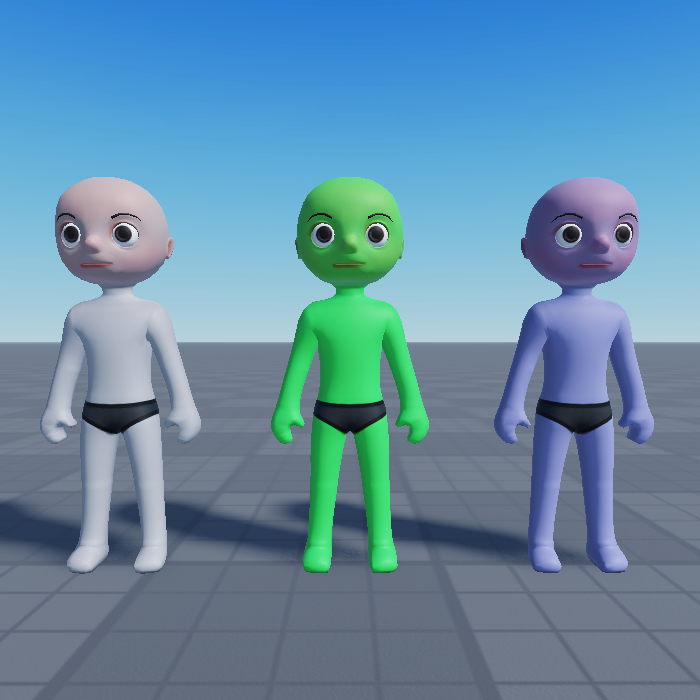
The Blender project files of each template include additional helper configurations that are not included in the raw .fbx template files. If you intend on using Blender for your character creation process, it's important to understand the additions included in the .blend versions of the template and what they do.
Hierarchy
The following is a breakdown of what is included in each Blender template file:
- Cage: Contains the character's 15 outer body cage meshes.
- Joints: The parent armature object that includes the following objects:
- The bones that make up the character's rigging armature.
- The _Geo mesh objects that make up the avatar appearance.
- The _Att attachment objects that define where accessories attach when equipped.
- The animation data for saving facial animation data and poses.
- Fill and Sun: These objects are used to provide lighting, allowing you to preview your characters in a neutral lighting similar to a Studio baseplate. These are not part of the avatar character.

Disabled objects
When using the template project files for Blender, you might notice some objects, like attachment objects, are permanently hidden in the Viewport even when toggling the Hide In Viewport icon 

If you need access to disabled objects, use the following instructions to access the Disable In Viewport toggle:
In your Outliner, click the Filter dropdown.

Enable the Disable In Viewport filter.

The Disable In Viewport icon


Custom skin tones
The Blender project files include a shader configuration that allows you to preview custom skin tones, similar to how they display in Roblox if users customize their skin tones.
Textures with full or partial transparency allow the underlying Part.Color to reveal through the applied texture, enabling a user to personalize their avatar character with custom skin tones.


Preview skin tones
The Blender project file includes shader configurations that allow you to preview custom skin tones similar to how they appear in Studio. These custom colors do not export with the model, but can provide you a quick visual reference for how a custom skin color and texture might look in Roblox.
For this Blender shader configuration, keep in mind the following requirements:
- You must switch to Viewport Shading mode for textures to render as expected.

- When swapping out textures, the normal map's colorspace reverts to SRGB instead of NonColor. If this occurs, you might need to change it back in order for the normal map to render correctly.
To preview your character's skin tone in Blender:
- In Layout, select any geometry object, such as Head_Geo.
- Go to the Shading tab.
- In the Node panel, ensure Object is selected.
- Find the PartColor node that is attached to the Mix node.
- Pick a color and value on the node to apply a reference custom skin tone.
Export setup
While the skin tone preview is a critical element to verifying your templates color and tone compatibility in Roblox, it prevents your color texture map from automatically being packaged with the final .fbx file. There are two ways to resolve this before exporting your model:
- In the Shading tab, disconnect the Mix node and replace it with the ColorMap node.
- Export your textures manually as separate image files and add them later in Studio.
For instructions on how to perform either export workflow, see Export textures.
Scene scale
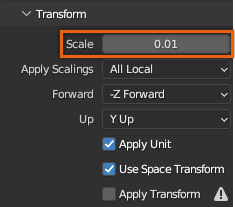
When creating Roblox assets in a modeling application, it's important to ensure your .fbx exports scale correctly. The .fbx file type scales objects by 100, meaning that you have to modify your working scale by .01. The template files already apply this scaling.
There are two ways to perform this scaling. You can modify your scene scale properties in your project with the following steps:
- In the Properties panel, navigate to the Scene Properties tab.

- In the Units section, change the Unit Scale to 0.01 and the Length to Centimeters.
Alternatively, you can modify your scaling when exporting your files:
- Navigate to File > Export > FBX (.fbx).
- Set Transform > Scale to .01.

Animation range
For custom characters with facial animation, ensure that the timeline range is set between 0 and 330:
In the top right of the Animation Panel, click and set Start to 0.
In the top right of the Animation Panel, click and set End to 330.
