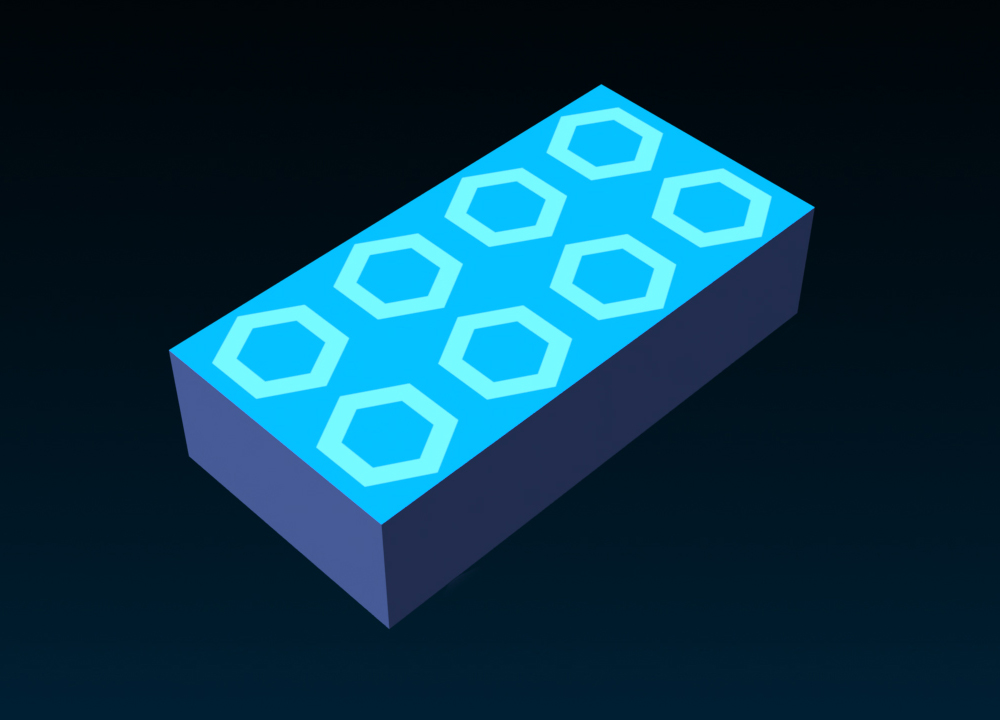
A Texture is an image you can place on any face of a part or union that repeats both horizontally and vertically on the size of the surface. In contrast, a Decal is an image that stretches to fit the area of a part or union's surface. After you add a Texture or Decal object to a part or union, you can:
Change the texture or decal Color3 property to set a color tint using RGB color codes.
Change the texture or decal Transparency property to a value between the default of 0 (fully visible) and 1 (invisible).


Creating Textures or Decals
To create a texture or decal, you have to add either a Texture or Decal object to a part or union. You can import images for textures and decals to Studio for use between experiences, and publish them to the Creator Store. Once you import the image, Studio assigns it a unique asset ID.
To add a texture or decal to a part or union:
In the Properties window, navigate to the Face property and choose a face or keep the default face.
Select the Texture property and apply an image through any of the following methods:
- Select any texture or decal you've uploaded previously.
- Enter an asset ID into the Texture field.
- Upload a new image through the Add Image... button.
(Optional) Set a color tint by clicking the small box to the left of the Color3 property or by entering a RGB color code.


Default 
Color3 = [255, 0, 100] (Optional) Set the Transparency property to any value between the default value of 0 (fully visible) and 1 (invisible).
Default 
Transparency = 0.6


Choosing a Face
A face is a surface on a part/union that displays a texture or decal: Top, Bottom, Front, Back, Left, or Right. The direction of each face depends on the part or union's orientation. In the following example images, the camera faces the block's Front face, so the block's Left face is on the right from the camera's perspective.


To choose a face:
(Optional) To assist in choosing the correct face, right-click the part/union and select Show Orientation Indicator. This displays a blue circle with an F and a line attached to the object's Front face, and a green arrow that points in the direction of the object's Top face.

Select a texture or decal that is a child of the part or union.
In the Properties window, click the Face property and choose a face.

Customizing Textures
Unlike decals, textures provide further functionality to scale, offset, and animate an image.
Scaling Textures
The size of the part doesn't affect the texture. Instead, scaling a part only increases or decreases the number of times the texture repeats.
The StudsPerTileU and StudsPerTileV properties determine the size of each "tile" in studs. StudsPerTileU determines the texture's horizontal size while StudsPerTileV determines the texture's vertical size.


To scale a texture:
Select a texture that is a child of a part.
In the Properties window, set StudsPerTileU and StudsPerTileV to the number of studs you'd like the texture to occupy horizontally and vertically. The larger the number, the larger the image.
Offsetting Textures
If you want more control over a texture's position, offset the texture by adjusting the OffsetStudsU and OffsetStudsV properties. This is also helpful for animation.


To offset a texture:
Select a texture that is a child of a part.
In the Properties window, set OffsetStudsU and OffsetStudsV to the number of studs you'd like to offset the texture horizontally and vertically.
Animating Textures
Using TweenService, you can tween texture properties like OffsetStudsU and StudsPerTileV to achieve animated surfaces. For example, if you apply two fog textures to one container and animate them with the following script, you can achieve the appearance of a layered moving fog: