After importing your asset into Studio, you can begin fitting your imported object to a mannequin and converting the Model object into a Accessory. When fitting and converting your accessory it's important to use the Accessory Fitting Tool (AFT) to correctly preview the placement and apply the correct configurations to your accessory.
To fit and generate your accessory:
In the toolbar's Avatar tab, click Accessory to open the AFT.
In the new AFT panel, select the Part field and, in the workspace, select the accessory MeshPart object in the workspace and press Next.
Set type of asset to Back. Press Next when complete.
Using both the AFT preview window and the workspace, adjust the position, scale, and rotation of the accessory.
- Use the AFT preview window and your mannequin as an accurate preview of how your asset fits on the character. The clothing mannequin in the workspace does not accurately portray how rigid accessories attach.
- In the workspace, use the Move, Scale, and Rotate tools to adjust the positioning of your rigid accessory.
- If you accidentally select something else, click back into the AFT panel to reselect the accessory and resume your adjustments using the transformation tools.
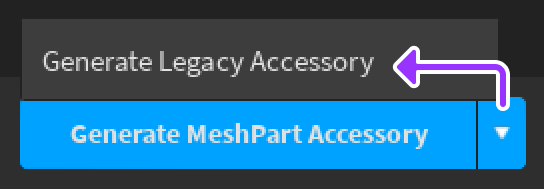
After previewing and fitting your asset, select the dropdown next to Generate button to select Generate Legacy Accessory. The accessory object populates in your viewport and in the Explorer.
For rigid accessories that you intend to sell on the Marketplace you must use the generate legacy accessory option when creating your Marketplace accessories.
Test your accessory by equipping it to a character and using the Avatar Setup tool.
